 Picture it: Paris, 2001. The dollar is stronger than the franc, which would be replaced with the euro just a year later. Gigantic bottles of Evian cost less than 50 cents. Orangina is all the rage. And you can stuff your face with pain au chocolat for less than a dollar a pastry. It was a dangerous time to be an American in Paris, when every day was meant for gluttony, lest those previous months studying and meandering down those cobblestone streets go to waste before a return stateside, where even decent breads and viennoiserie cost several dollars a pop. “Indulge,” says the little voice inside your head. “Have one more,” says the little you sitting on your own shoulder wearing red pajamas and wielding a pitchfork. The little you on your other shoulder, wearing a white gown and sporting a halo above her head, is silent. She, too, is indulging in one more pain au chocolat, shards of crisp, buttery crumb falling from her lips and into the folds of her white, silken gown.
Fourteen years later, and New York City yields a plethora of solid French boulangeries turning out wonderful breakfast pastries every day. Balthazar in Soho, for its almond croissants, Kayser, dotted around the perimeter of Central Park, for pliés au chocolat, and La Bergamote, in Chelsea, for its chocolate-almond croissants, are just a handful of reasons you don’t need to make viennoiserie at home. Except that those lovely creations still cost a pretty penny. A treat after a long run or on a Friday morning on the way to work, sure. But let me tell you, those “treat yourself” mornings add up. Working a block from Balthazar for seven years on a human rights advocate’s salary and level of stress, I should know.
 So what is a girl to do? It’s still cold, and it’s been damp, and it sure as hell feels like dead-of-winter Paris, even though we’re inching towards the edge of spring. The little me in the red pajamas has been calling for more. Not just croissants this time, no. She’s calling for pain au chocolat. Little rectangles of layered, buttery goodness hiding away two thick lines of dark, rich chocolate. The little me in the white gown is nodding in agreement. I have no choice but to oblige them both.
 Here is where I need to admit something though. So…yes. I said croissants were easy last time. And they are. I promise you, the steps are simple. But rolling out the dough? Not as easy as I thought, especially in the later stages. Yes, I tell you there that it gets harder as the gluten develops, so by the third turn the dough is going to start fighting back a bit and be harder to budge. But we took turns rolling out the dough that day, and I did the first roll, before we added the butter block. I only helped measure and pat the sides in the later stages, unwittingly letting my friends do the tough and dirty work. I am also, admittedly, not the strongest person on earth. My dad used to call me chicken bones and while I’m definitely stronger than the tiny kid I used to be, my upper body is still pretty puny. My fight against the dough left my palms sore, my upper back aching, and my hip bruised. Yes, I bruised my hip baking. So there’s that.
 I also did not imbibe a single drop of wine during this marathon making of croissant dough, nor did I linger on a whiff of endorphins from a run — the day I made pain au chocolat was my rest day. This means that much of the process for me was stressful. I worried that my slightly uneven edges, when folded, were going to yield uneven pastries. Then I nearly cried when butter broke through what seemed like the entire top layer of dough during my last roll-out, when I was getting ready to cut and shape my pain au chocolat. It was ruined, I knew it. I threw it back in the freezer, took to the web to try to troubleshoot, found nothing worth noting, told myself que sera, sera, and rolled some more, stopping before I achieved the dimensions I initially wanted because, dear god, if I roll it out more it will be destroyed and this entire day of croissant-making would be for naught.
 “O, ye of little faith,” said both the little me in white and the little me in red. All would be well. Own it. Own the process. Take command. Fear not the dough, its fight and its delicate layers. Be kind to it, but own it.
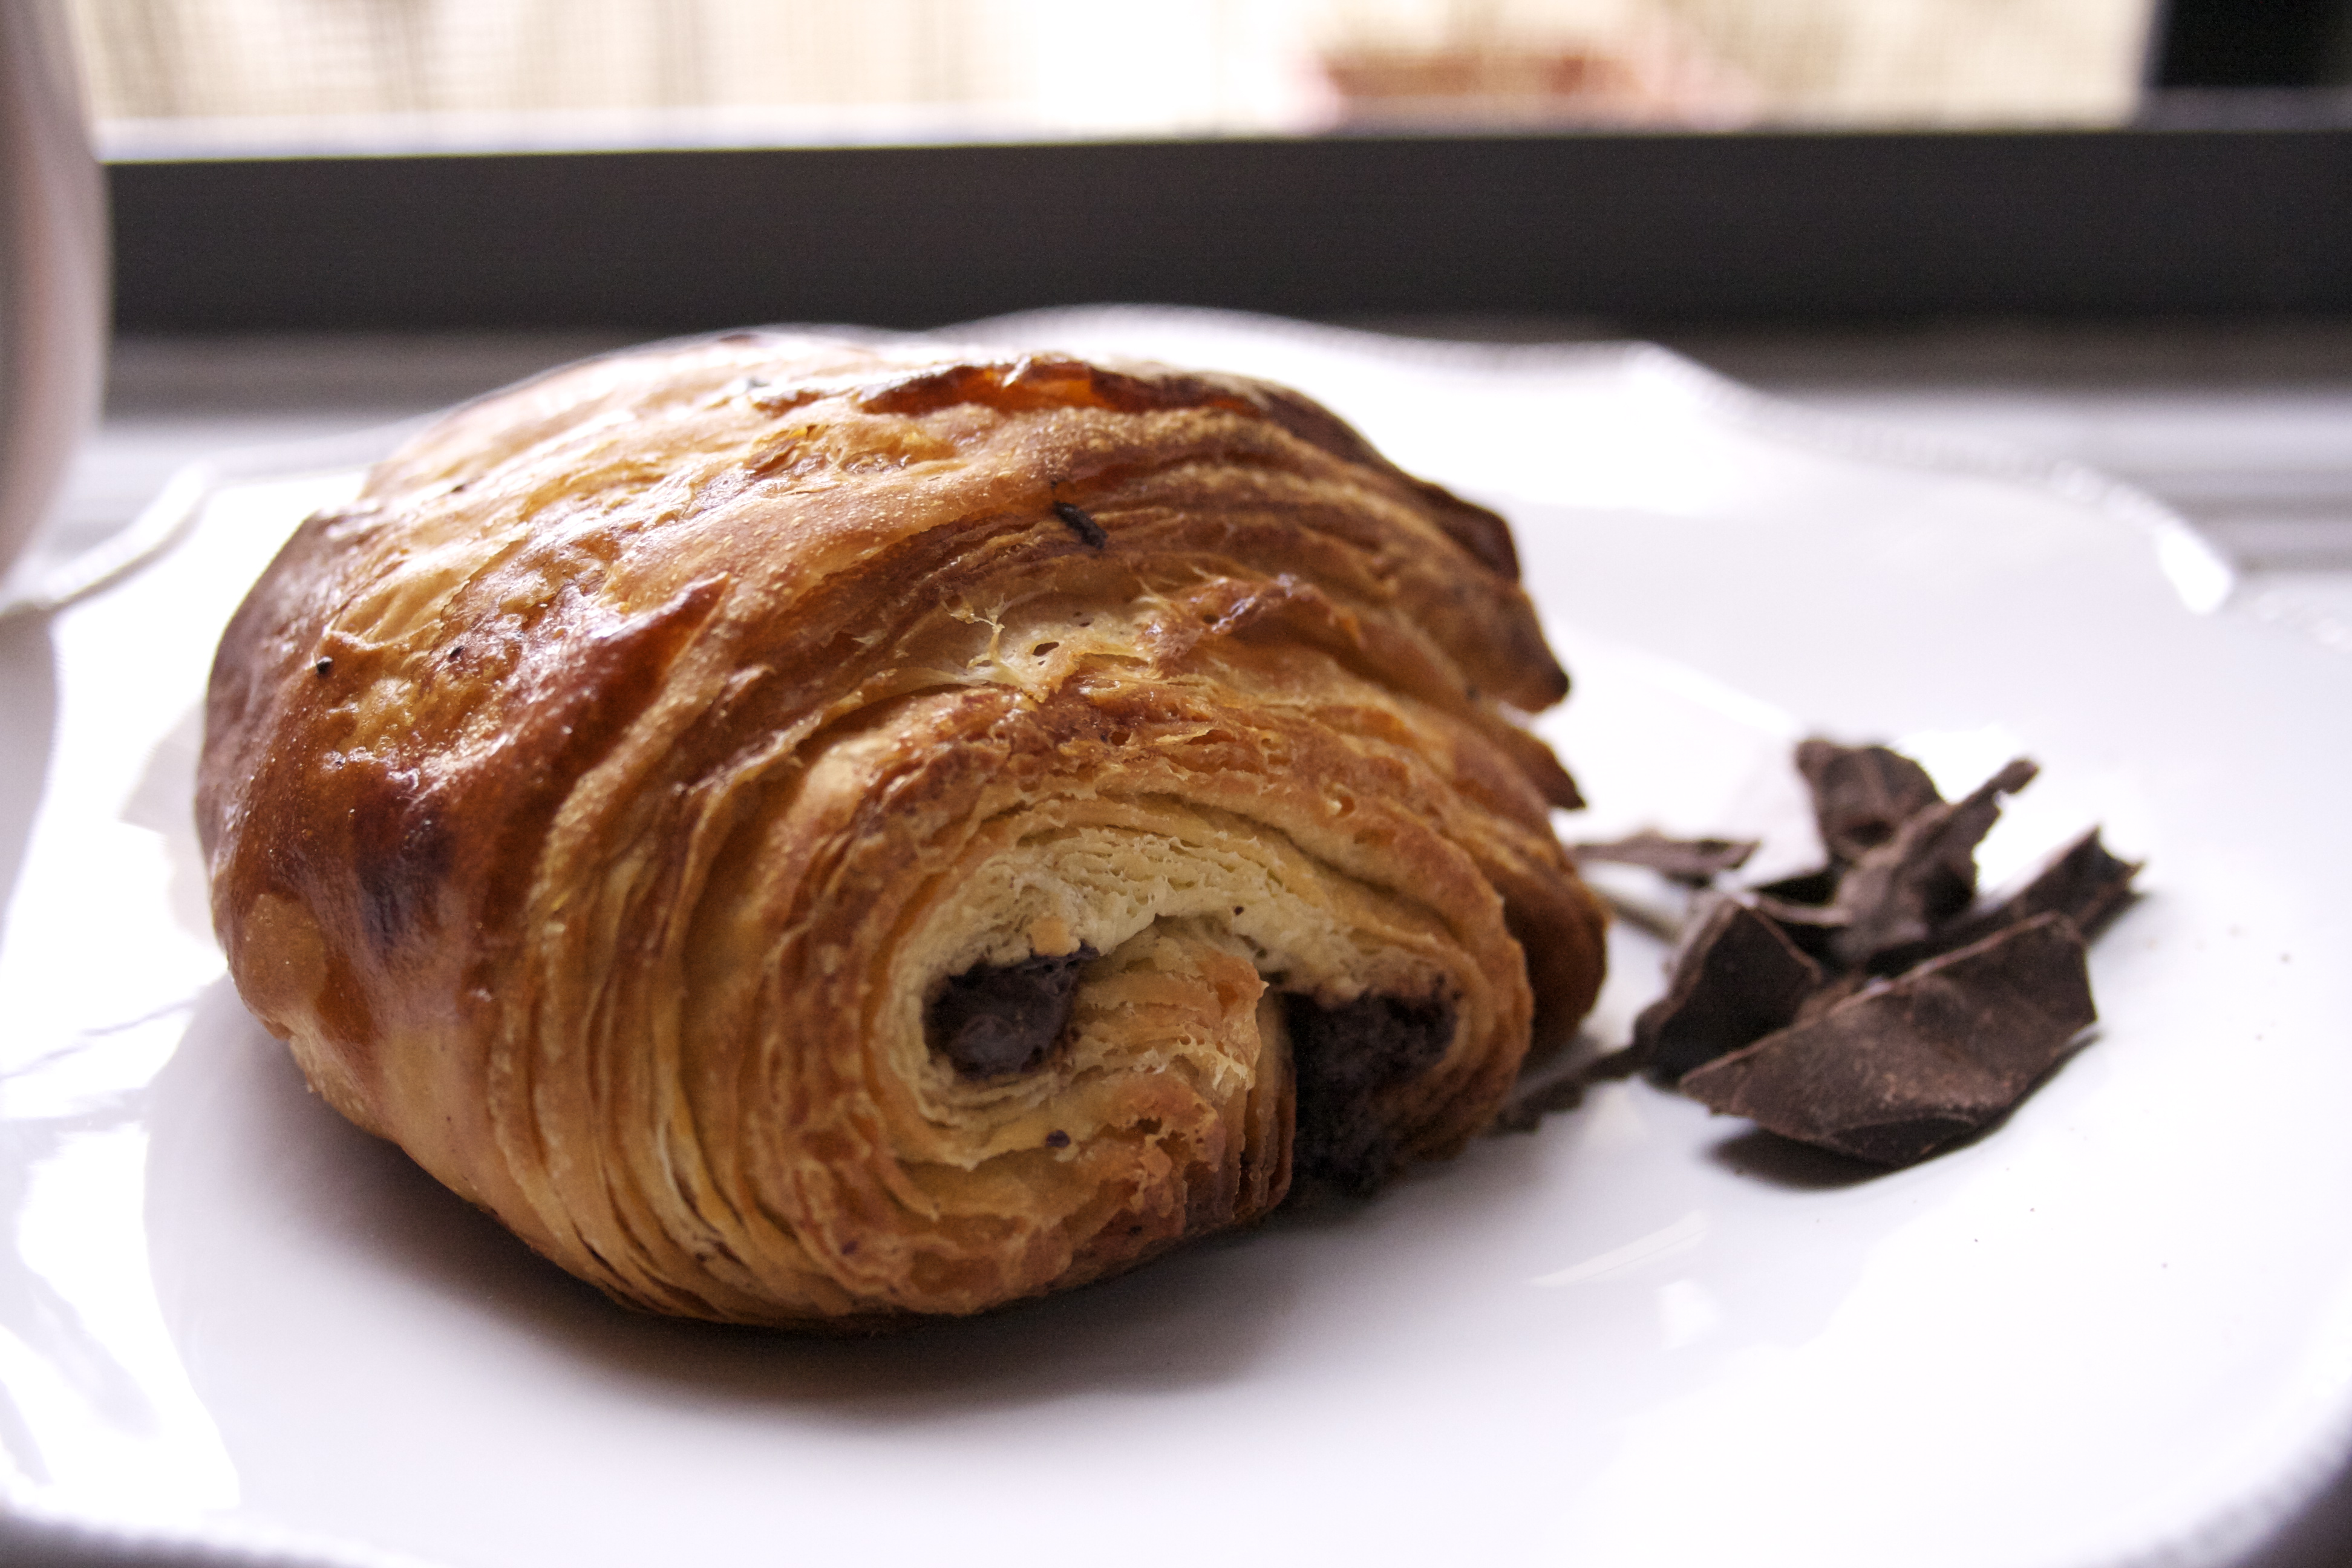
 Two and a half hours’ rise. Twenty minutes in a hot oven. The water in the butter evaporated, the layers bloomed, and I had my pain au chocolat. Crisp shards on the outside, falling into the folds of my gown, but luscious, tender layers on the inside, sheltering that rich chocolate I covet. These layers were even more distinct than the last time, when there were six sets of eyes monitoring the recipe and the dough, six pairs of hands lovingly shaping those beautiful crescents.
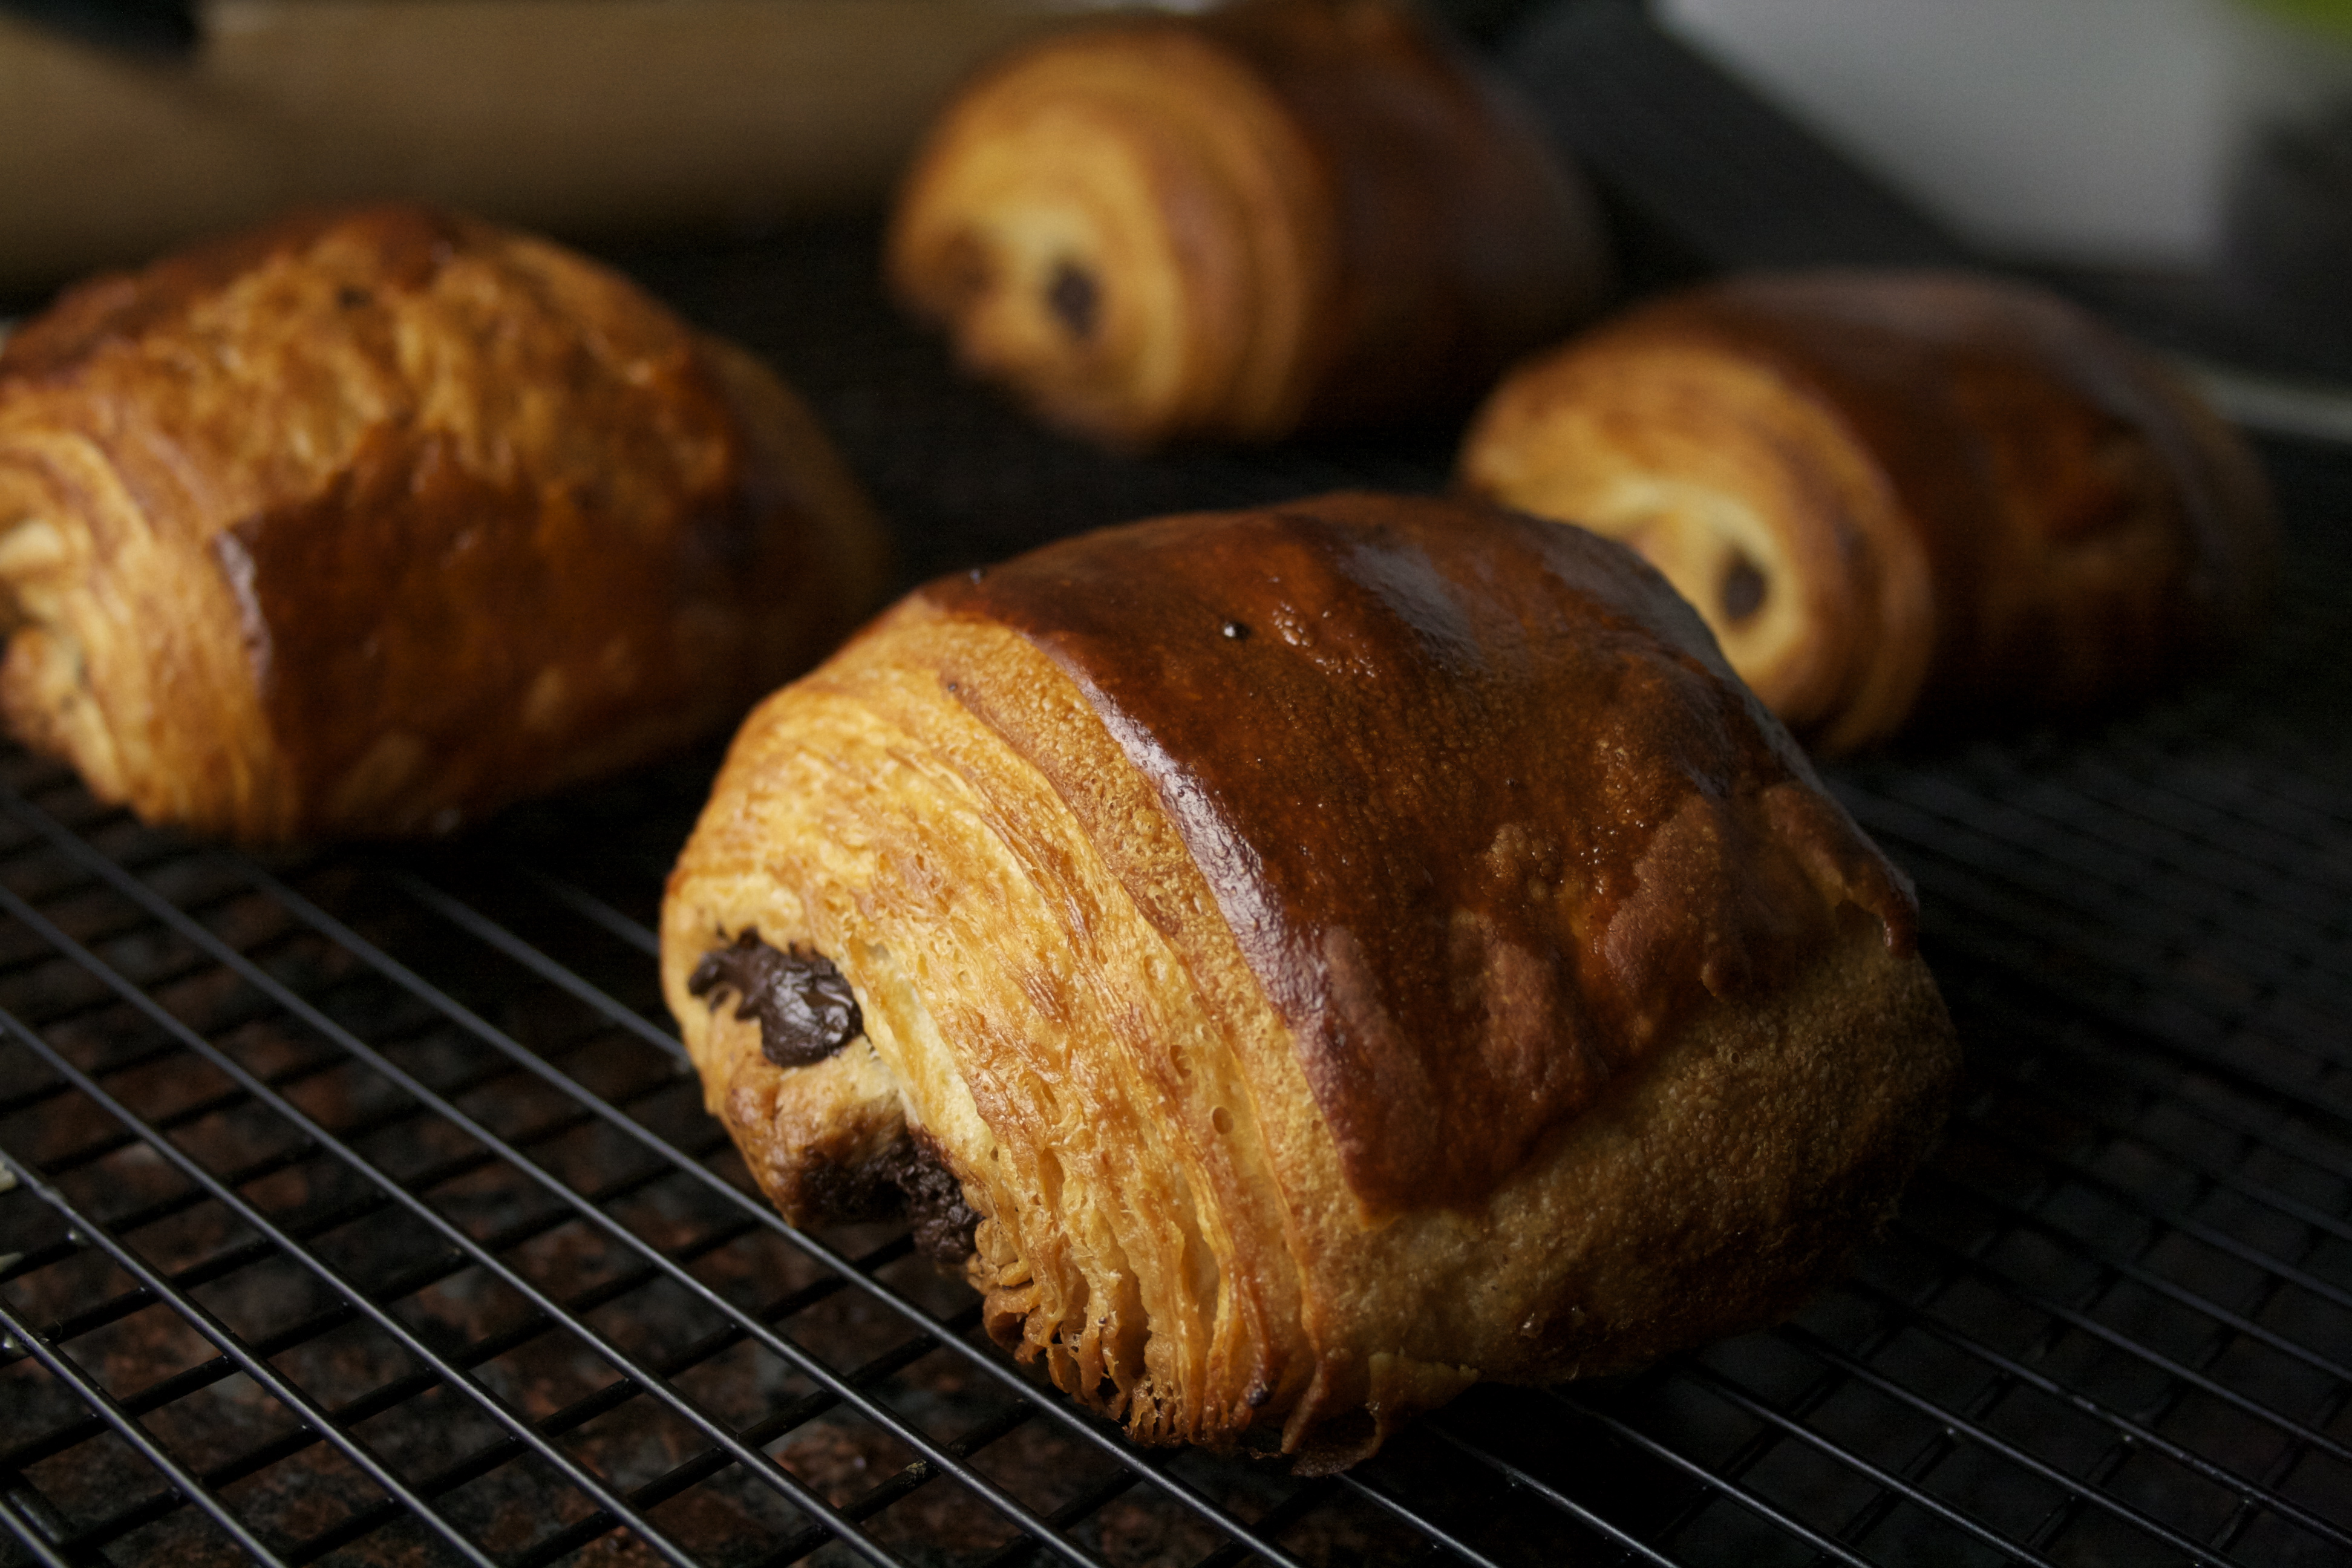 And though superb late at night after a 15-minute rest on the cooling rack, I must admit that these pain au chocolat were even better the next morning, when the pastry had time to relax after its big adventure and the chocolate could come back to its more solid state. That, to me, is where pain au chocolat shines: the texture. The disparity between the delicate nature of the dough and the true bite of cooled chocolate hiding on the inside. It’s not just good. It’s divine.
 Ask the little you in red, perched on your shoulder, and the little you in white, perched on your other shoulder. I think they’d both nod, agree, and ask for more.

Pain au Chocolat (Chocolate Croissants)
adapted from Cook’s Illustrated
These are a little smaller than the pain au chocolat you’ll find in chain bakeries. I considered making them bigger but truly, this is pretty perfect for one serving at breakfast or for an afternoon snack. This size is more along the lines of what you’ll find in much of Europe. We’re also leaving the dough a little thicker in these pain au chocolat than we did for the croissants. Although initially I did so because I didn’t feel the top layer of dough could handle any more rolling, and neither did my arms, I wonder if holding back actually helps accentuate the layers just a tiny bit for those of us without any true pastry training. Either way, I do like the consistency of these — the body of the croissant holds up well to the density of the chocolate within. But if you have the muscles and the patience, by all means, roll this baby out to the initially prescribed 18- by 16-inch rectangle at the end and tell me how it works out. You’ll get 24 pain au chocolat if you cut them into my recommended 3- by 4-inch rectangles, and who doesn’t want more?
Make sure you use a European-style butter (for its higher percentage of butterfat) for the butter block, and King Arthur Flour (for its higher protein content) for the dough. For additional tips on croissant-making at home, including some fun “action” shots, please visit my previous post, That Time We Made Croissants.
yield: 15 pain au chocolat
3 tablespoons unsalted butter (for the dough)
24 tablespoons (3 sticks, or 12 ounces) European-style unsalted butter, very cold
1 ¾ cups whole milk
4 teaspoons instant or rapid-rise yeast
4 ¼ cups (21 ¼ ounces) all-purpose flour
¼ cup (1 ¾ ounces) sugar
2 teaspoons salt, plus a pinch for egg wash
6-8 ounces bittersweet or semisweet chocolate, chopped
1 large egg
1 teaspoon cold water
Make the dough:
Melt 3 tablespoons of butter in a medium saucepan over low heat. Remove the pan from heat and immediately stir in milk — don’t heat it, just swirl it around or stir it with a spoon to bring it up to temperature a bit to help the yeast. Whisk in yeast, and transfer the mixture to the bowl of a stand mixer. Add flour, sugar, and 2 teaspoons salt. Using a dough hook, knead the dough on low speed until the mixture becomes cohesive, about 2 to 3 minutes. Increase speed to medium-low and knead for 1 minute. Be careful not to go any longer or else you’ll develop the gluten too rapidly. Remove bowl from mixer and cover with plastic wrap. Let rest at room temperature for 30 minutes.
Transfer dough to a parchment-lined rimmed baking sheet and press into a 10- by 7-inch rectangle about 1 inch thick. Wrap tightly with plastic and refrigerate for 2 hours.
Make your butter block:
While the dough is chilling in the refrigerator, fold a 24-inch length of parchment paper in half to create a 12-inch rectangle. Fold the 3 open sides of the rectangle over to form an 8-inch square with enclosed sides. Crease folds firmly and set aside. Place 24 tablespoons of cold, European-style butter directly on counter and beat with a rolling pin for about 60 seconds, until the butter is just pliable but is not warm, folding the butter in on itself with a bench scraper to create a rough 6-inch square. Unfold parchment. Transfer the butter to the center of the parchment square using a bench scraper, and re-fold at the creases to enclose. Turn the packet over so that the flaps are underneath and gently roll the butter packet with your rolling pin until the butter fills the parchment square, taking care to ensure it is even throughout. Refrigerate at least 45 minutes.
Begin laminating your dough:
Transfer dough to freezer. After 30 minutes, transfer the dough to a lightly floured counter and roll into a 17- by 8-inch rectangle, with the long side parallel to the counter. Unwrap butter block and place it in the center of the dough so that the butter and dough are flush at the top and bottom. Fold 2 sides of the dough over the butter square so that they meet in the center, and press the seam together with your fingertips. Using your rolling pin, press firmly on each open end of the packet. Now roll out the dough perpendicular to the edge of the counter, with the open ends at the top and bottom, to a rectangle measuring 24 inches long and 8 inches wide. Fold the bottom third of the dough up, then fold the upper third over it, folding like a business letter into an 8-inch square (first turn). Turn the dough 90 degrees clockwise. Roll out the dough again, perpendicular to the edge of the counter, into a 24- by 8-inch rectangle, and fold again into thirds (second turn). Place the dough on a baking sheet, wrap it tightly with plastic, and return to the freezer for 30 minutes.
Transfer dough to a lightly floured counter so that the top flap of the dough is facing right. Roll it out once more, perpendicular to the edge of the counter, into a 24- by 8-inch rectangle and fold into thirds (third turn). Place dough back on the baking sheet, wrap tightly with plastic, and refrigerate for 2 hours.
Transfer dough to freezer. After 30 minutes, place dough on a lightly floured counter and roll into a rough 16- by 13-inch rectangle, about ⅜-inch thick, with the long side parallel to the edge of the counter. Trim the edges so that it measures 15 by 12 inches and has very straight lines (you can use the scraps to make a braided pastry or something else). Using a ruler, mark the dough at 3-inch intervals along the bottom and top edges. Mark the right and left sides at 4-inch intervals. Use a pizza wheel or knife to connect the dots, cutting point to point from bottom to top and side to side, for a total of 15 rectangles.
Shape and bake the pain au chocolat:
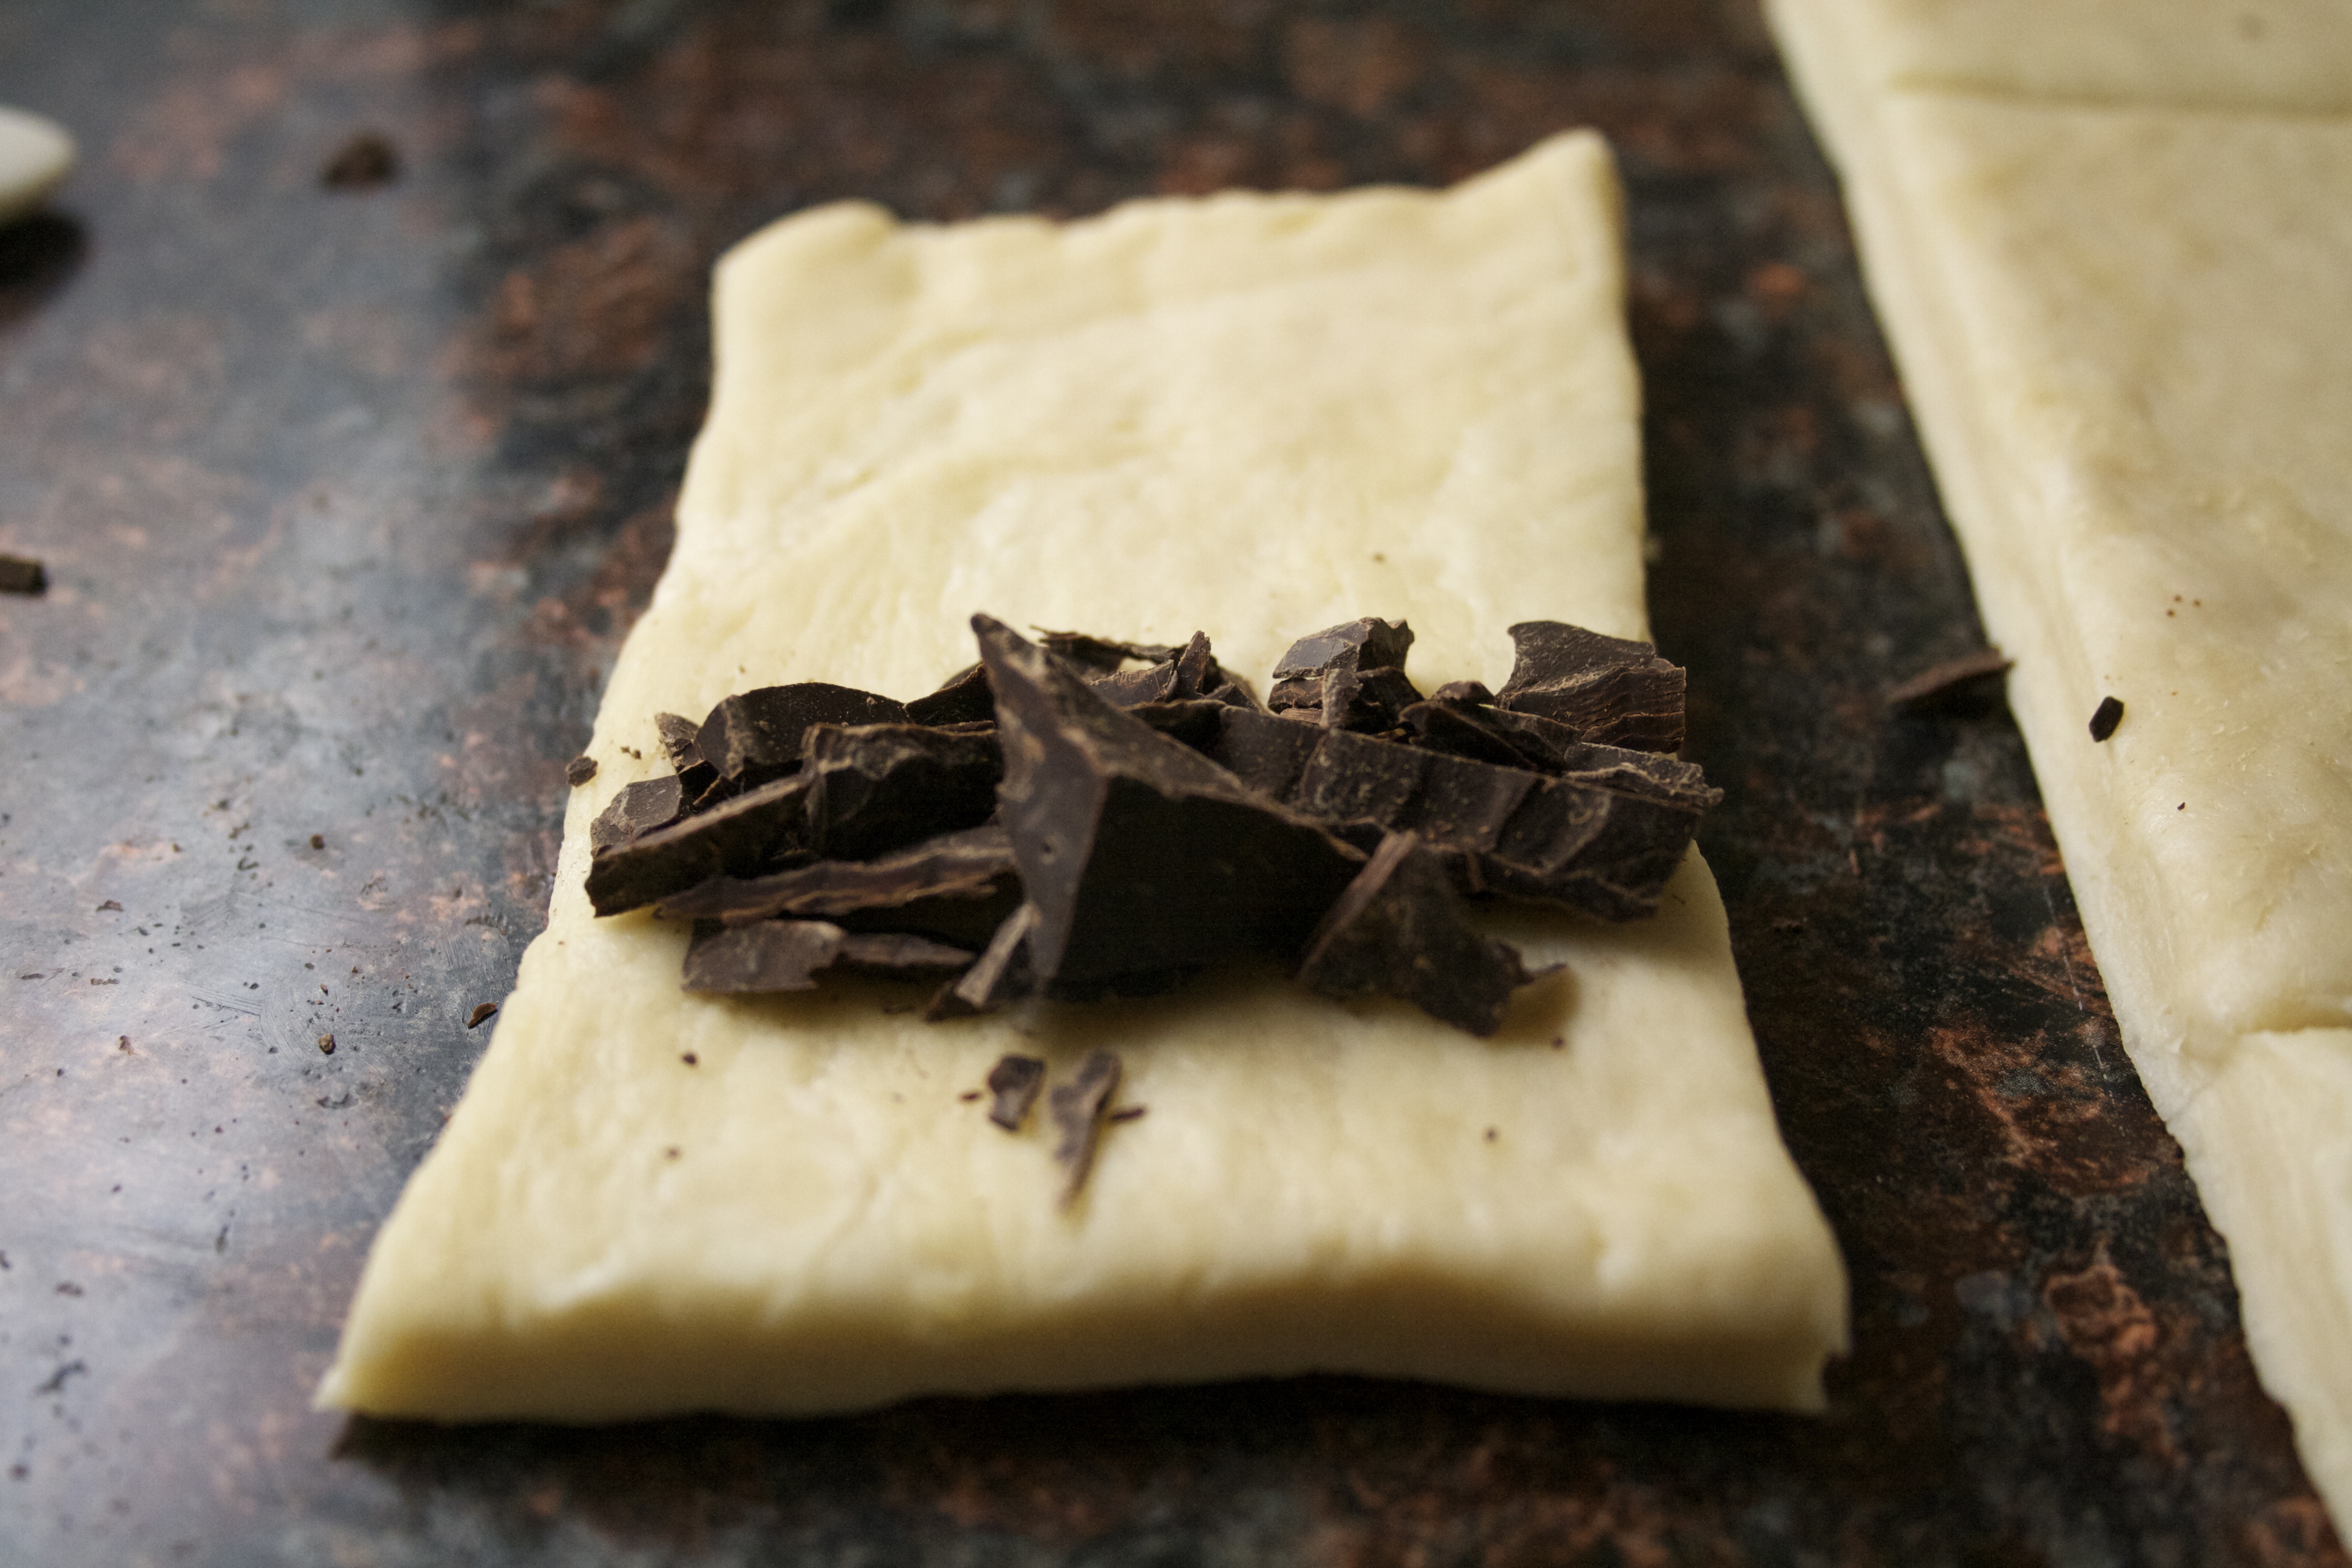
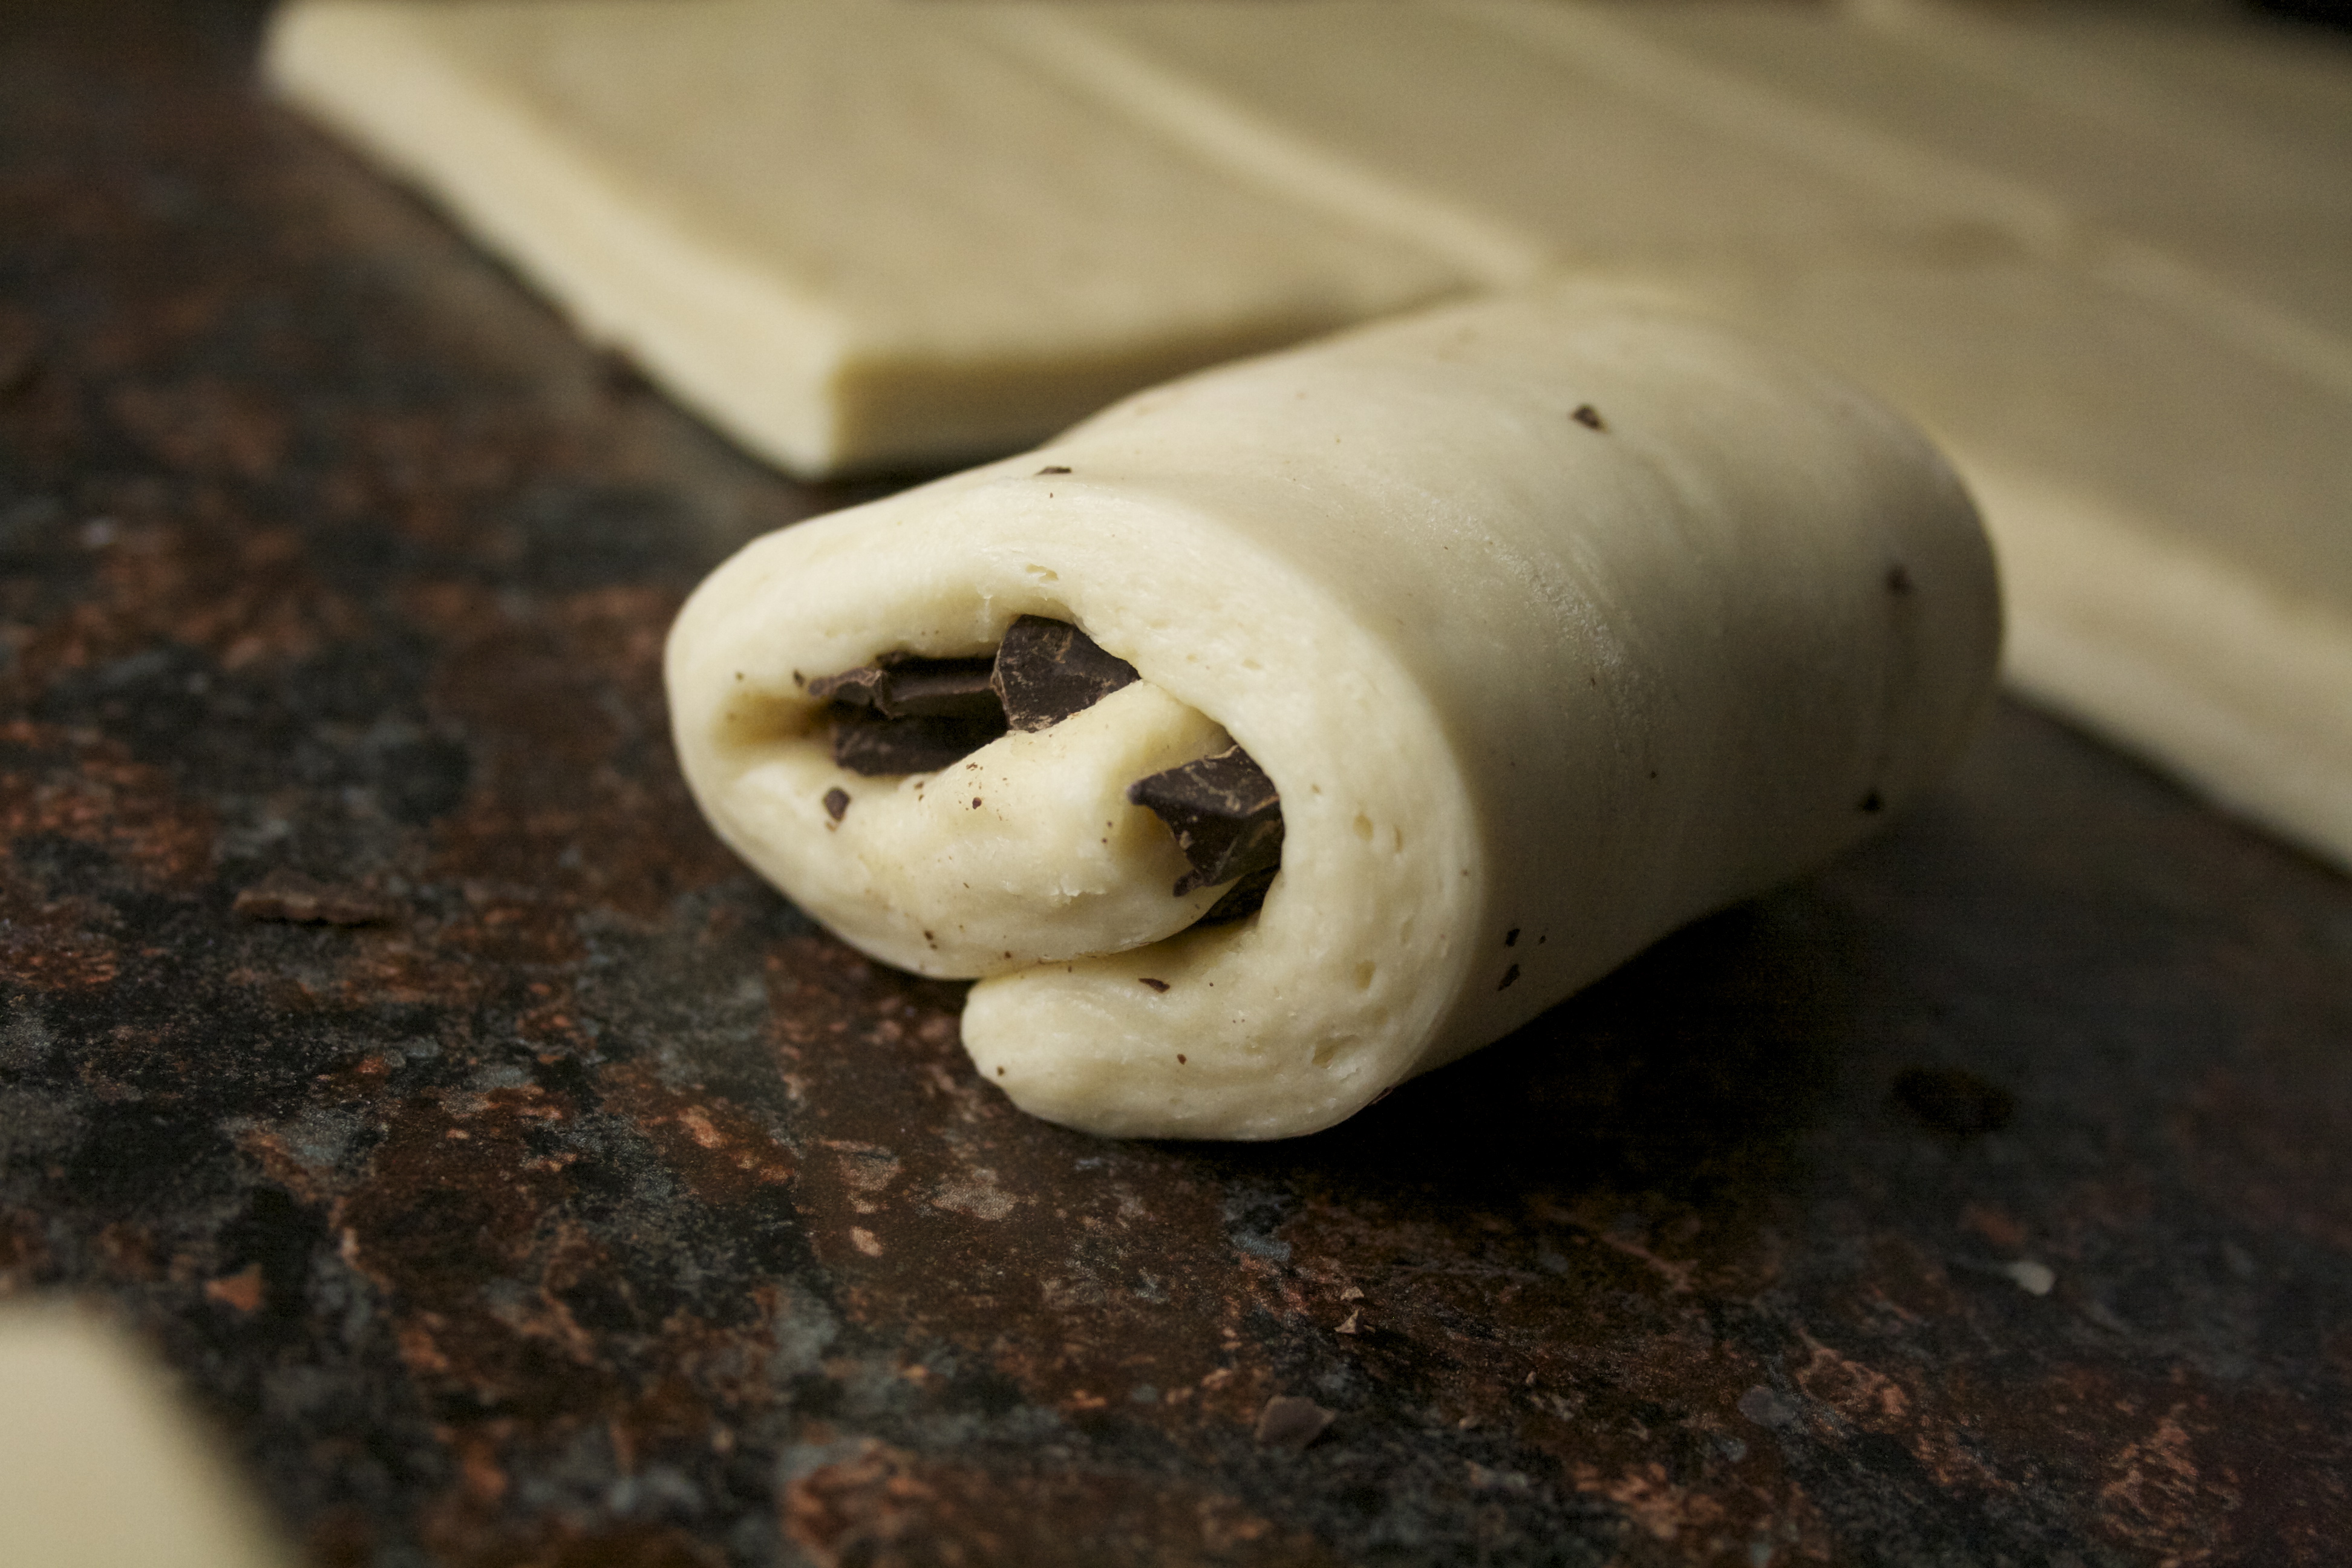
Gently stretch each rectangle so that it measures about 5 inches in length, and place it on the counter with the short side facing you. Place a heaping ½ tablespoon of chopped chocolate in a line along the bottom third, about half an inch from the short edge of the rectangle. Fold the dough up and over the chocolate, rolling it slightly, and press it down gently with your fingers, making a slight indentation. Place another heaping ½ tablespoon of the chocolate over that slight indentation; it’s okay if it spills over onto the top portion of the dough. Roll the dough over that line of chocolate so that the top edge is underneath. Press slightly. Repeat with the remaining rectangles.
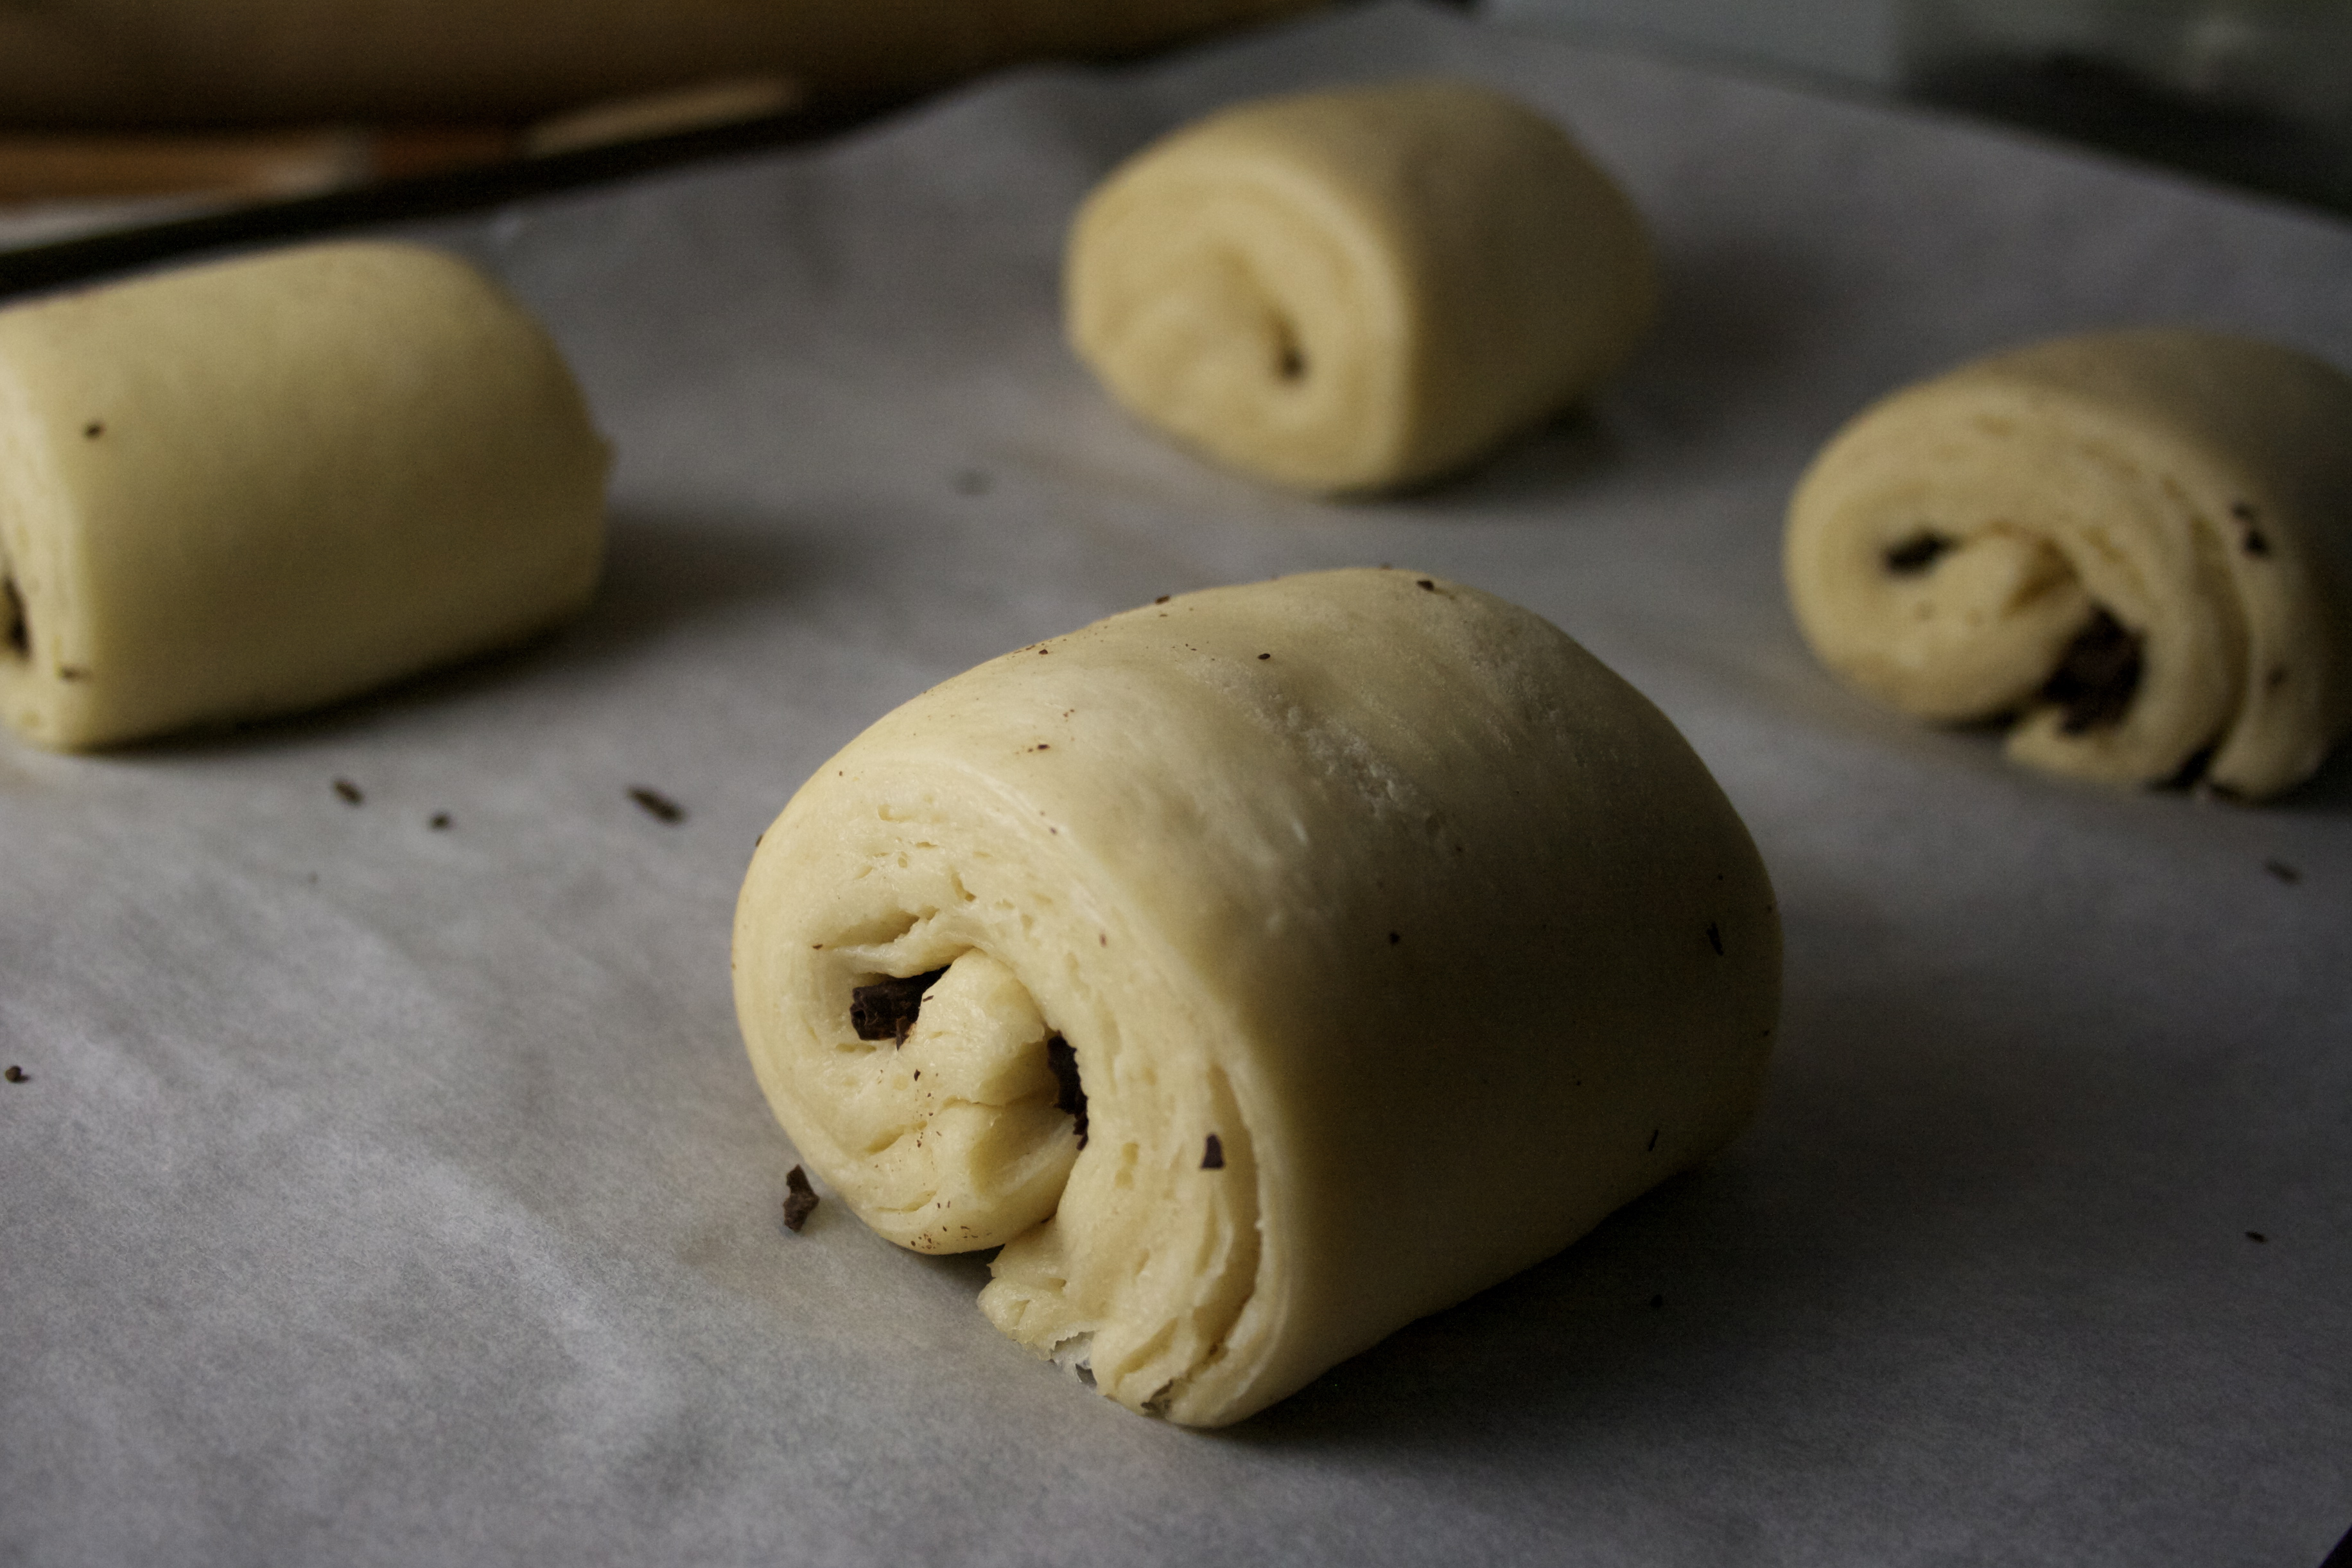
Place as many pain au chocolat as you’d like to bake immediately on parchment-lined baking sheets, leaving at least 2 ½ inches between pastries. Wrap lightly with plastic wrap, leaving room for the pain au chocolat to grow. Let the pain au chocolat rise at room temperature until they’ve nearly doubled in size, about 2 ½ to 3 hours. (Place the rest on another parchment-lined baking sheet covered with plastic and freeze, transferring frozen pain au chocolat to a zippered freezer bag after about 2 hours.)
After the pain au chocolat have been rising for 2 hours, adjust oven rack to middle position if only baking one sheet or adjust 2 oven racks to upper-middle and lower-middle positions if baking two sheets. Preheat oven to 425 degrees.
In a small bowl, whisk together the egg, water, and a pinch of salt. Remove plastic wrap and brush pain au chocolat gently with egg wash using a pastry brush. Place the pain au chocolat in the oven and reduce the temperature to 400 degrees. Bake for 12 minutes, then rotate the baking sheet (if baking one sheet) or switch and rotate baking sheets (if baking two). Continue to bake until the pain au chocolat are a deep golden brown, 8 to 12 minutes. Transfer them individually to a wire rack and let cool until just warm, about 15 minutes. Serve warm or at room temperature. Baked croissants are best kept covered with wax paper at room temperature after completely cooled, and are good for up to one day.
Make ahead: Shaped pain au chocolat can be refrigerated on parchment-lined baking sheets (wrapped loosely in plastic) for up to 18 hours (let them rise an extra 30 minutes prior to baking). Alternately, they can also be placed one inch apart on parchment-lined baking sheets, wrapped with plastic, and frozen until solid, about 2 hours. Transfer frozen croissants to zippered bags and return to the freezer for up to two months. Frozen croissants can be baked as directed in the recipe, increasing the rising time by 1 to 2 hours.
2 Comments