
During the holidays, it’s hard to stray from the old classics. Besides the Mexican hot chocolate biscotti I fiddled around with, I mostly made the tried and true last year: dark chocolate peanut butter blossoms; mint mocha crinkle cookies; speculoos breakfast buns. But the new year is ripe for experimentation. Gone are the stresses of upholding the traditions of not only your own nostalgia but everyone else’s. You can make the people you love happy not only by helping them relive their childhoods, but engaging them with something new and delicious. “How about some pumpkin walnut ravioli in a brown butter sage sauce for dinner?” I asked the husbo last weekend. He could do nothing but nod soundlessly and enthusiastically in eager anticipation.
 I was first introduced to the idea of walnuts in dinner-food by my friend Emily back in December. I didn’t tell her then that I was dubious. Walnuts, the nut on the bitter side, have traditionally been far from my favorite. But as cubes of butternut squash roasted in the oven with some rosemary and the walnuts were toasted along with some sage and garlic in a decadent butter sauce, I started to change my tune. That pasta dish was one of the best meals I’ve ever had. Walnuts lose their edge of bitterness as they’re exposed to heat, sweetening while they brown.

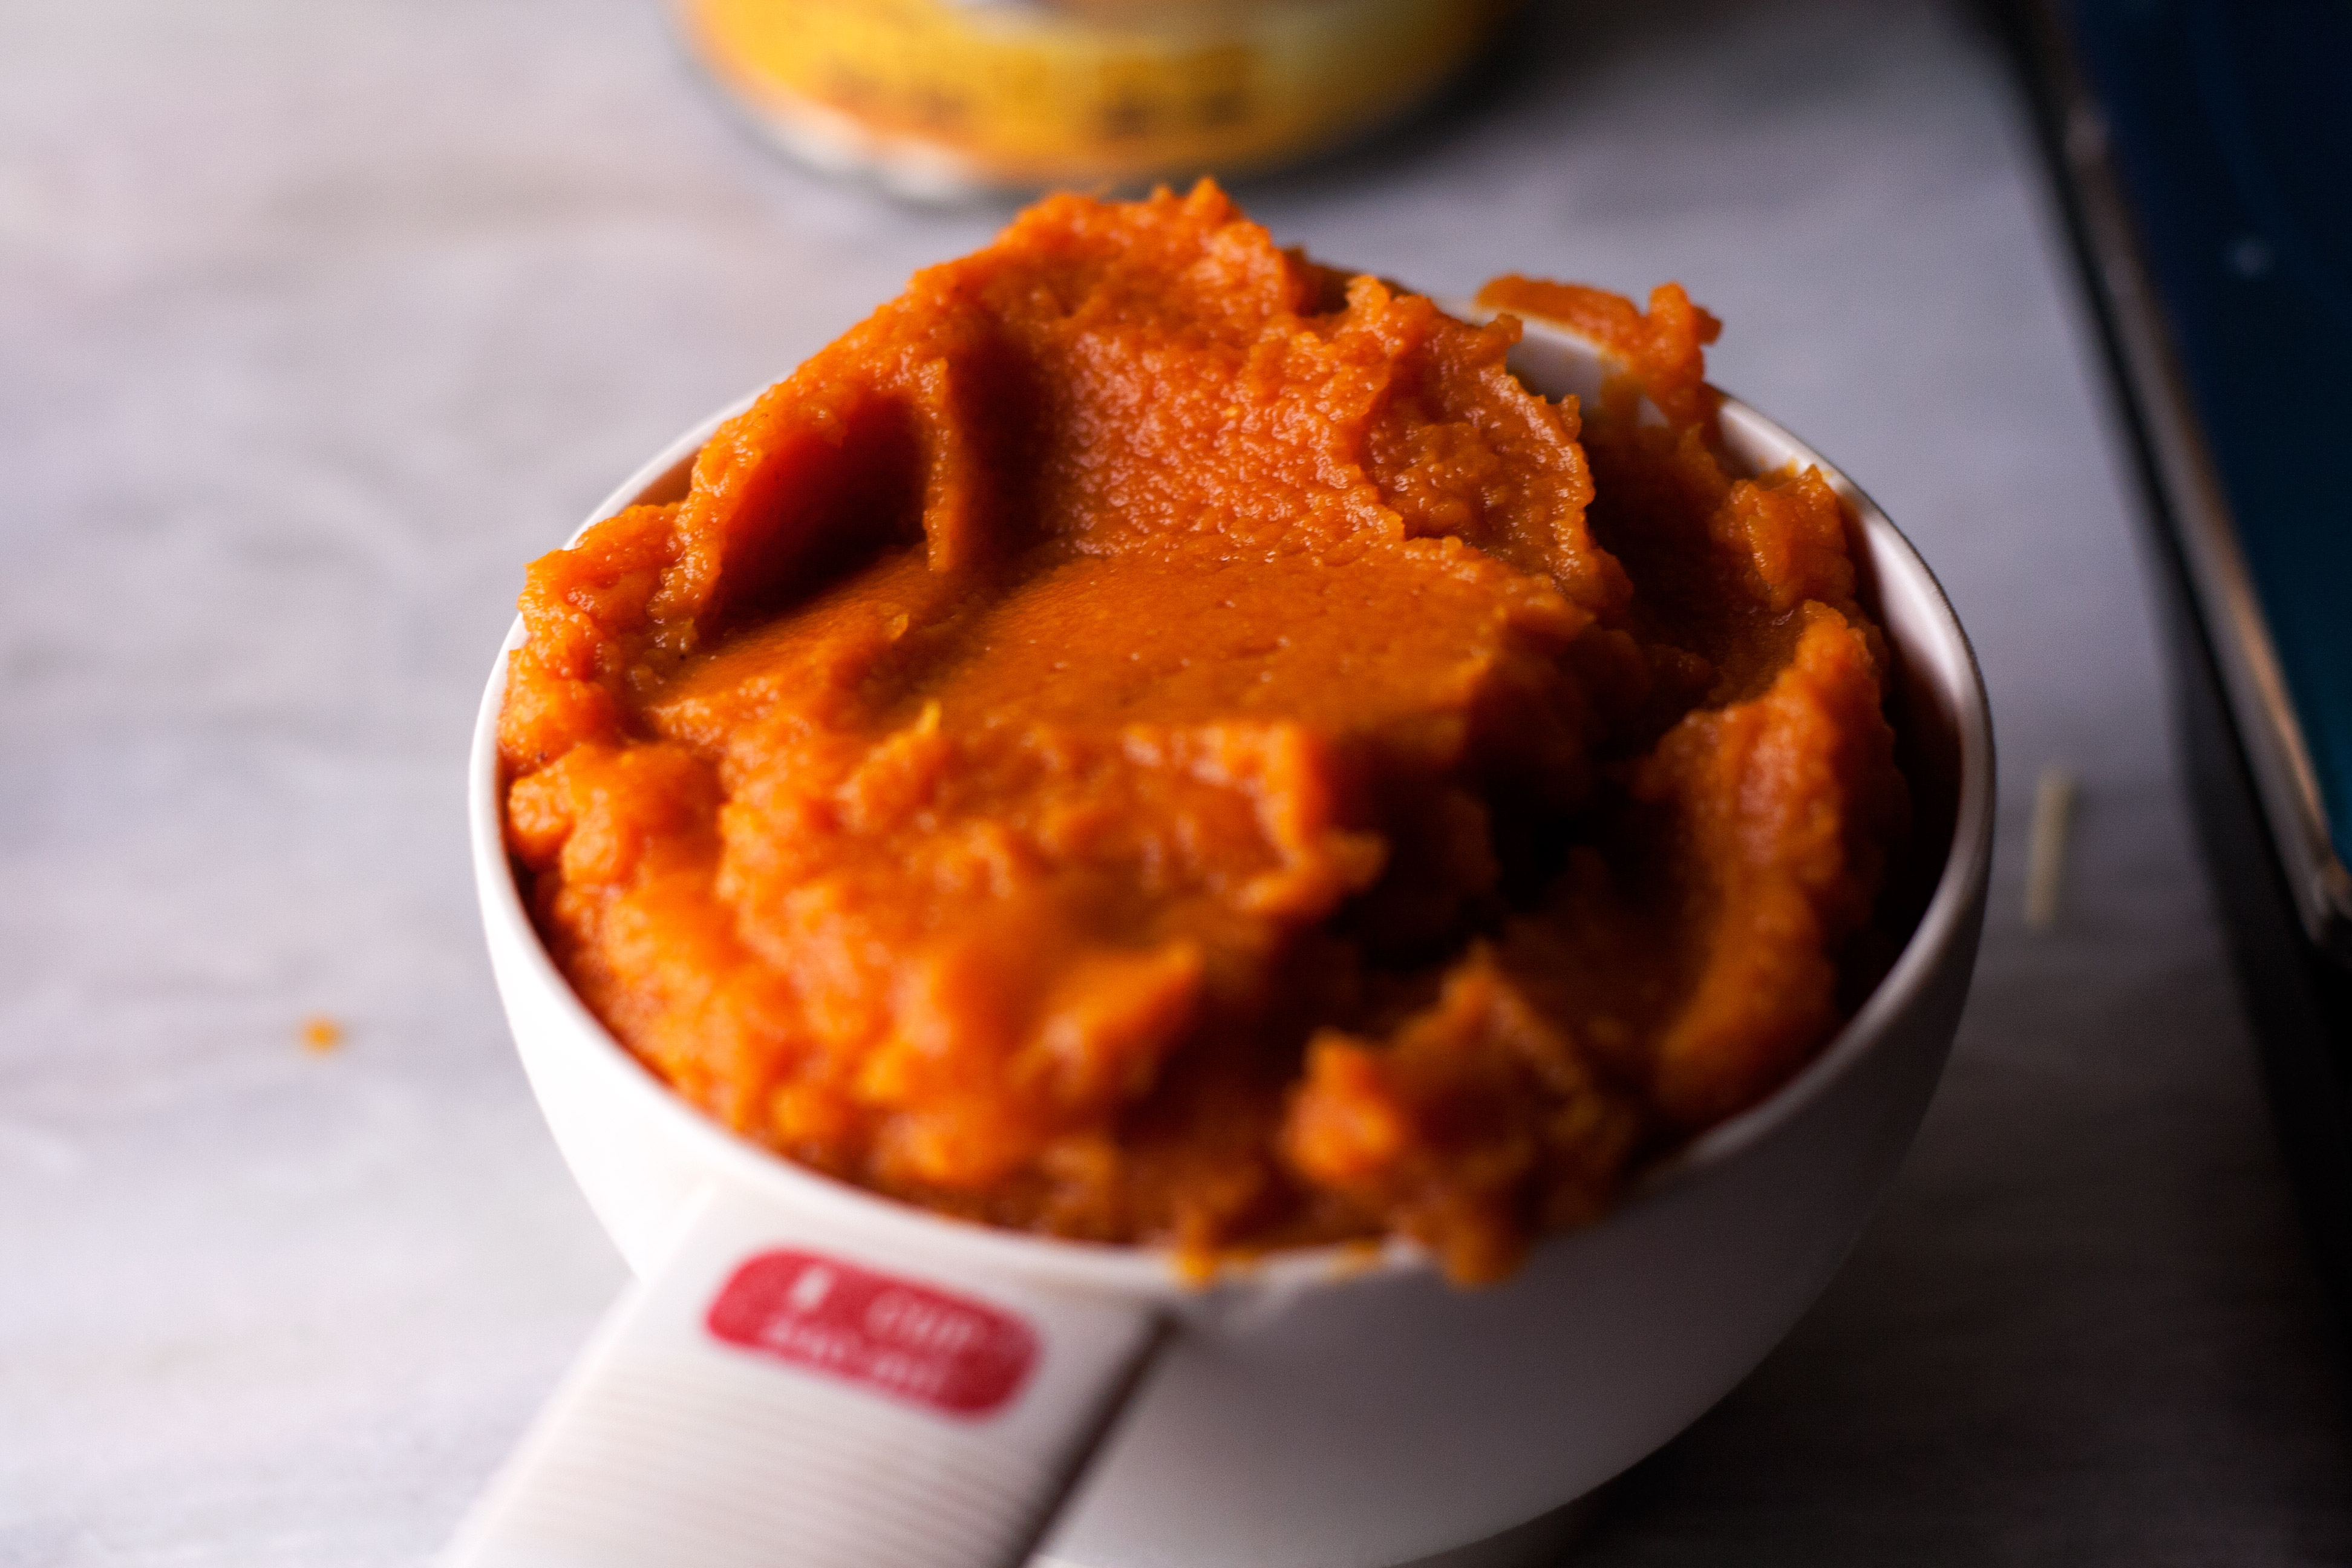
 This was important: I was determined to use the last can of pumpkin I had stored away in the pantry, but had read that it was maybe too watery for a ravioli filling. I had spied recipes that cooked down the pumpkin a little and others that added bread crumbs, but somehow toasted, finely chopped walnuts just felt right. Paired with the slightly sweet, earthy pumpkin and some salty, umami Parmigiano-Reggiano and a bit of woody, floral nutmeg, the filling was a winner right off the bat. It was fluffy but still had a density to it that screamed “ravioli.”

 This was also my first opportunity to use the pasta maker I had gotten from my bridal shower last year — and I don’t know what took me so long. I’ve always thought fresh egg pasta was pretty easy to make, but the machine takes all the grunt work out of it. If you don’t have one, though, no worries! Just be prepared to put in a little bit of elbow grease rolling the sheets out nice and thin. It’s something most people of normal height and upper body strength should have no problem with. I just apparently need a step stool for my counter and maybe another few dozen pushups every day.


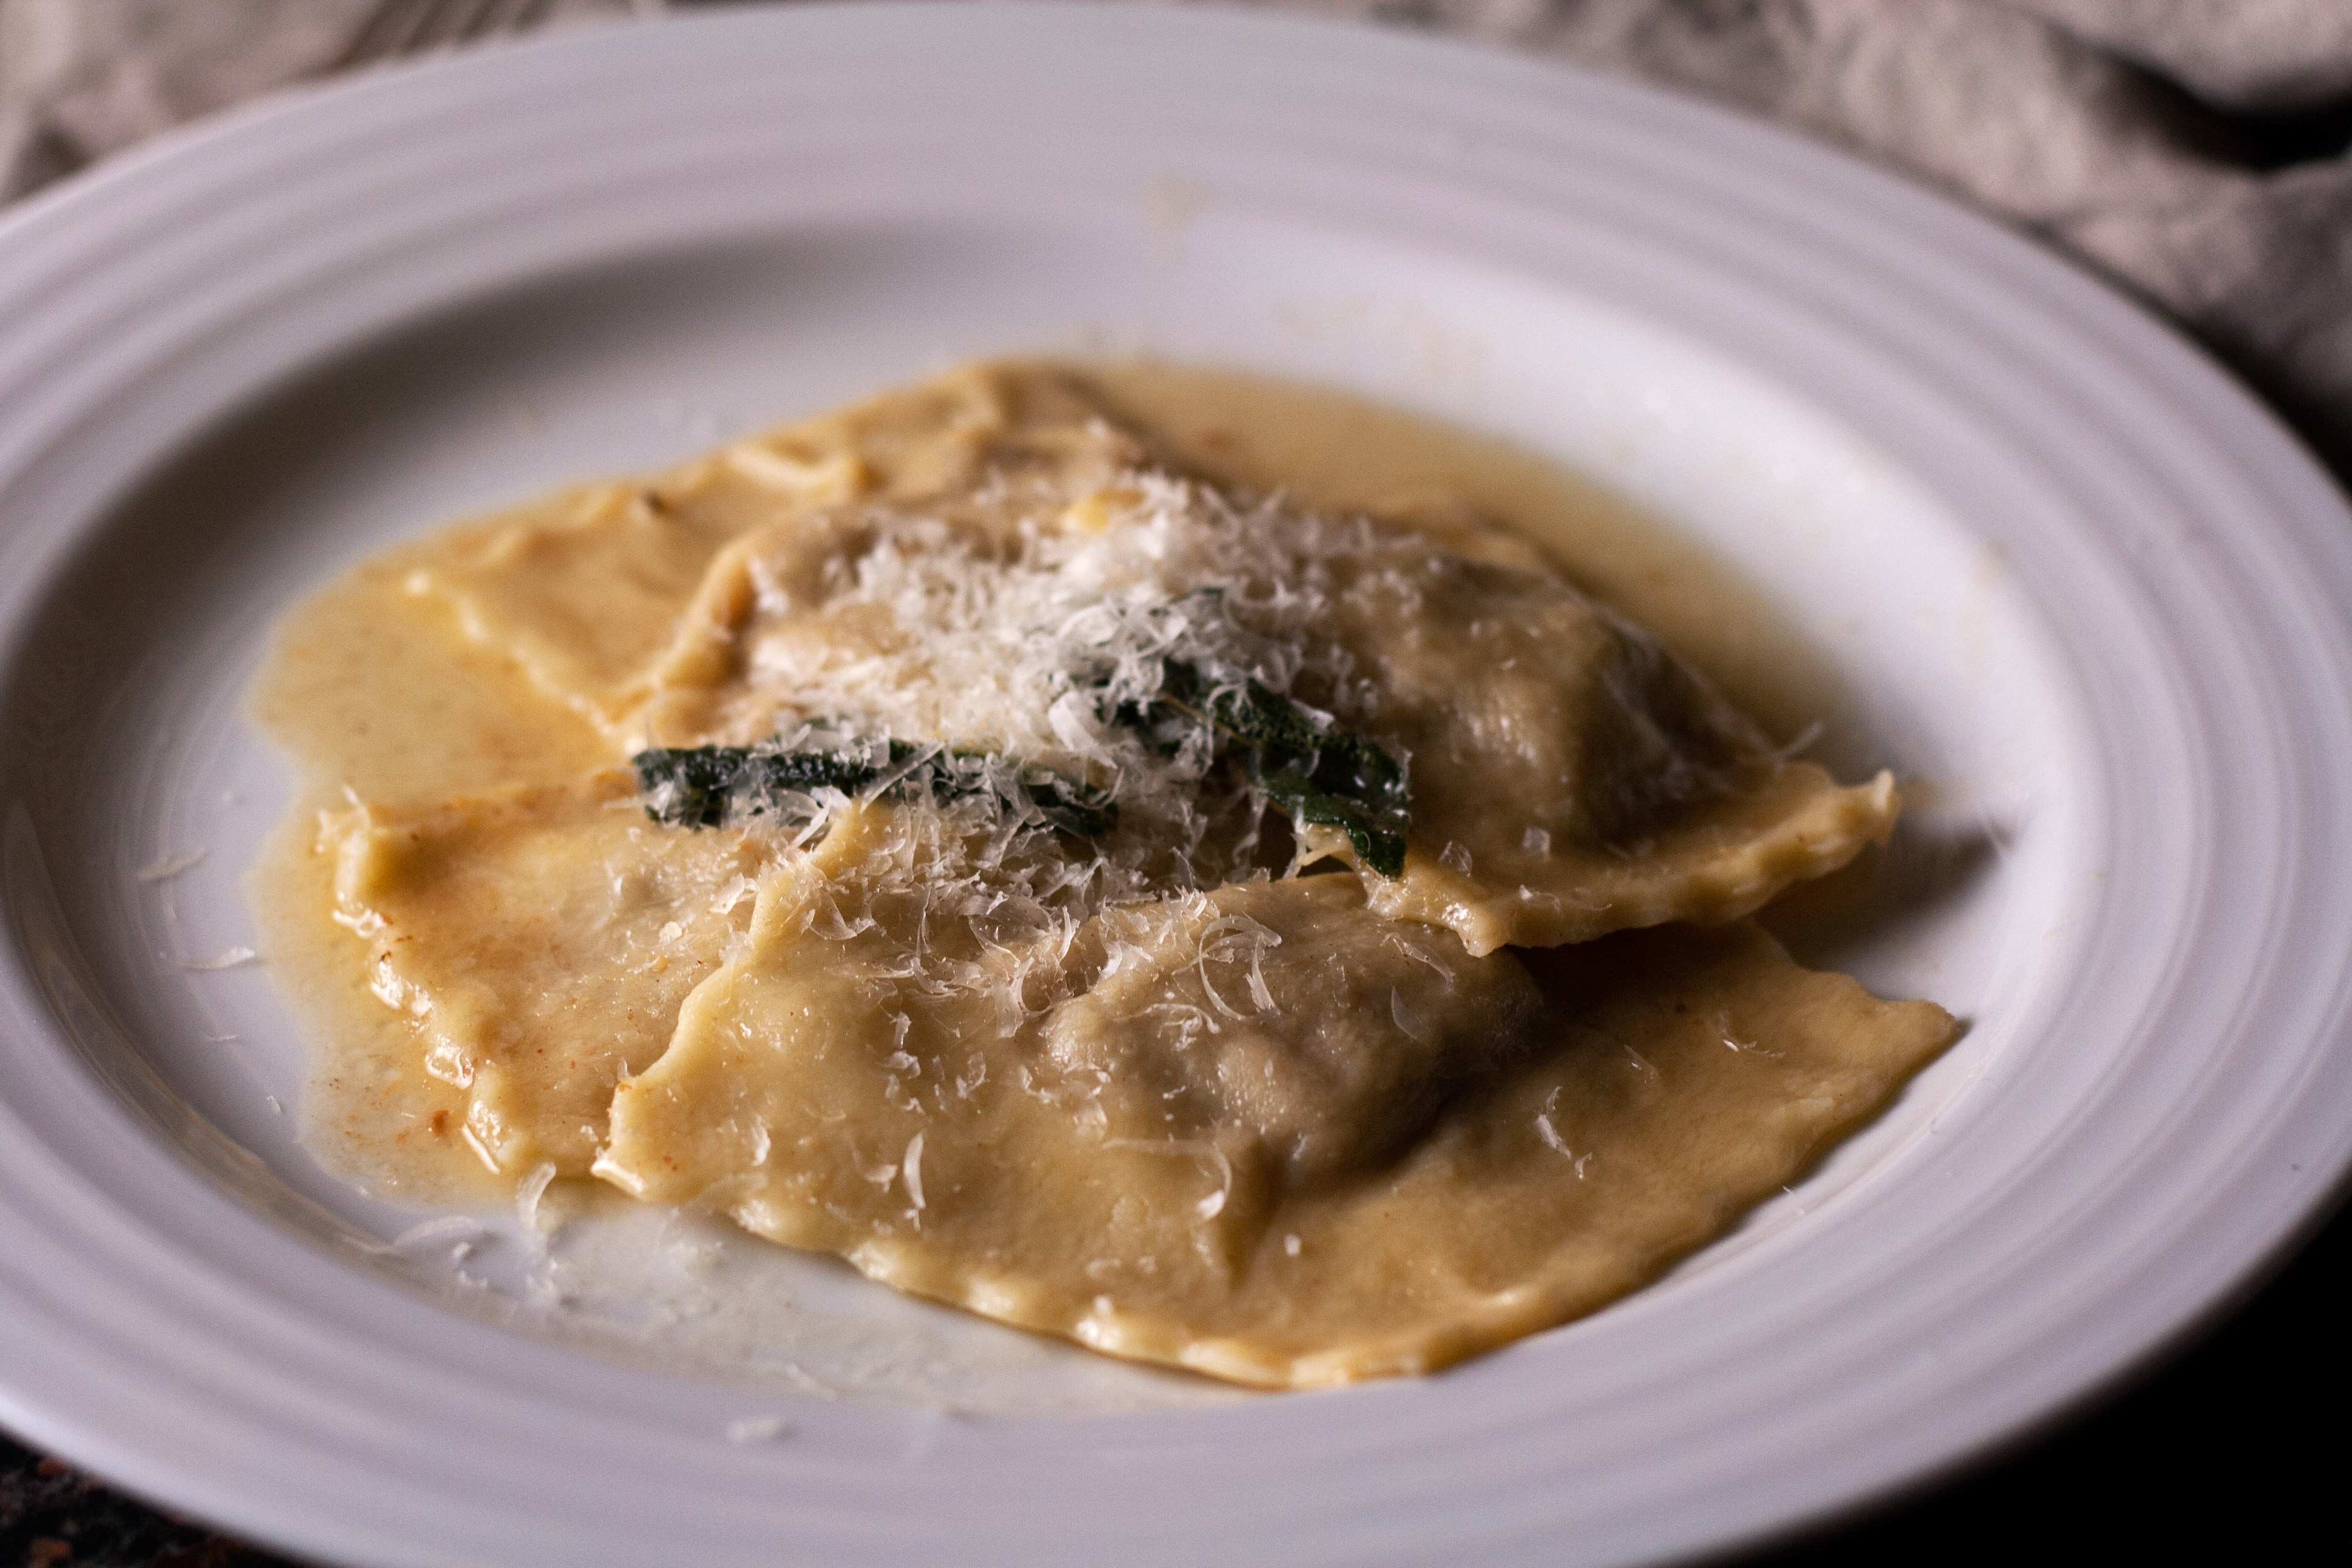
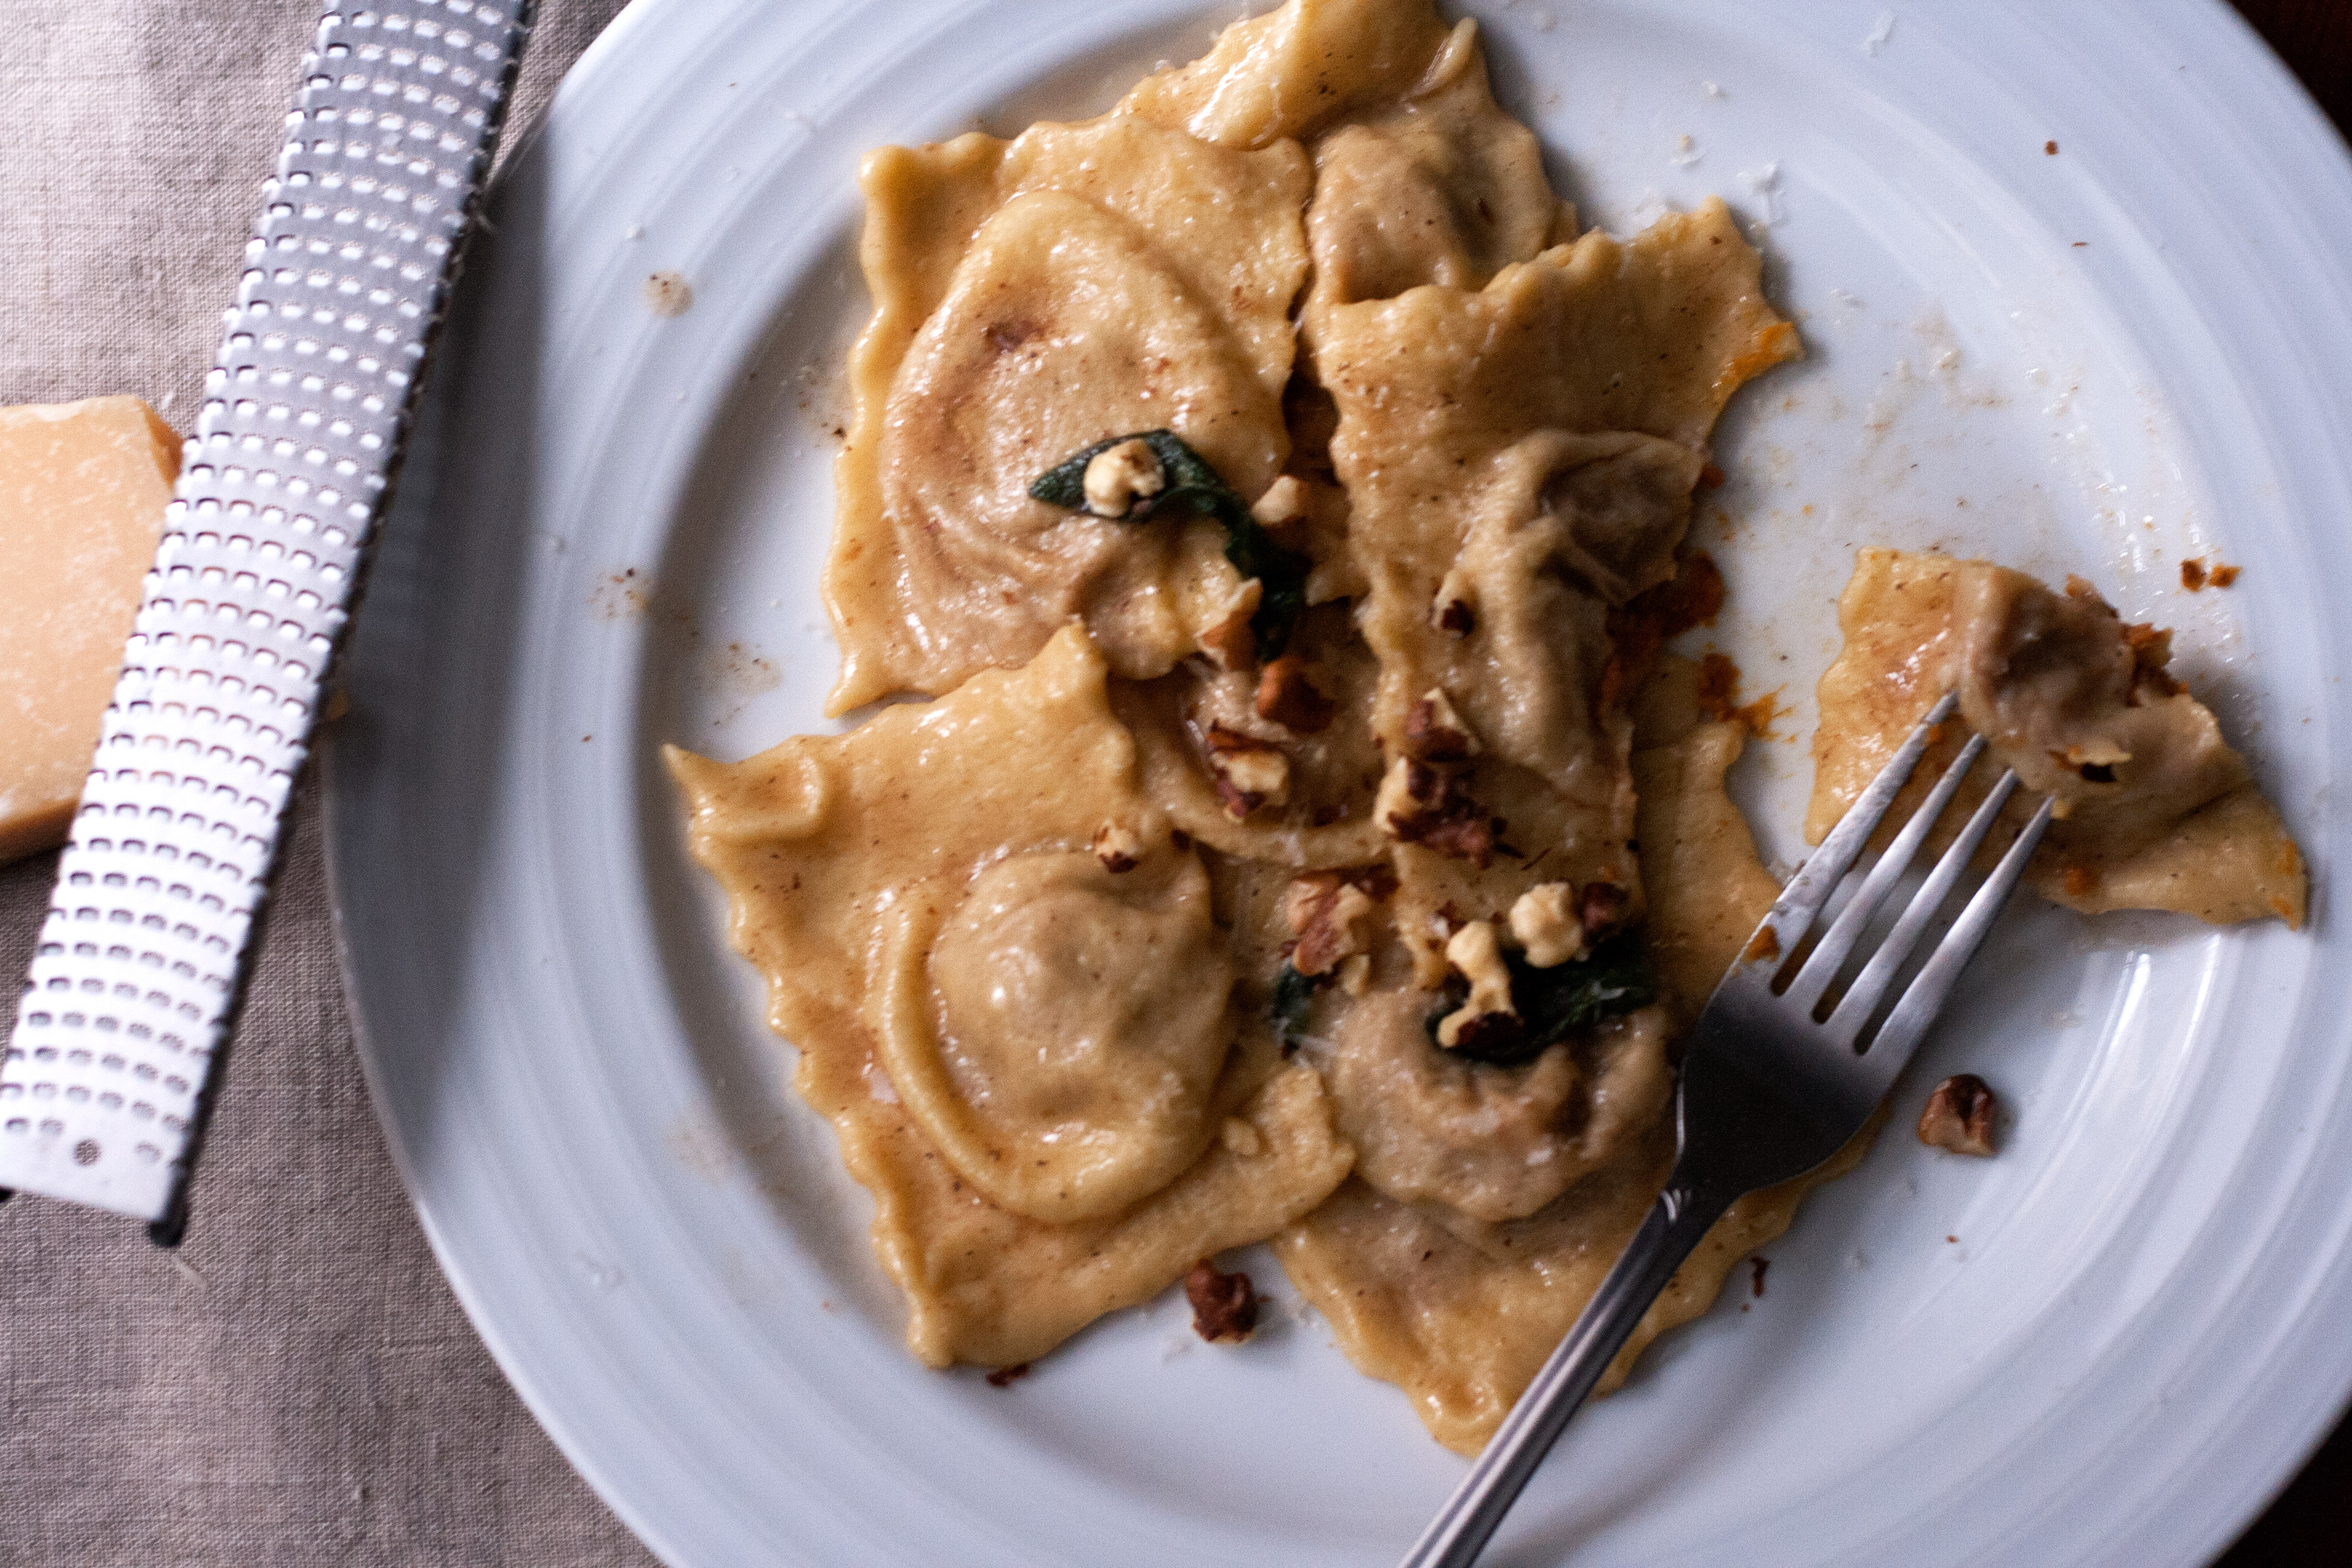
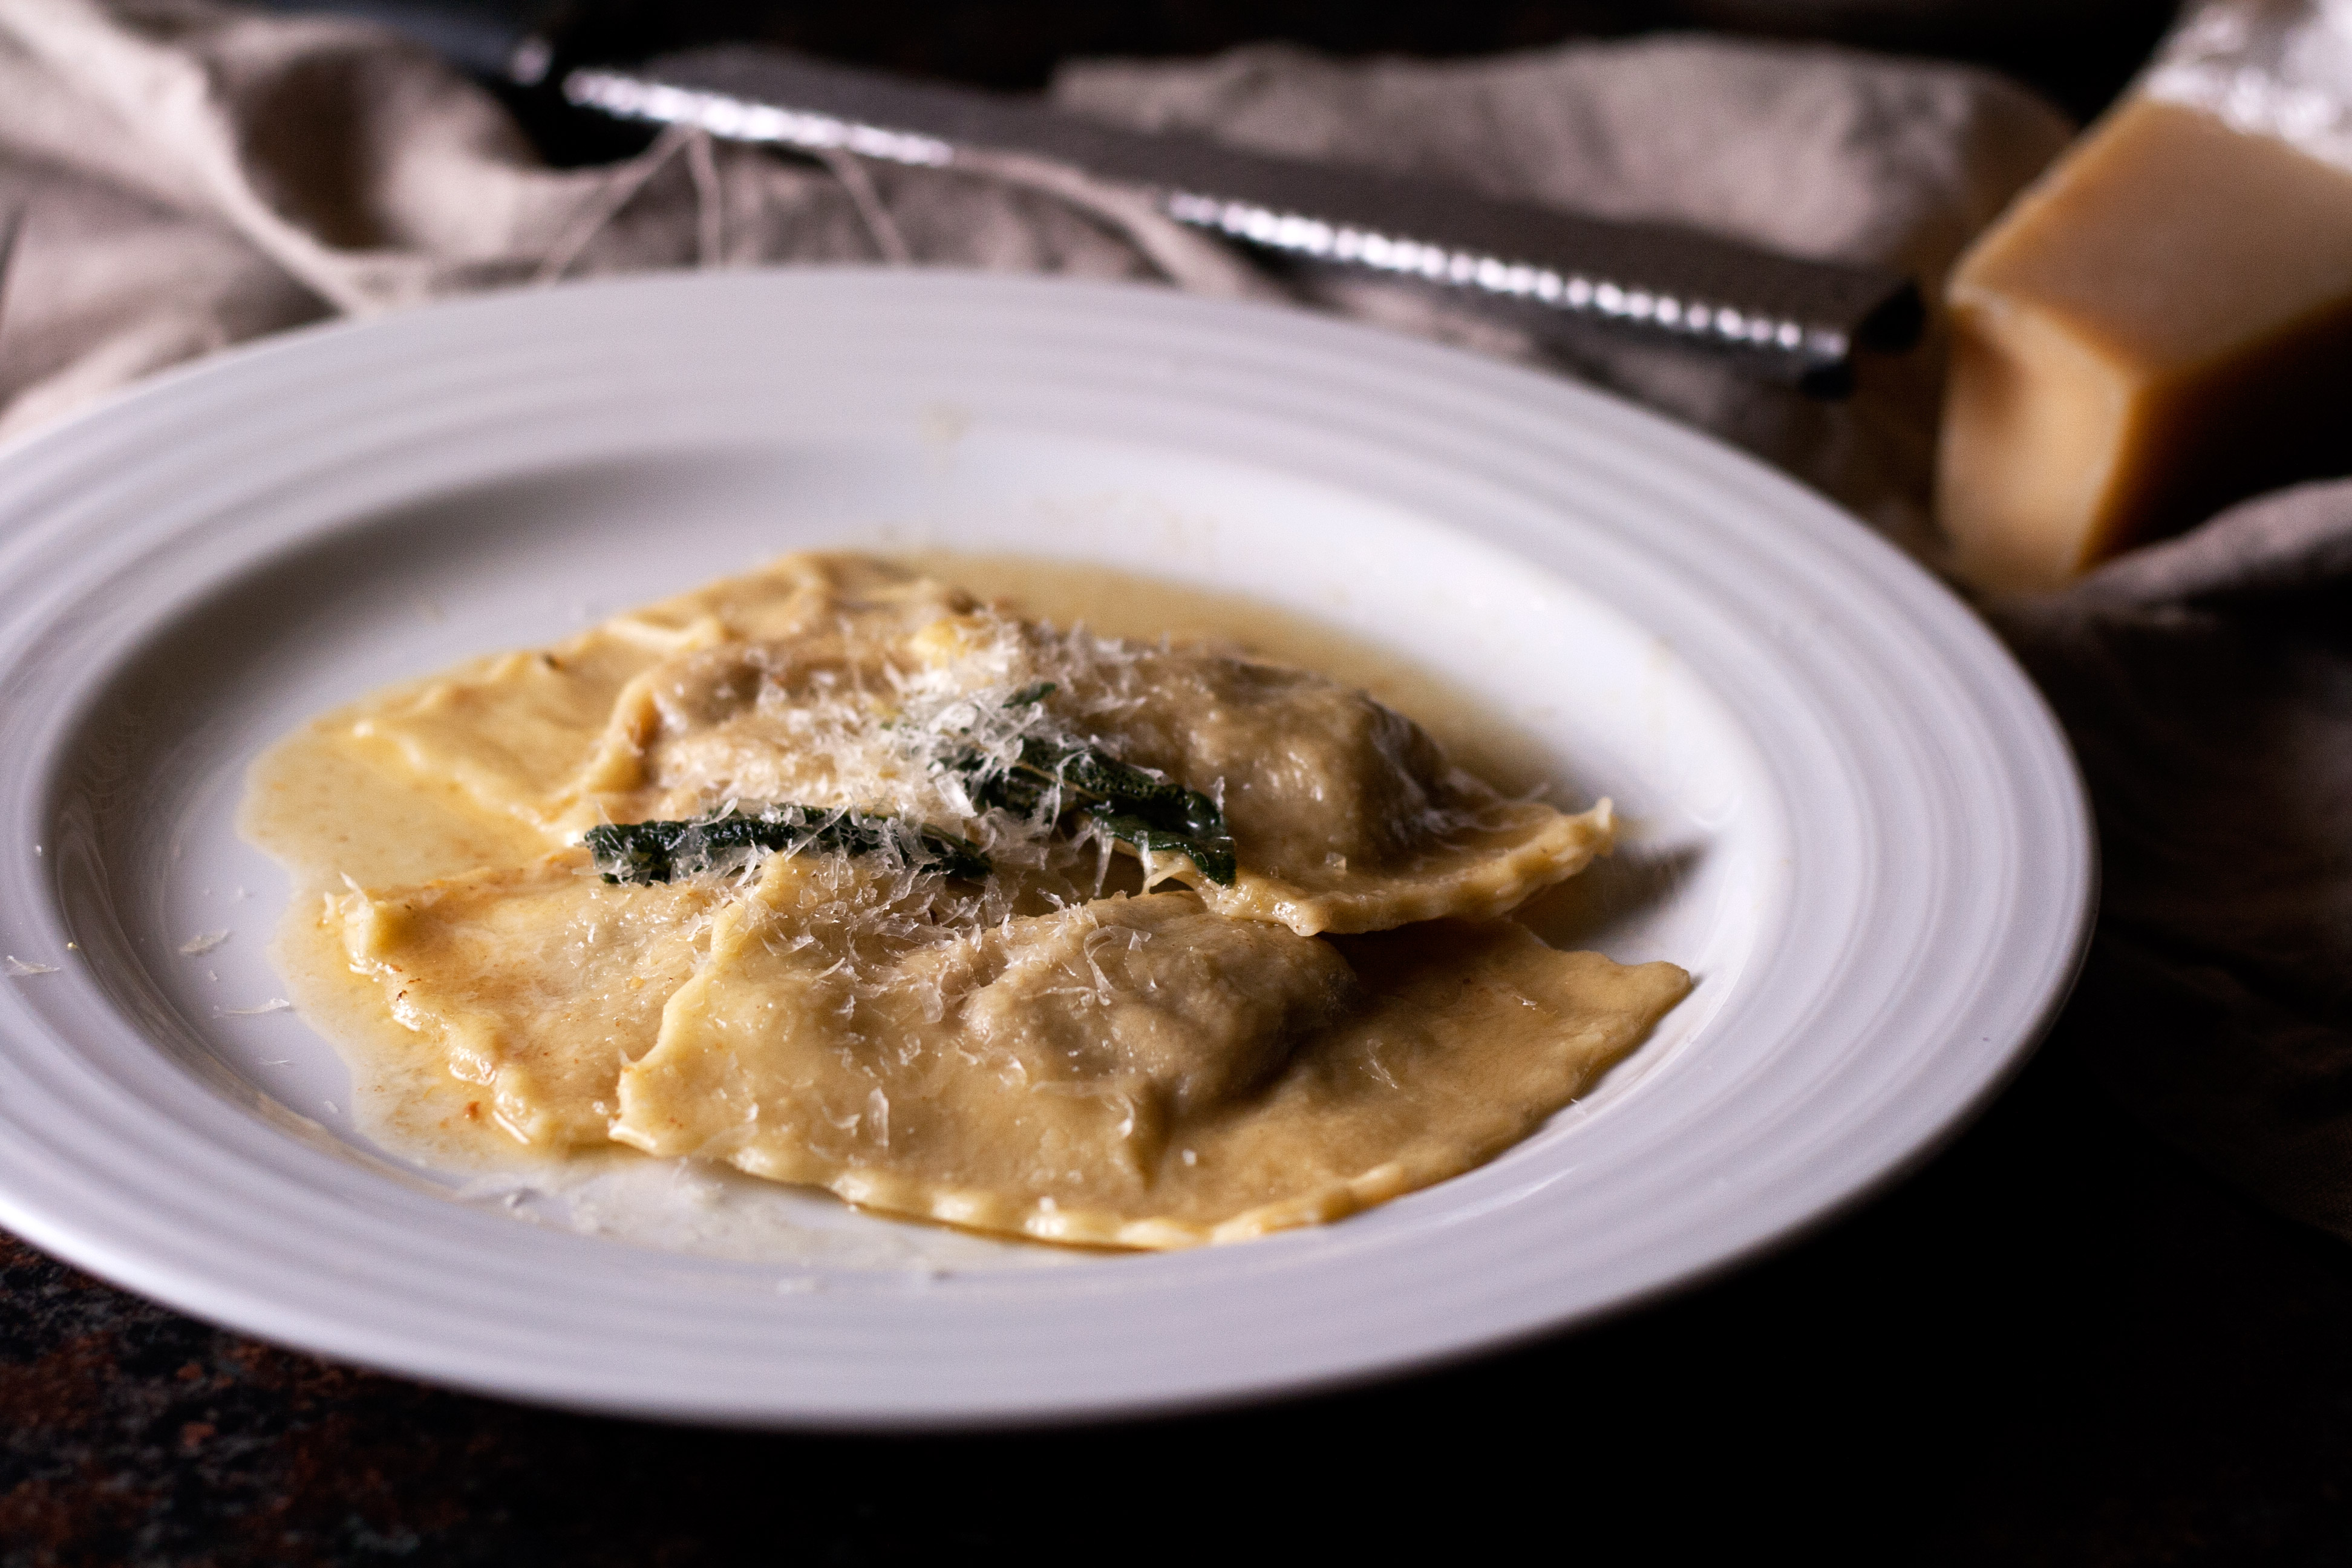
Rolled out, filled, sealed, and cooked ever so briefly, the ravioli can be tossed in a simple brown butter sage sauce thickened with pasta water and some more parm, or simply drizzled with olive oil and some crushed black pepper, with maybe a snowfall of extra parm. Whatever your heart desires — it’s a new year, so you get to play with your ingredients and make them what you want.
 I’m about to run out and buy more cans of pumpkin because this will now be a weekend staple in our home. I hope it becomes one of yours, too.
Pumpkin Walnut Ravioli in a Brown Butter Sage Sauce
fresh egg pasta recipe adapted from Lidia’s Italian-American Kitchen by Lidia Bastianich
I chose to make the dough in the food processor simply for ease, but you can certainly make it by hand. I will provide the tips that Lidia suggests, but I can’t tell you whether they work or not. My first foray into “making it like Nonna” was a disaster when my well broke and the egg mixture spilled all over the place. I’m sure you can do better! Both the pasta dough and the filling can be made in advance, making it easy to put together at your leisure. Once you start rolling out your dough, though, be ready to move. After it’s dried for about 20-30 minutes or so you’ll want to fill them, fold them, crimp them, and cook them. Or, of course, freeze them, so you can have deliciously amazing homemade ravioli in the middle of a busy week.
makes about 40 ravioli, serving 4-6
Egg pasta:
2 ⅔ – 3 cups unbleached all-purpose flour, or as needed
4 large eggs
1 teaspoon extra-virgin olive oil
½ teaspoon salt
Warm water as needed
Filling
1 ¼ cup pumpkin puree
½ cup walnuts, toasted and chopped fine
1 cup freshly grated Parmigano-Reggiano cheese
¾ teaspoon brown sugar
¼ teaspoon freshly grated nutmeg
A few grindings of black pepper
A pinch of salt
Sauce
8 tablespoons unsalted butter
10 sage leaves
Freshly ground black pepper
Salt
¼ cup freshly grated Parmigiano-Reggiano cheese, plus more for passing
Cooking water, as needed
Coarsely chopped and toasted walnuts, to finish
To make the pasta dough (food processor method):
Dump the flour into the bowl of a food processor fitted with the metal blade. Beat the eggs, olive oil, and salt together in a small bowl until blended. With the motor running, pour the egg mixture into the feed tube and process until the ingredients come together to form a slightly sticky dough. If the mixture is too dry, drizzle a very small amount of warm water into the feed tube and continue processing. If for some reason it’s too sticky add just a bit of flour. Turn the dough onto a lightly floured work surface and knead with the heel of your hand, pushing the dough away from you and rolling it back over onto itself as you gather it back towards you, and then press with the knuckles of each hand several times. Repeat this kneading, gathering, knuckling process for about 5 to 10 minutes, until the dough is smooth, silky, and elastic. It should pull back into shape when you stretch it. Flour your hands or the work surface at any time the dough begins to stick.
To make the dough by hand:
Pile 3 cups of flour in a mound on a clean work surface. Make a well in the center of the mound, all the way down to the work surface. Beat the eggs, olive oil, and salt together in a small bowl until blended and pour into the well. Continue beating the egg mixture with the fork, gradually drawing in flour from the sides of the well until the egg has been absorbed by the flour. If needed, drizzle a small amount of warm water, and continue mixing. Once the dough has formed, clean your hands and the work surface. Lightly flour your work surface once it has been cleared of any remaining dough bits and knead the dough with the heel of your hand, pushing the dough away from you and rolling it back over onto itself as you gather it back towards you, and then press with the knuckles of each hand several times. Repeat this kneading, gathering, knuckling process for about 10-20 minutes, until the dough is smooth, silky, and elastic. It should pull back into shape when you stretch it. Flour your hands or the work surface at any time the dough begins to stick.
Both methods:
Roll the dough into a smooth ball, place in a small bowl, and cover with plastic wrap. Let it rest at least one hour at room temperature, or up to 1 day in the refrigerator before rolling it out. If it has been refrigerated, let it stand at room temperature for about an hour before rolling.
Make the filling:
Combine pumpkin, walnuts, Parmigiano-Reggiano, brown sugar, nutmeg, salt, and pepper in a medium bowl. Set aside, or cover and refrigerate until needed, up to 1 day.
To roll out pasta using a pasta machine:
Cut the dough into six equal pieces, flour them lightly, and cover them with a kitchen towel. Working with one piece of dough at a time, shape it into a rectangle about 5 x 3 inches. Set the rollers of the pasta machine to the widest setting and pass the rectangle through the rollers with one of the short sides first. Fold the dough in half and pass the same piece of dough through the rollers a second time, short side first. Repeat with the remaining dough pieces. Flour the dough pieces very lightly as you work — just enough to keep them from sticking to the rollers (the first time I made this, my dough was on the dry side so this wasn’t necessary). Continue rolling the pieces of dough in the same order so that they have a chance to rest a little between rollings, decreasing the width by one setting each time, until all the pieces of dough have been passed through the next-to-thinnest setting on the pasta machine. They will end up being about 5 ½ inches wide and 30 inches long, but don’t worry if they’re not. Keep all pieces that you’re not working covered as you work. When finished with all pieces, let them rest, completely covered with lightly floured towels, about 30 minutes before filling and forming your ravioli. This is important — if you try to fill them too soon they will stick to the work surface and be difficult to shape.
To roll the pasta out by hand:
Divide the dough into six equal pieces. Roll each piece out on a lightly floured surface to a rectangle approximately 30 inches long by 5 ½ inches wide. Dust your work surface just often enough to keep the dough from sticking; too much flour will make the dough difficult to roll. If the dough springs back as you try to roll it, re-cover it with the kitchen towel and let rest 10 to 15 minutes. Start rolling the next piece of dough and come back to the first one once it’s had a chance to rest. Let the pasta sheets rest, separated by kitchen towels, at least 15 minutes before filling and forming your ravioli.
Form your ravioli (both methods):
Working one sheet a time, place on a work surface with a long edge towards you. (You can cut the sheets to fit the length of your counter.) Place one rounded teaspoon of the filling about 1 ¼ inches up from the bottom edge, and continue on, leaving about 2 inches between mounds. Dip your finger in water and moisten the bottom edge of the dough and between the mounds of filling. Fold the top half of the dough over the mounds, lining up the edges as best you can. Press the top layer of dough to the bottom firmly, squeezing out any air pockets as you work. Use a fluted pastry wheel if you have one (or a pizza cutter, or a knife) to cut between the filling to create individue rectangles about 2 ½ x 2 inches. Pinch the edges of the ravioli to seal in the filling. Trim the edges if desired. Repeat with the remaining five pieces of dough.
NOTE: If your sheets of dough are much shorter, width-wise, than 5 inches, you can go ahead and place a second sheet over the bottom one instead of folding. That’s what I did the first night I made these, and they turned out just fine.
At this point the filled and formed ravioli can be placed in a single layer on a baking sheet and inserted into the freezer. When they are frozen solid, place them in a freezer bag and keep frozen until ready to use.
Or, cook your ravioli immediately:
Bring a large pot of salted water to a boil. Slip the ravioli into the water a few at a time, stirring gently as you do. Cook until the edges of the pasta are tender but still firm to the bite and they rise to the surface, about 4-6 minutes. You may need to do this in batches. Reserve about 1 cup pasta water.
While the ravioli are cooking, melt 8 tablespoons of butter in a large skillet over medium-low heat. When it begins to brown, toss in sage leaves and a couple grindings of black pepper, swirl the pan, and remove the skillet from heat. Carefully fish out ravioli when they are finished cooking and slide them into the butter sauce. Add a ladleful or two of pasta water and bring to a quick simmer. Turn off the heat, add the Parmigiano-Reggiano, a few gratings of black pepper, and salt to taste, adding more pasta water or parm as necessary to achieve the consistency you’d like. Serve immediately, passing more parm and topping with additional walnuts if desired.