
We are one week away from Thanksgiving and I am giving you…. gnocchi. I know, I know. You probably won’t be serving this to your family along with turkey and cranberries, but, well, actually, it’d probably be a nice change from the typical potato dish if you were so inclined. Plus, there are a week’s worth of dinners that still need to be made and eaten, and we can’t just eat failed pie every night. Okay, that’s debatable too.
But if you’ve been following this blog over the last couple of months you’ll know that I have my very first full marathon coming up in just three days, and it’s time now to go even heavier on the carbs than ever before. For a normal person, that is. And while I’m not sick of all my typical pasta dishes, I also want to throw in some vitamins. Despite the bad rep the lowly potato has earned, it’s chock full of them. I need some extra vitamin C right now after running in this polar vortex. Time to make some little potato dumplings.

You might think, like I did, that homemade potato gnocchi are difficult, time-intensive, and just a general pain. And you would be right, to a certain extent, if you’re comparing it to opening a box of Barilla and throwing spaghetti in some boiling water. But I was shocked by how easy this was: easy to pull the dough together, easy to roll, easy to shape, and even easier to cook and sauce. I used a method tested by the geniuses at Cooks Illustrated, who found that one of the best ways to keep the gnocchi light and pillowy, as they should be, rather than heavy clunkers from, say, too much flour, or an overwork of the dough, are to use precise measurements. The little old Italian ladies, who have been making them their whole lives, can probably eyeball ingredients and make an absolutely delicious gnocchi, but for the rest of us, we can’t just throw in a bit of flour, mix, add more, mix, on and on until we think we have the right consistency. That’s fine if that’s the way you roll, but think of gnocchi, like pies and cookies and cakes, as a baked good, in need of the perfect proportions to achieve the perfect end result. This recipe will do that.
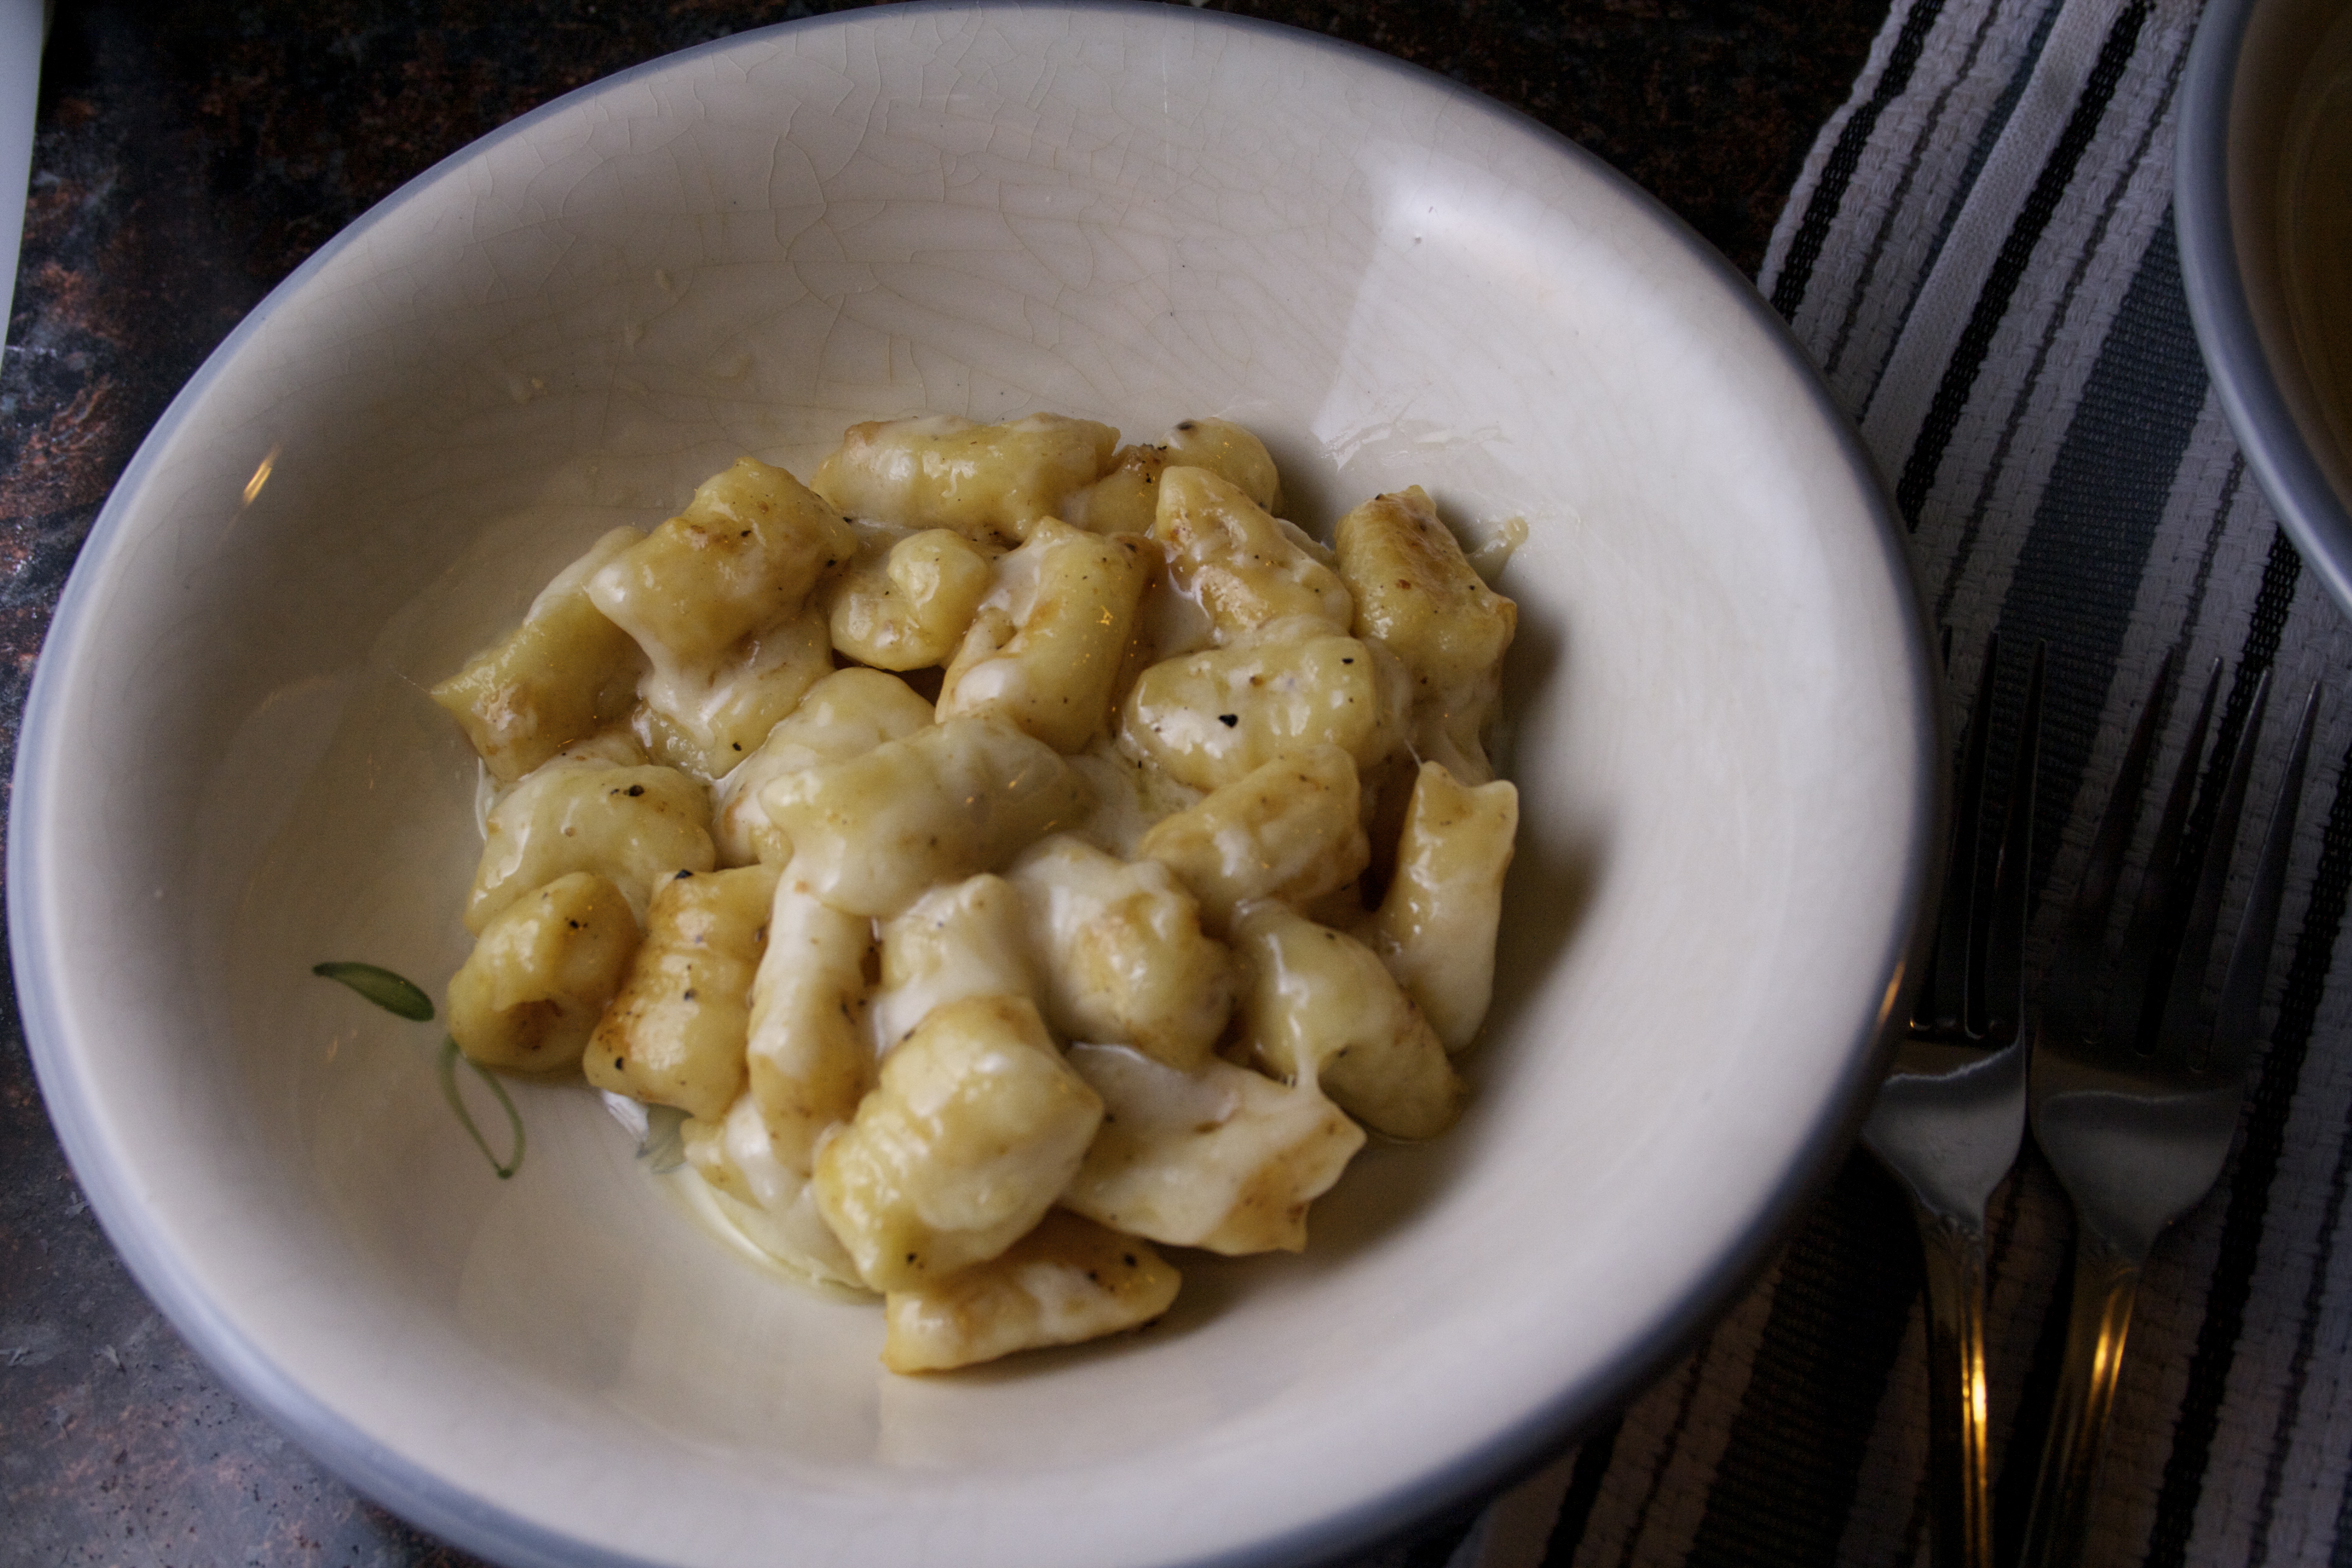
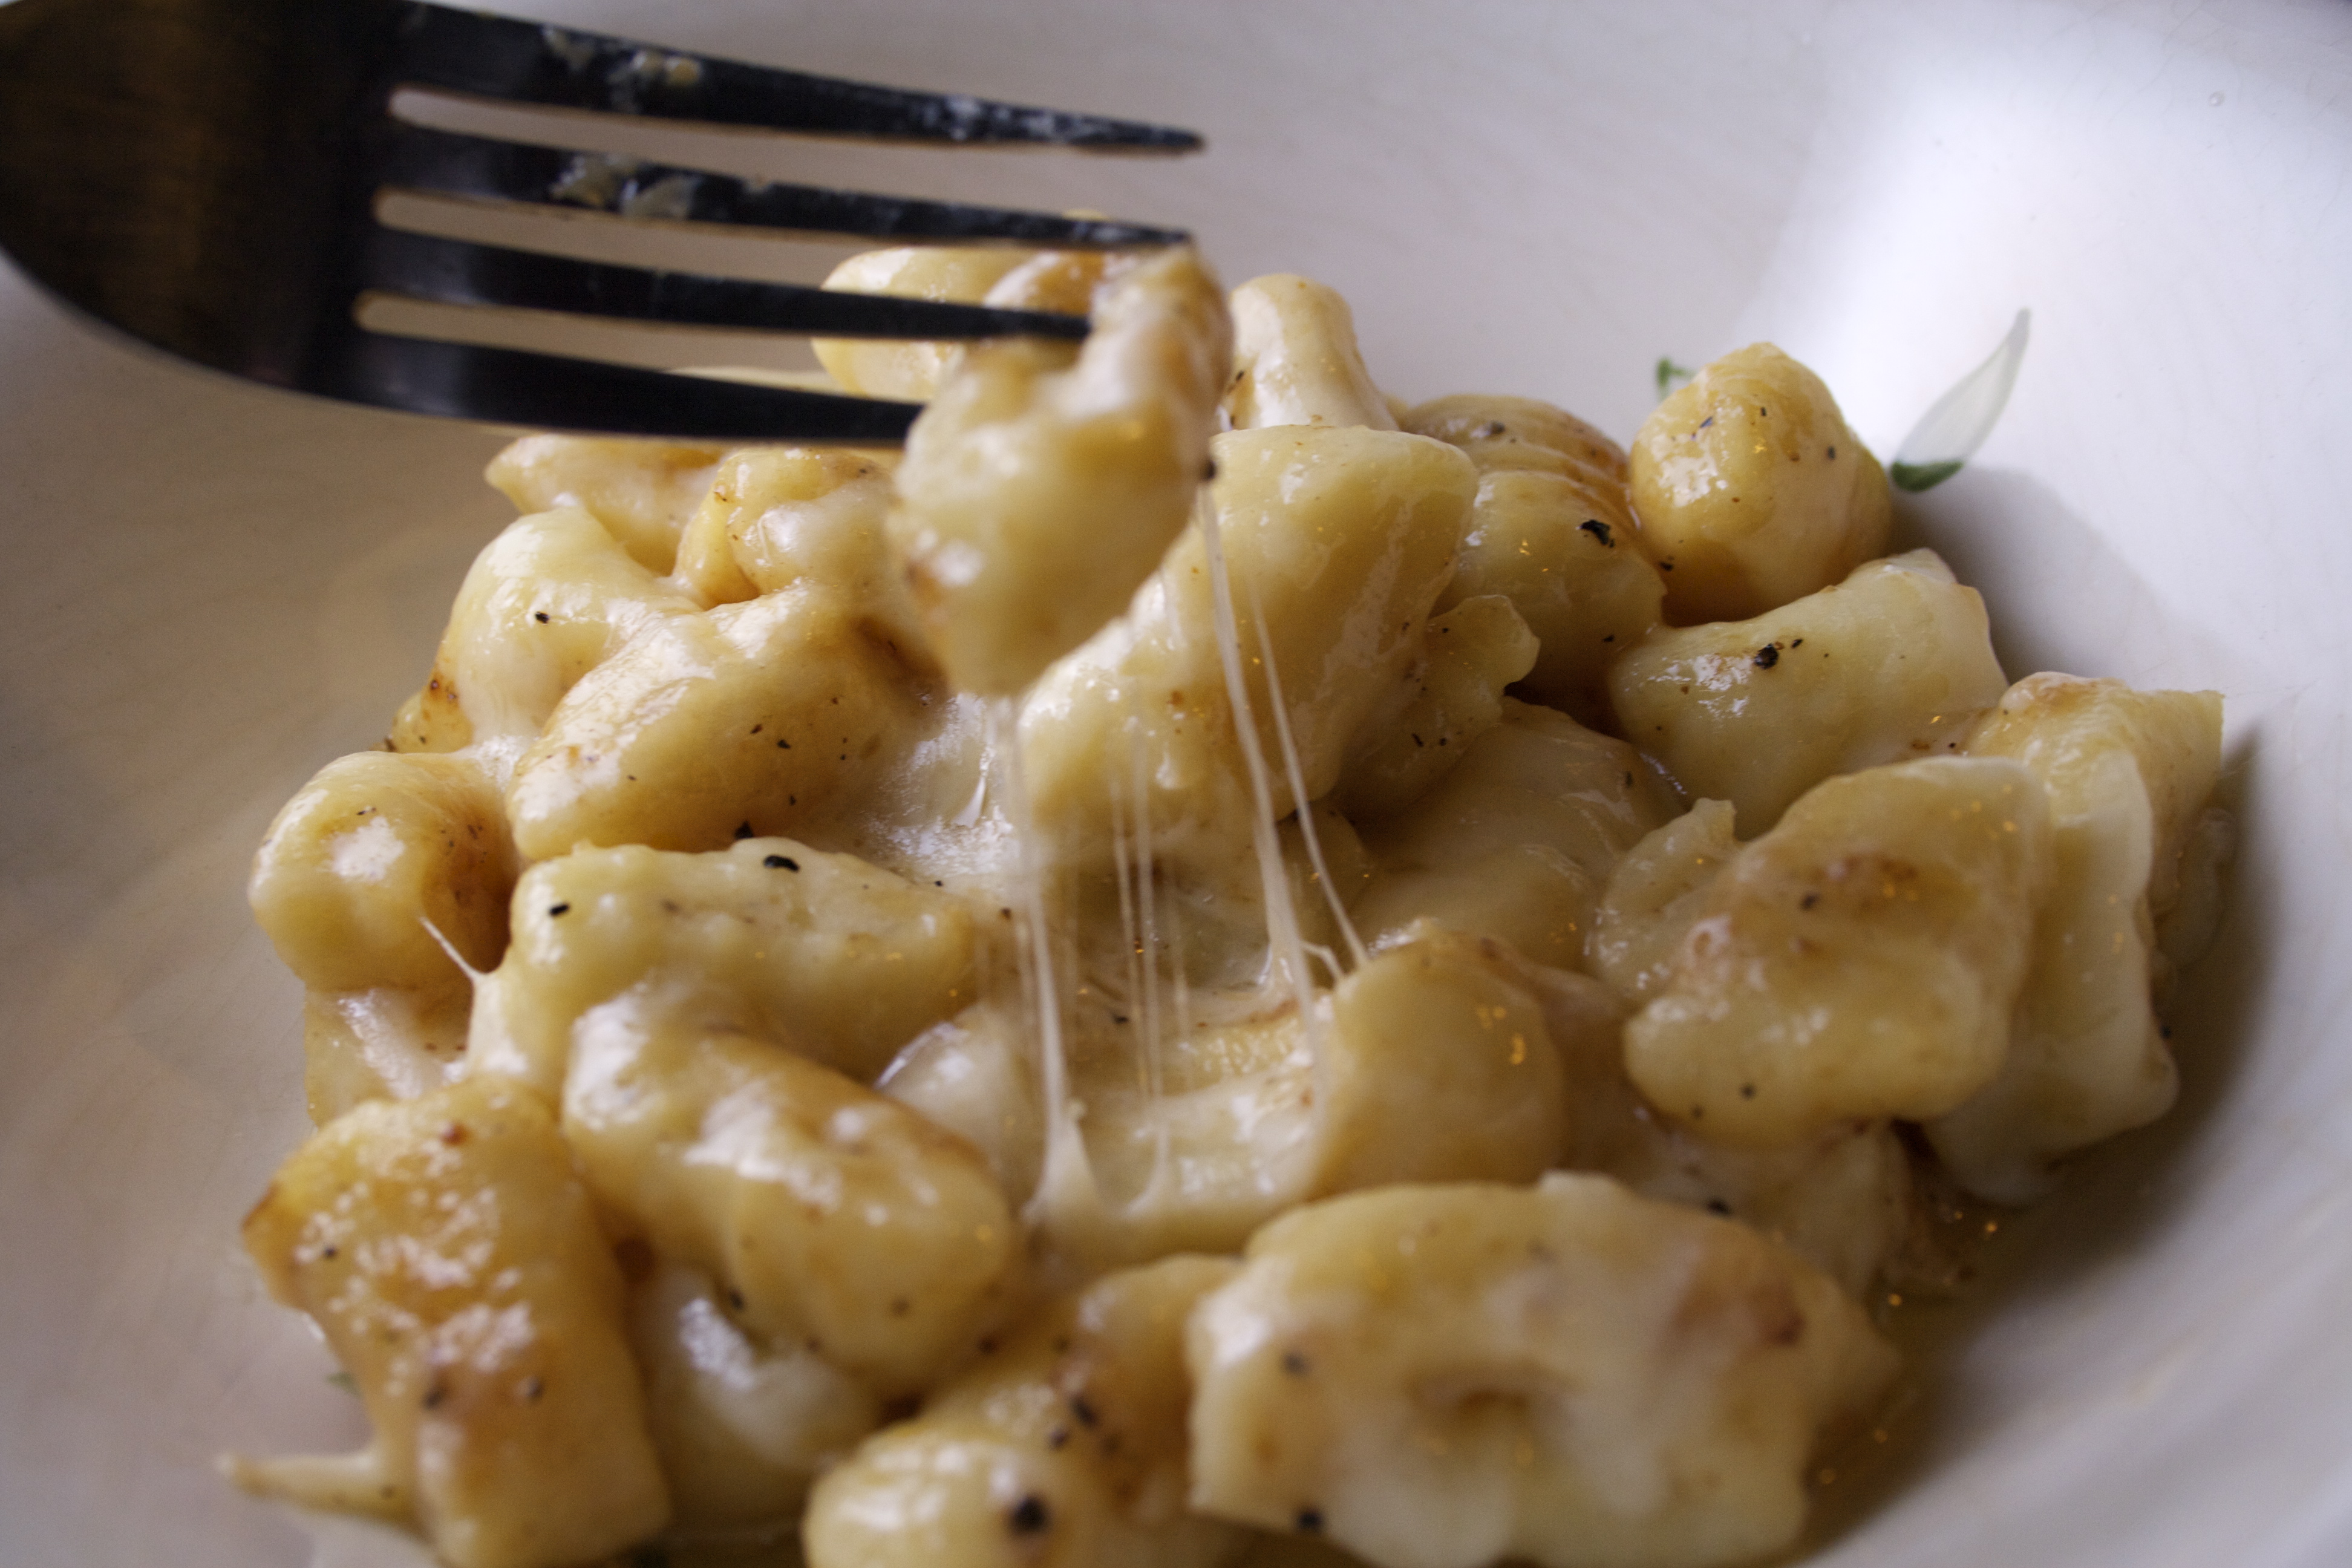
I’m going to take you through this one step at a time. The prep took me no longer than an hour, and that was probably also because I was taking photos every step of the way. I finished it with a fudged recipe for “drooling gnocchi,” but you can also make it with any number of delicious sauces. Pesto, marinara, brown butter and sage (the classic), are all great choices. I had just run in the freezing cold so I wanted some cheese to stick to my bones. Drooling gnocchi is named for the Fontina cheese that “drools” back onto the plate as you pick up a gnocchi. It’s delicious and decadent, but not too much so since I didn’t add any cream, as is traditional. But it was nutty from the brown butter and parm and hearty from the chicken stock and Fontina, and the perfect compliment to these beautiful little pillows.
Let’s begin.

You’ll need to use 2 pounds of russet potatoes — not yukon gold, not red. Go for the starchiest ones, the ones you think of as baking potatoes. The starch will help hold the gnocchi together without too much flour. And yes, 2 pounds. If you’re a little over, that’s fine. A little under would probably be okay too. Poke 8 holes over the surface of each potato with a paring knife, put them on a plate, and microwave on high for 10 minutes, flipping them over halfway through. The ends should have a little give at that point. Place them in a preheated 450 degree oven for 18-20 minutes, until a skewer or paring knife glides through easily, and the potatoes yield to a gentle squeeze.
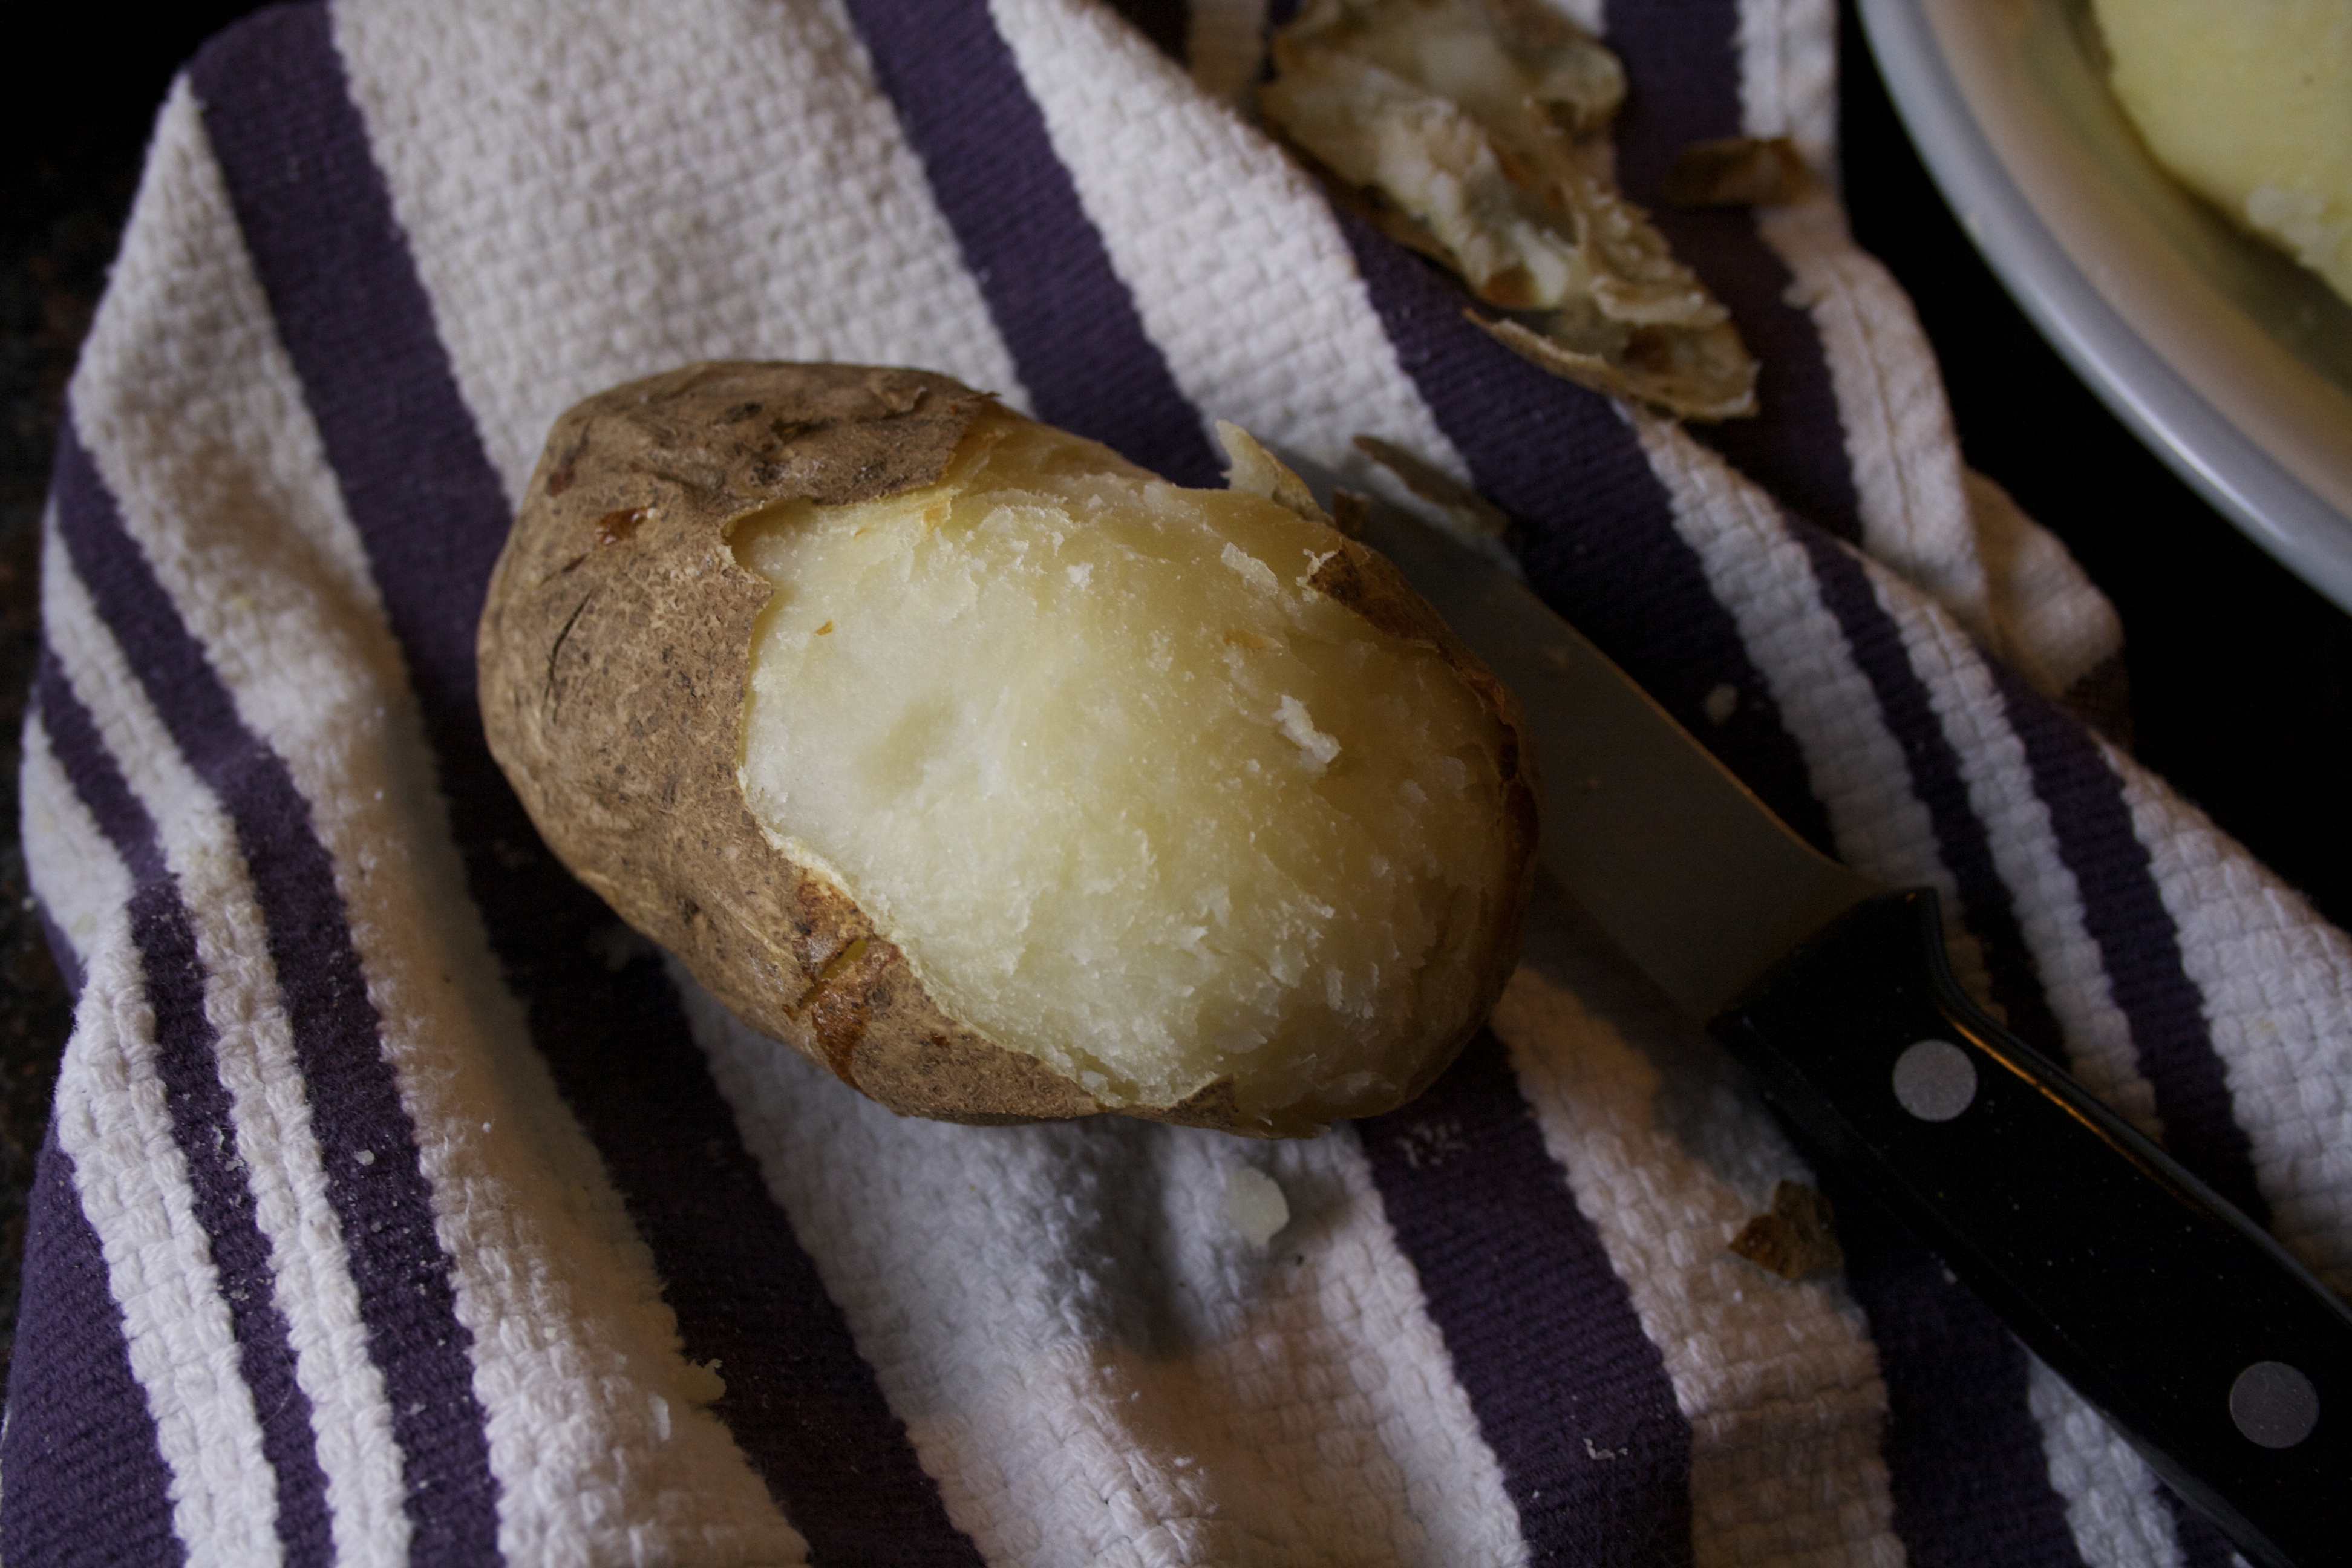
Be careful now, they’re going to be extremely hot. With a clean kitchen towel, hold each potato and remove the skin with a paring knife.
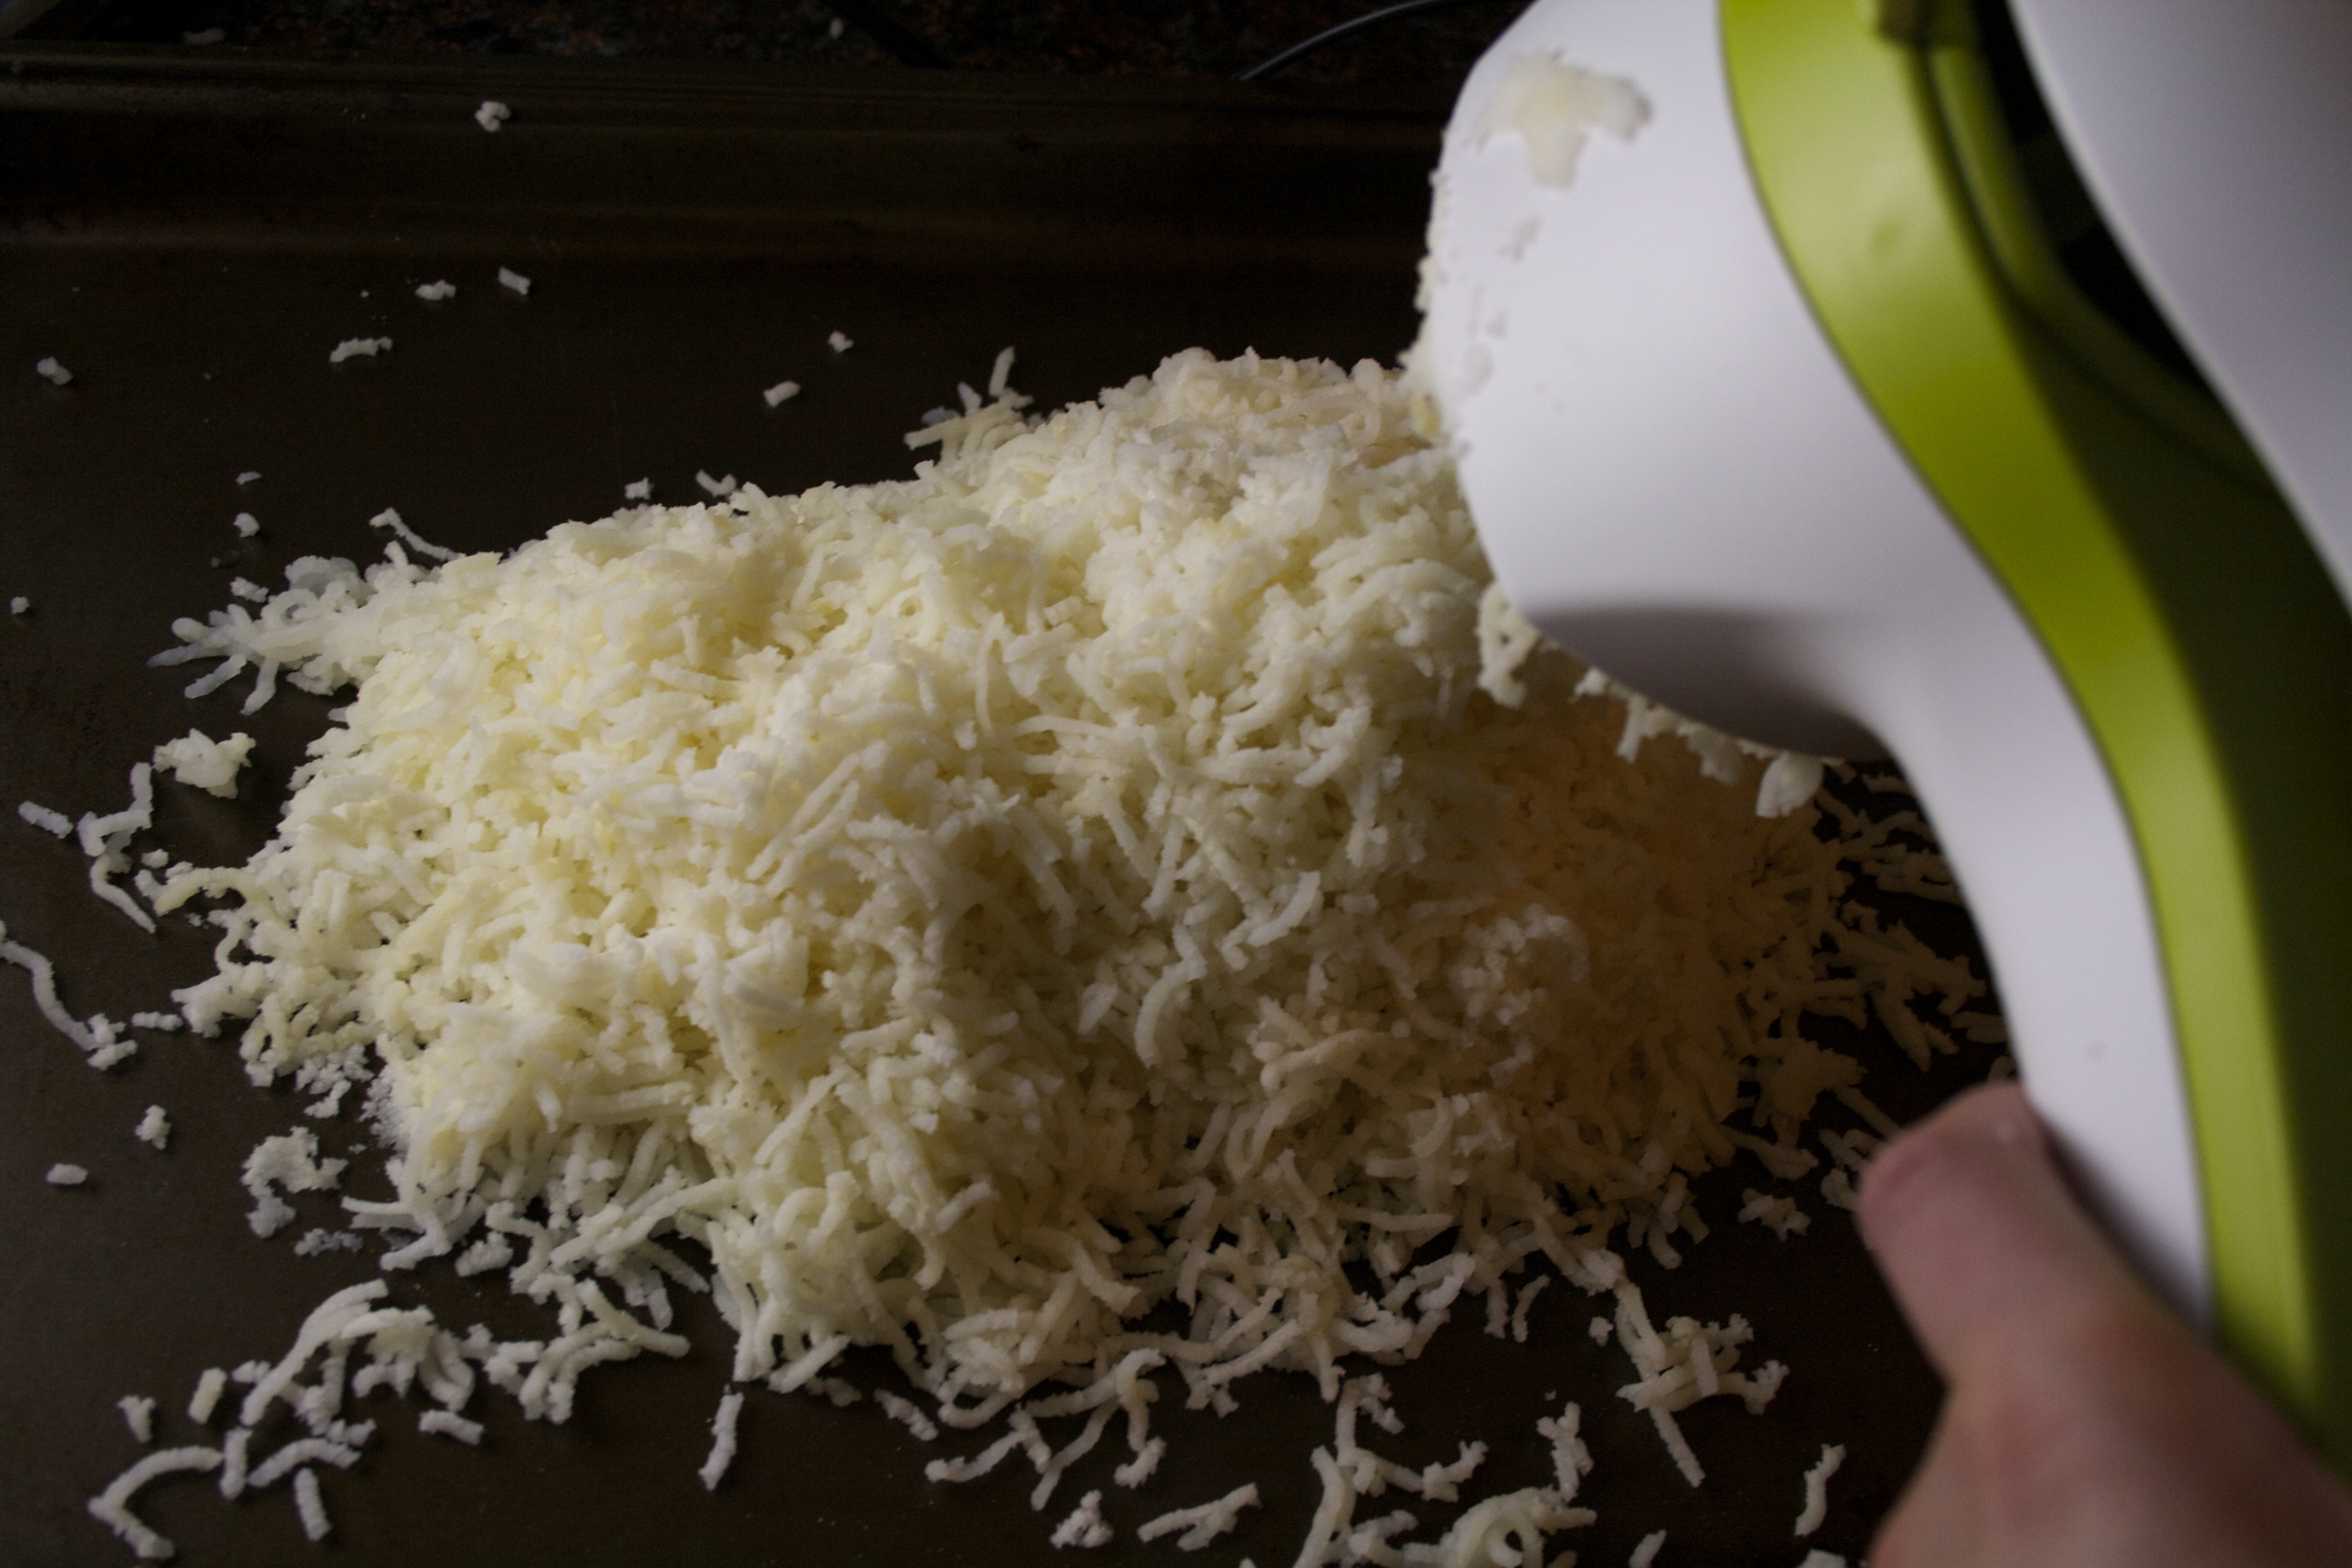
Get out your handy potato ricer. (Don’t have one? Get one. Not only are they crucial for achieving a lighter gnocchi by compressing the potato only once, they make amazing mashed potatoes. And, they’re cheap!) Press the potatoes onto a rimmed baking sheet. Spread them out in an even layer and allow to cool for 5 minutes.
Measure out just three cups of the potato. You will very likely have some left over — use it for hash browns the next day. The reason why we’re measuring it out further now is because with this amount of potato, you’ll know exactly how much flour to use. We’re cutting out a variable so that the gnocchi come out pretty much the same — light and delicious — every single time.
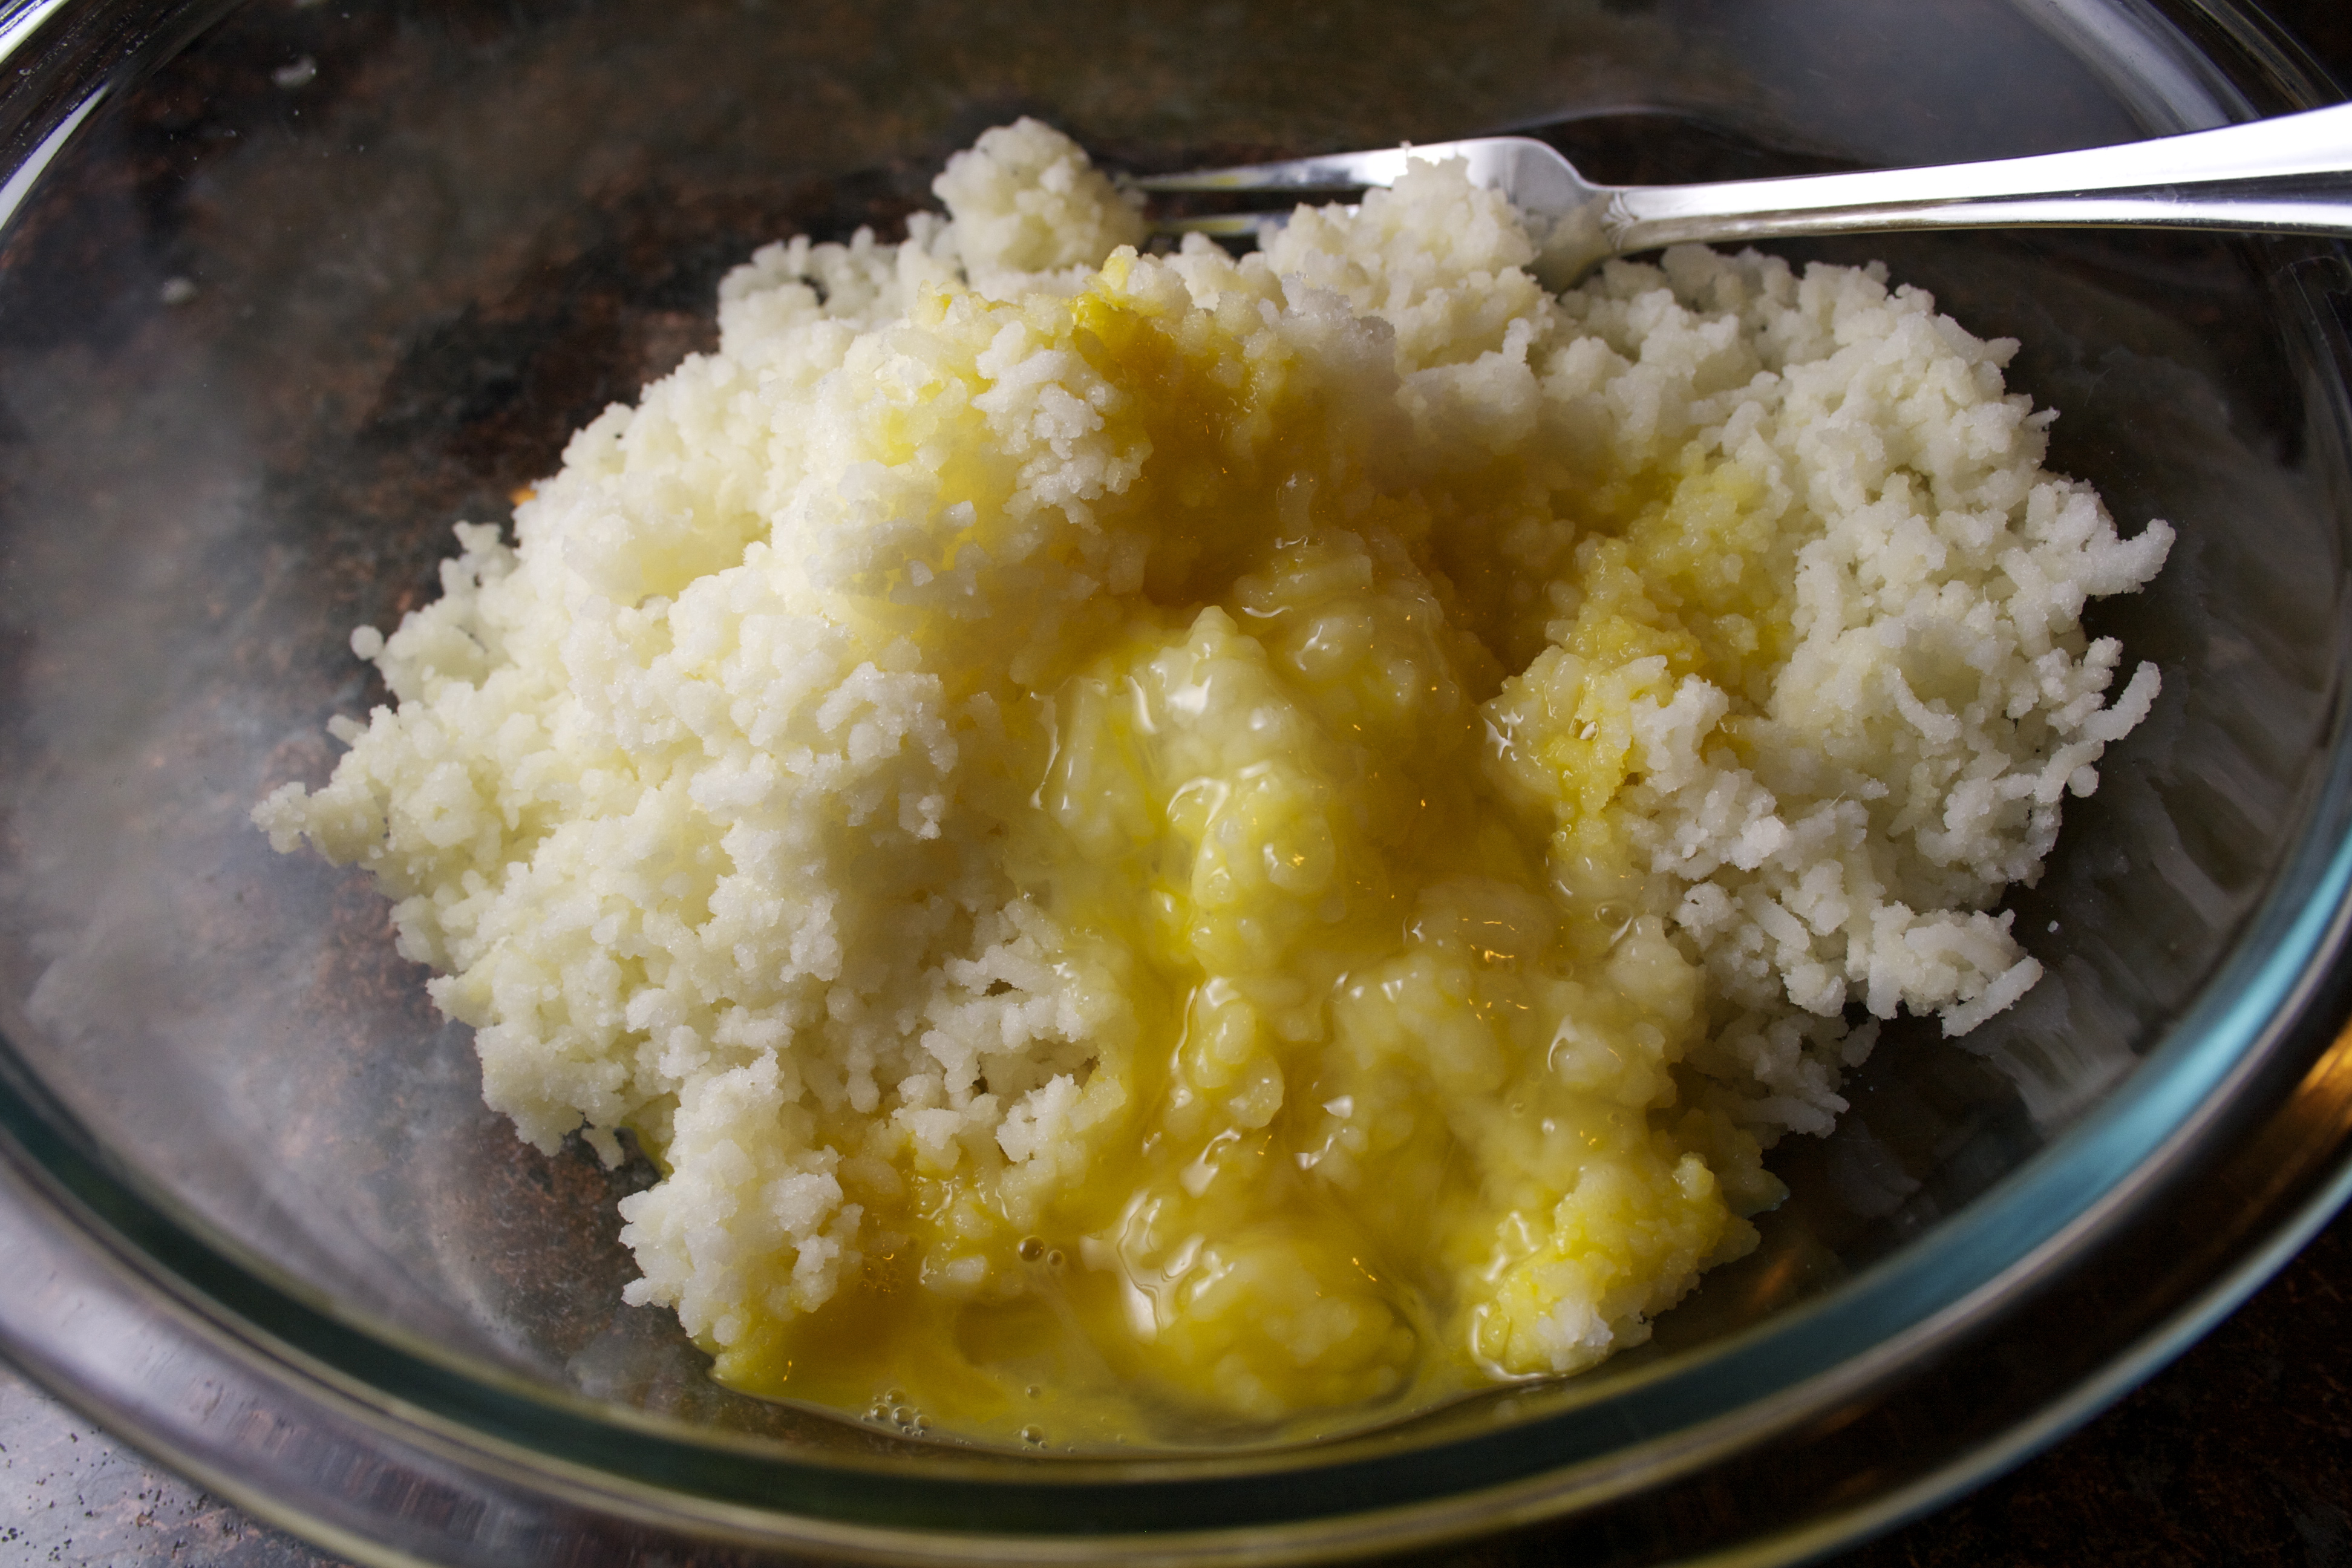
In a large bowl, mix a lightly beaten egg into the potato with a fork.


Now add your flour — 3/4 cup plus 1 tablespoon, to be exact — plus a teaspoon of salt, and mix it in with the fork until there are no pockets of flour left in your mixture. Use your hands to pull it together into a rough ball.

Transfer the dough now to a lightly floured counter and knead it with the heels of your hands until the dough is smooth but is still slightly sticky. This should take about a minute. Add more flour to your counter as needed to ensure the dough doesn’t stick.
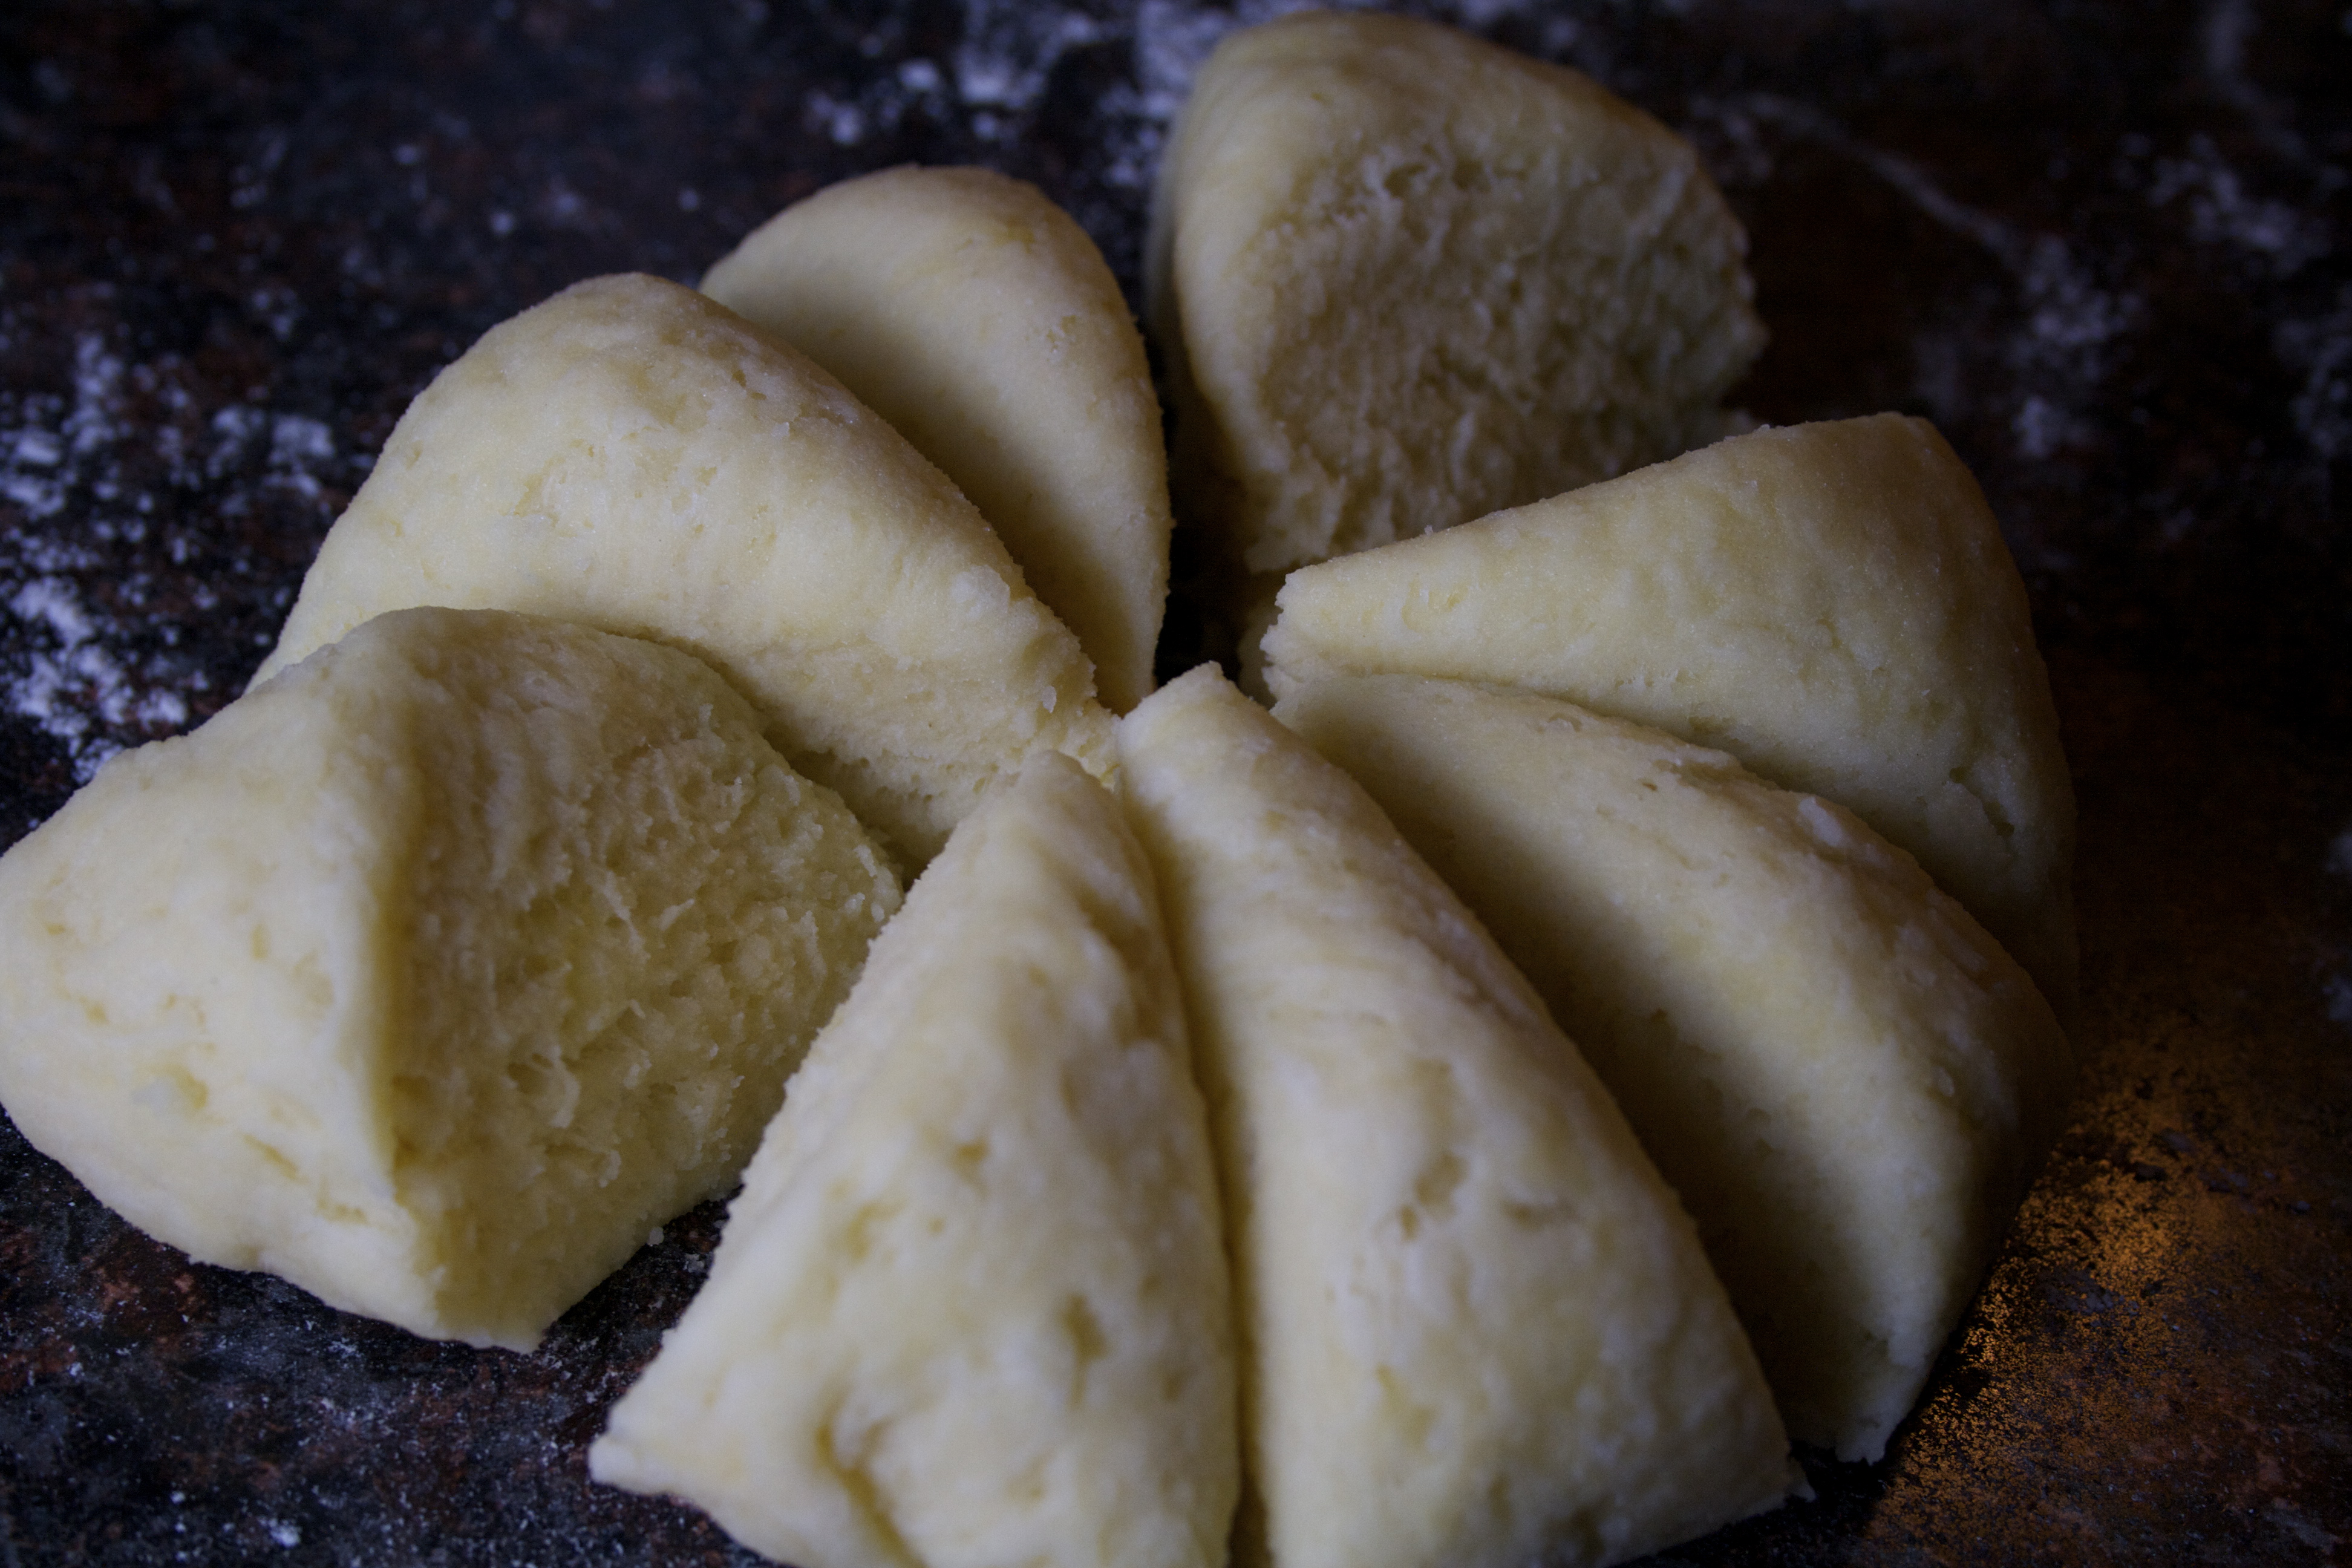
Prepare two rimmed baking sheets at this point by lining with parchment and a liberal dusting of flour. You want these ready to go as soon as your gnocchi are cut and shaped. Back to the dough: cut the dough into 8 pieces. See that texture? That’s what it should look like. Now we’re getting somewhere.

And now the fun part begins! Shaping the gnocchi. Dust your counter or work surface lightly with flour. I like to work one piece of dough at a time from start to finish. First, gently roll it out into a rope about 1/2-inch thick, adding a bit of flour if needed to prevent it from sticking to your hands or the counter.
Cut the rope into 1/2- or 3/4-inch pieces. The original recipe calls for 3/4, but I have very small fingers, so as I went along I found I could work with smaller pieces a bit more easily. You wouldn’t think finger size would matter, but for me, larger pieces of gnocchi dough didn’t shape as well as the smaller ones (look at the size of my thumb compared to the fork below), but both cooked up just fine. Make it to your preference.
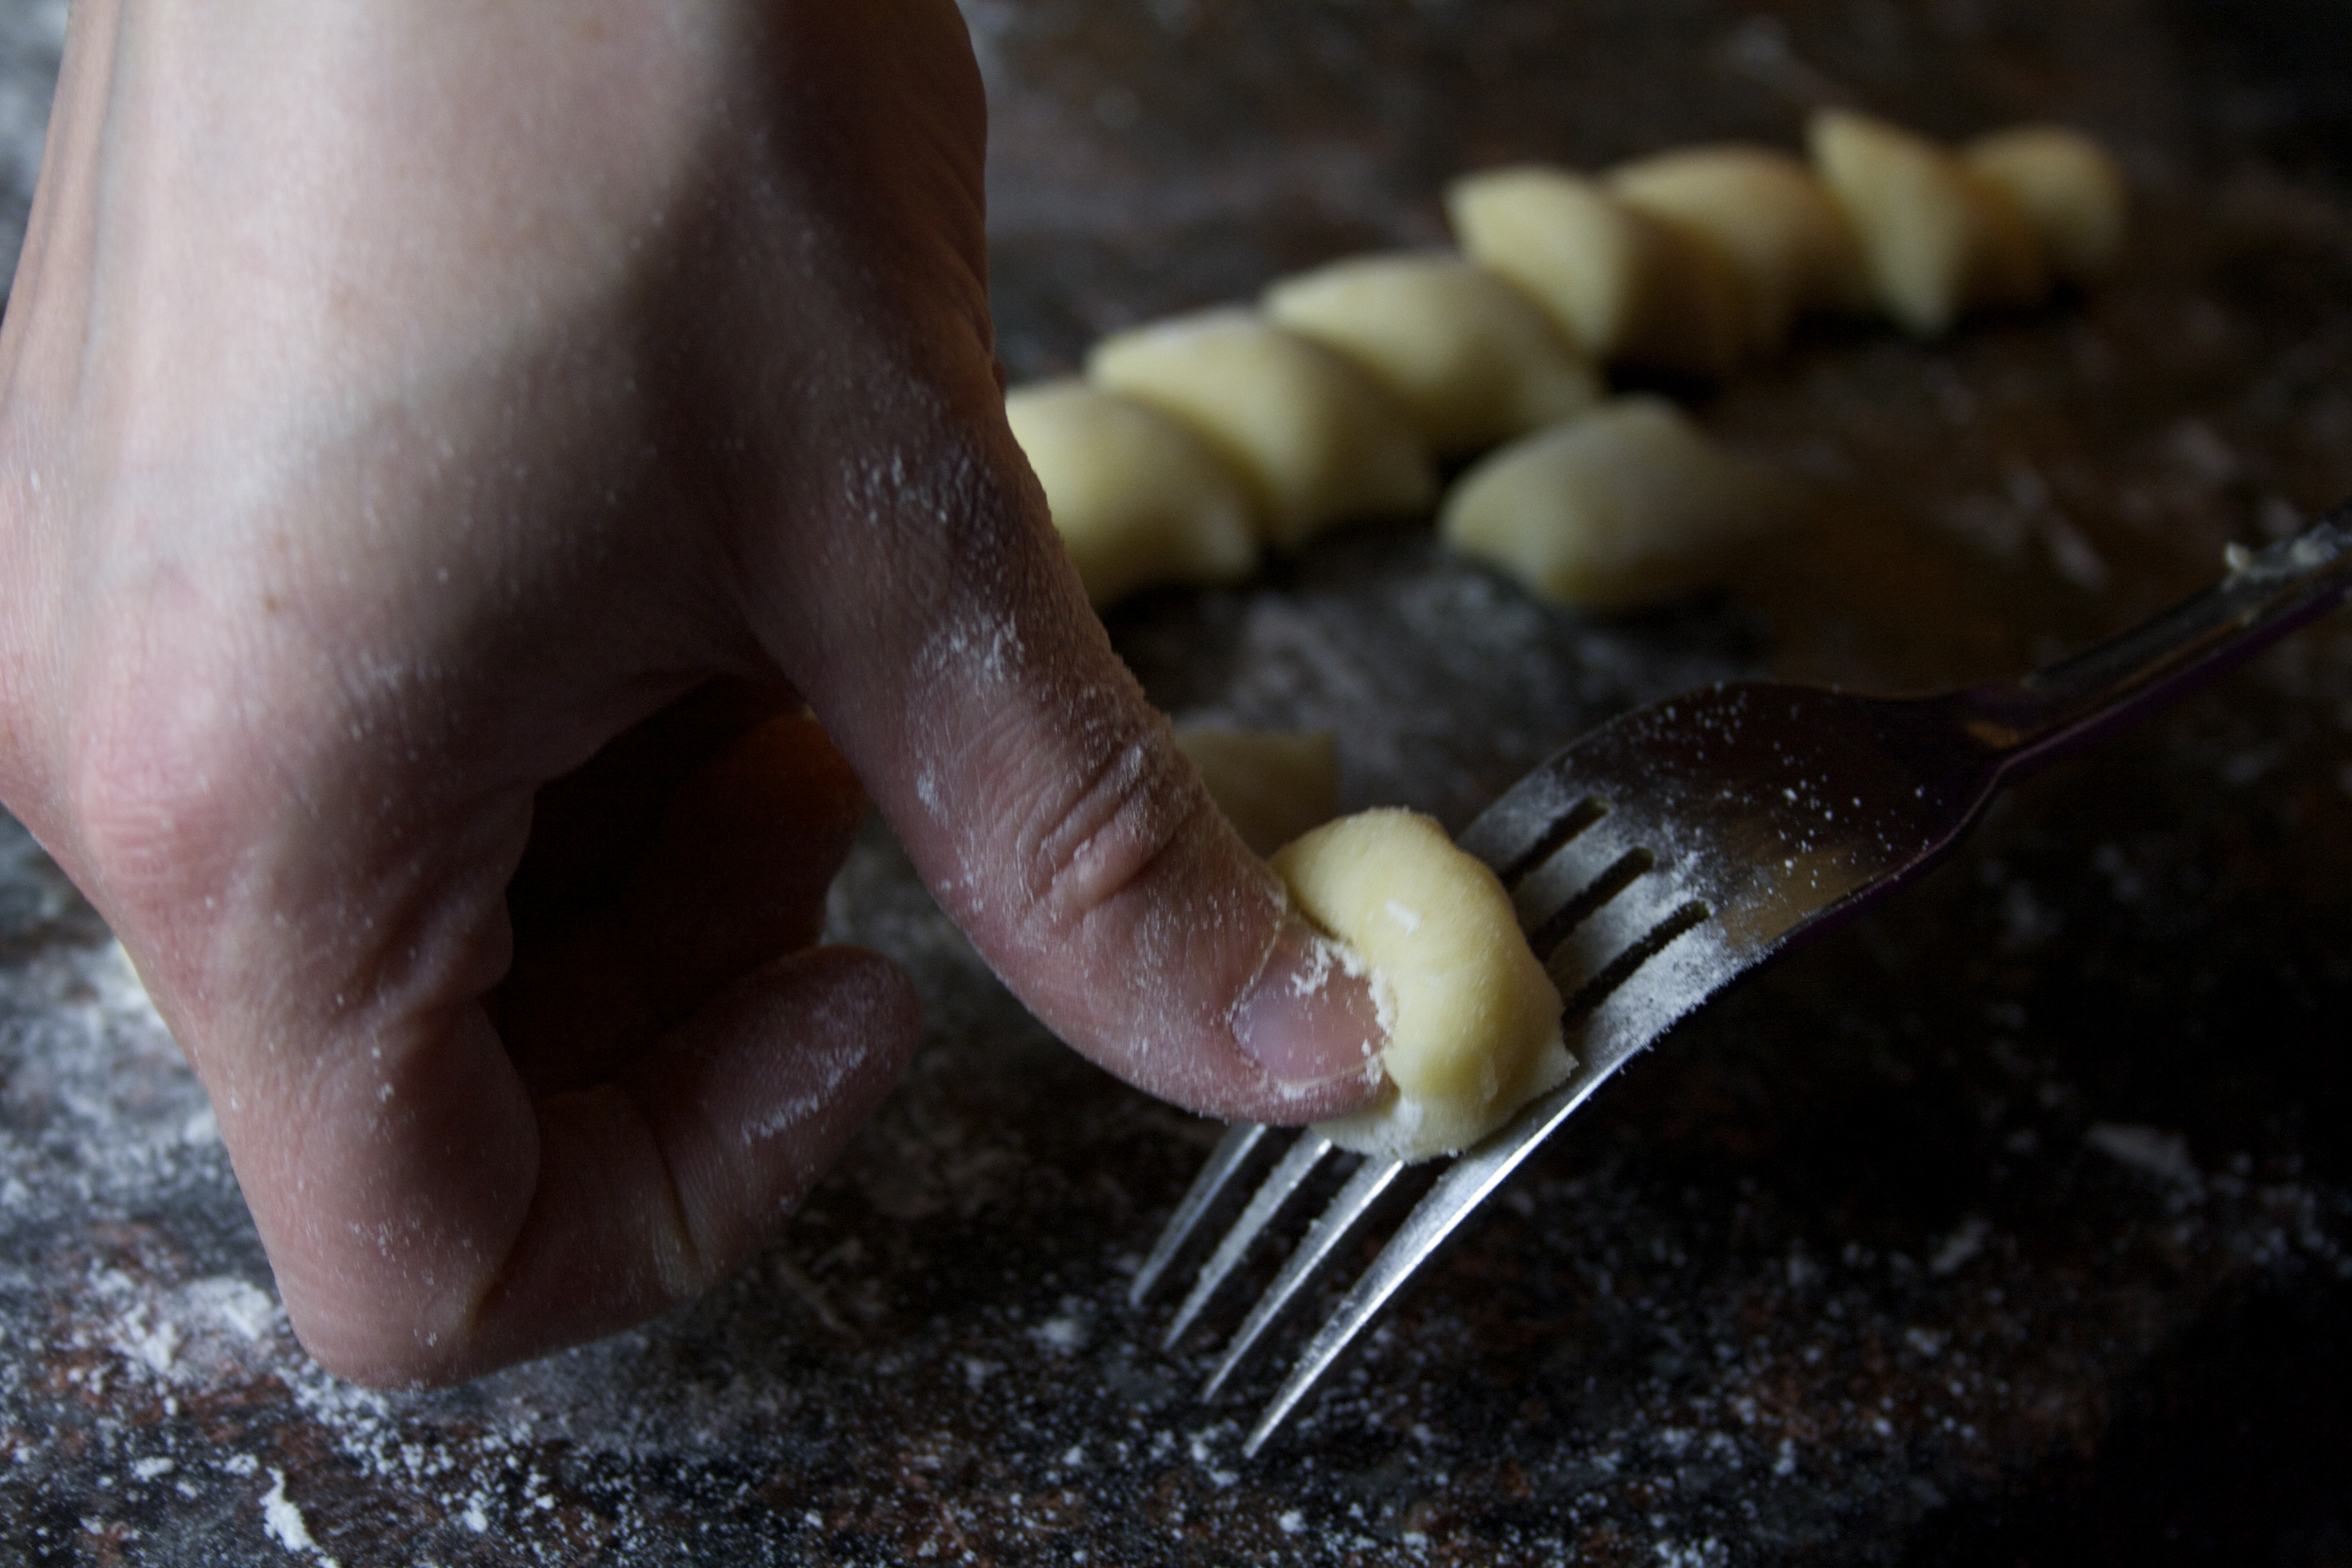
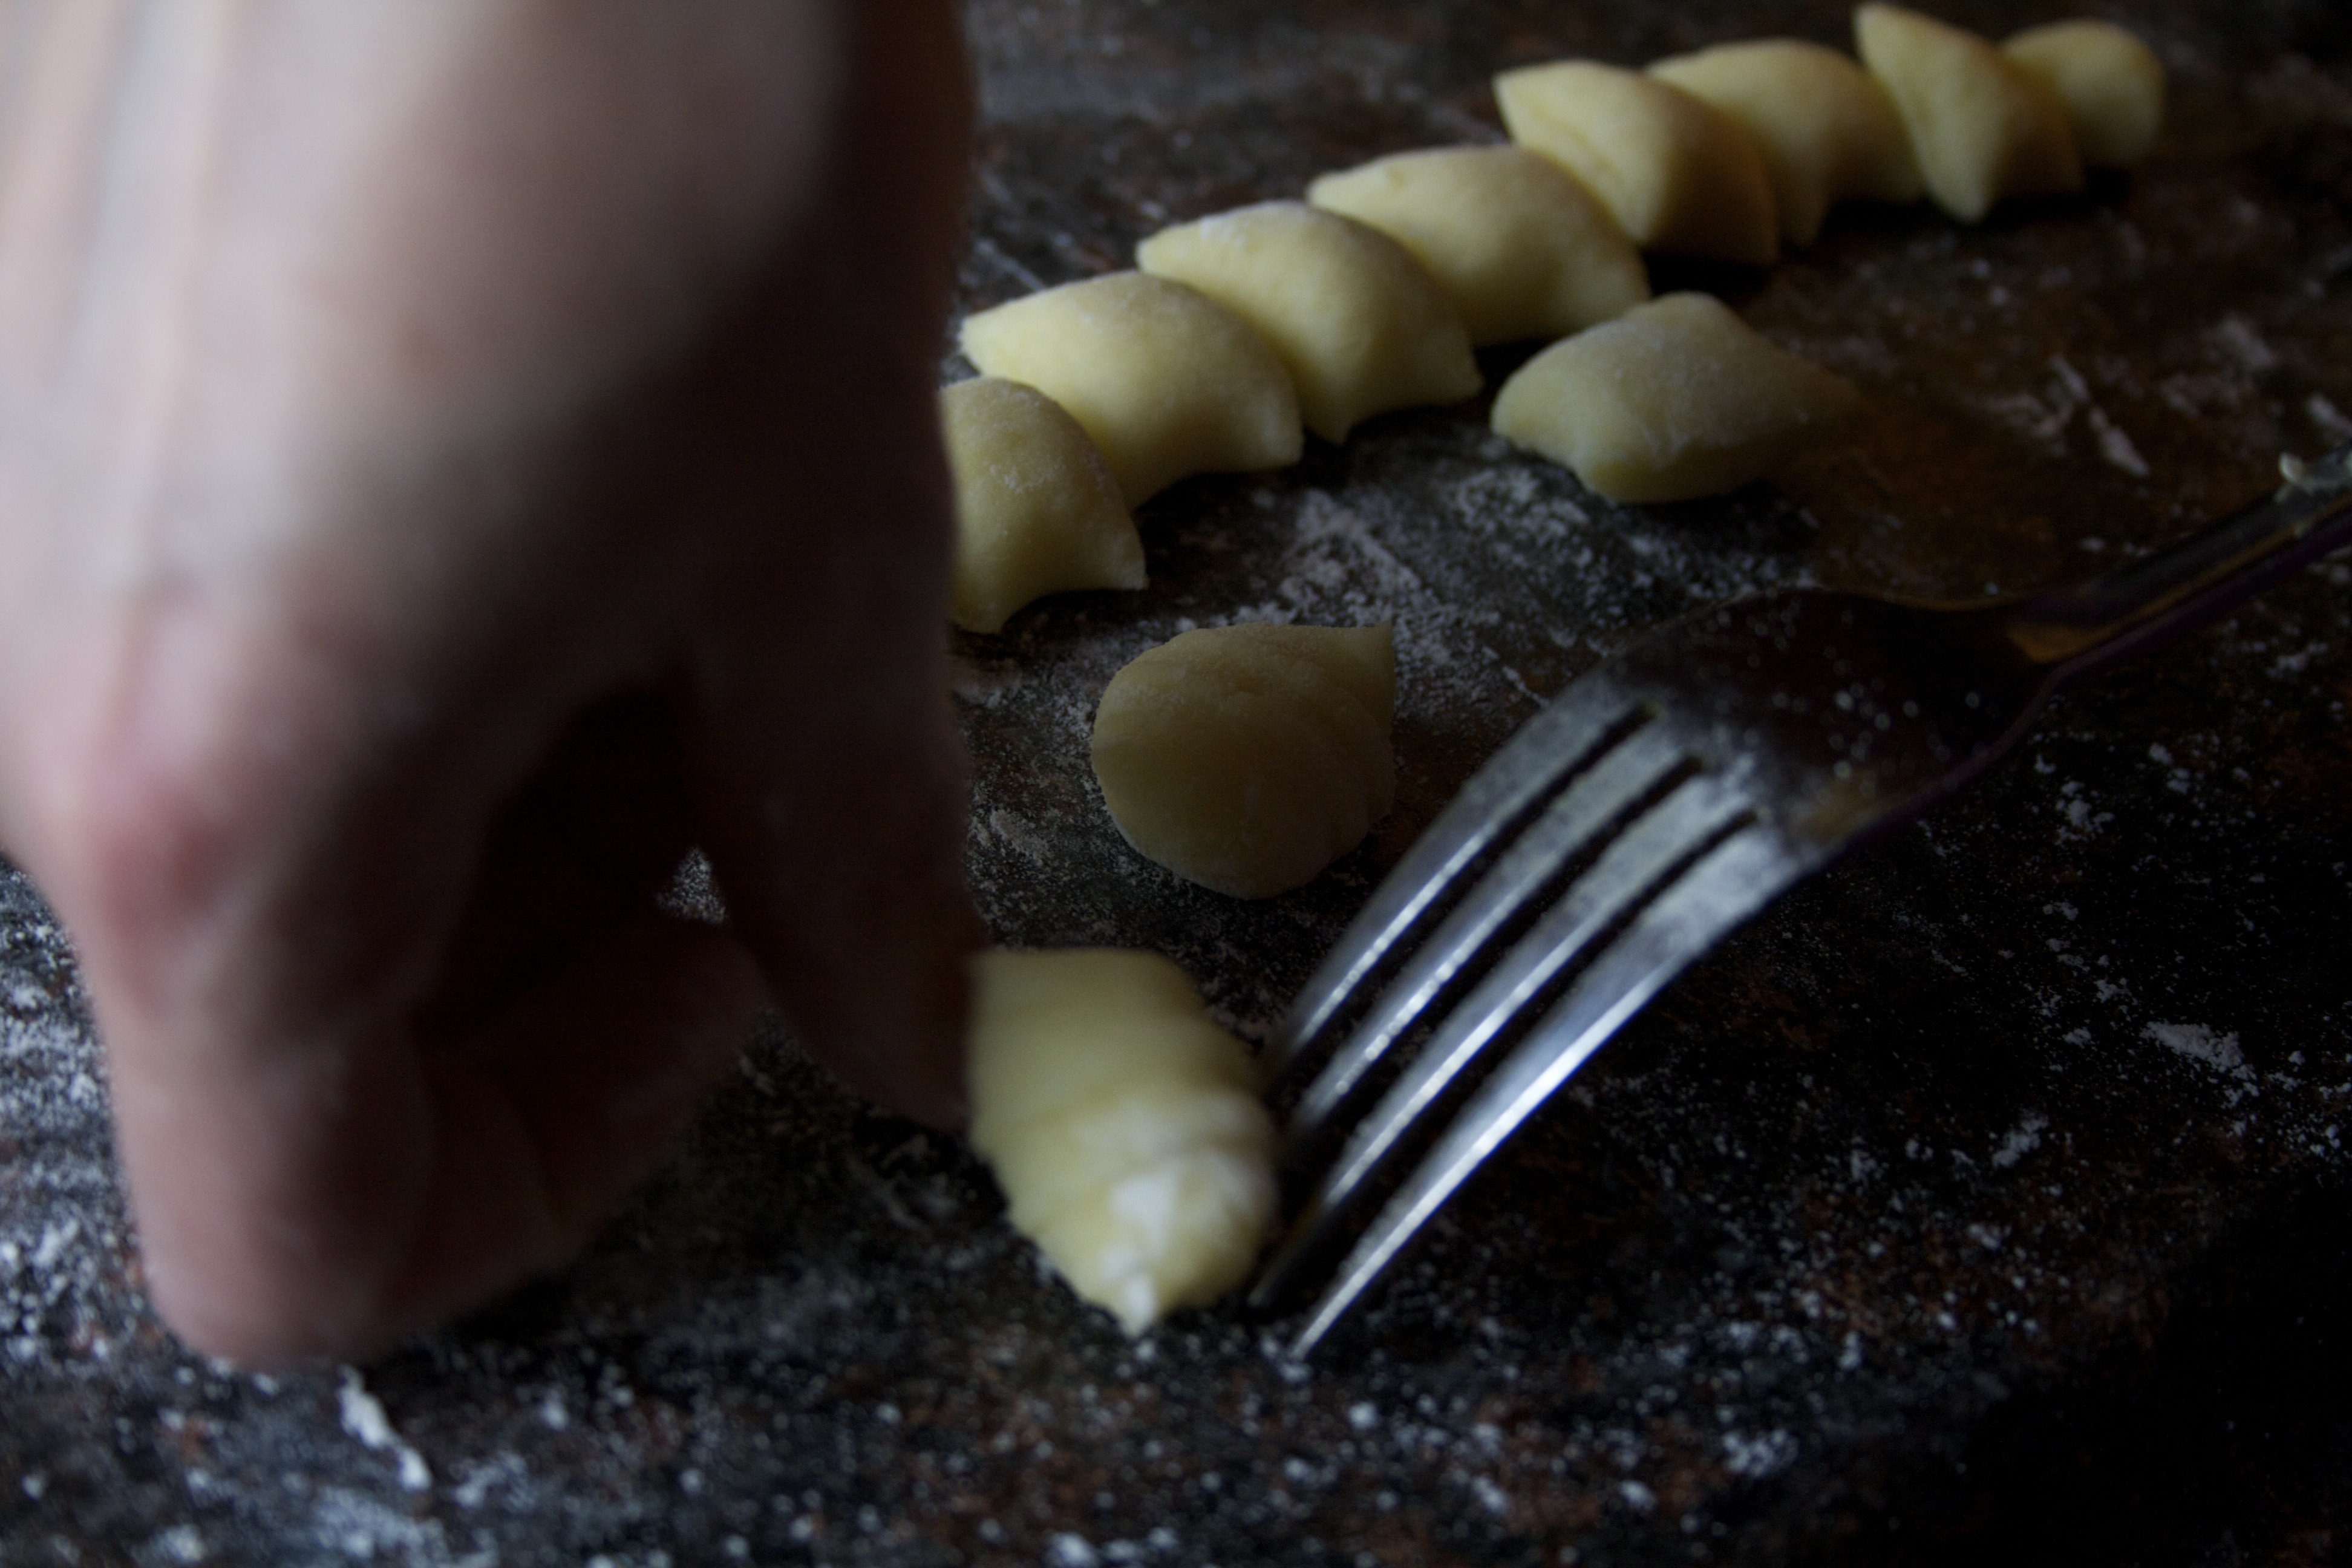

We’re going to use the tines of a fork to create the grooves one one side of the gnocchi that give it that beautiful mouthfeel. We’re going to use our thumb to create the indentation on the other side that will trap some of our sauce. Take a piece of dough, and using the back of a fork, press it cut side down into the tines with your thumb, and roll it off onto the counter.

Transfer the formed gnocchi onto your prepared baking sheets and repeat with each piece of dough. At this point the baking sheets can be placed directly into the freezer if you’re making the gnocchi more than a few hours ahead, or they can be placed in the refrigerator (I covered mine with another sheet of parchment) if you need to go for a run or have some time before you want to start cooking, or you can start cooking right away. The cooking process will be very quick, so be prepared.
Ready to eat? Bring a large pot with about 4 quarts of water to a boil. In the meantime, get your sauce ready. The recipe for my browned butter-fontina concoction is below.
When your water is boiling, add a tablespoon of salt and all the gnocchi from one sheet — don’t cook up both at the same time. Since it was only two of us for dinner I only made one sheet and froze the other. Cook for about 90 seconds. The gnocchi will rise to the surface after about 1 minute. Remove them with a wire skimmer or a slotted spoon and place them directly into the sauce. Don’t worry about getting some cooking water in there. The starch will help the sauce cling to the gnocchi.
Not too hard, right? So what are you waiting for? Gnocchi for the masses!
Potato Gnocchi with Browned Butter-Fontina Sauce
Gnocchi recipe adapted from Cooks Illustrated
This recipe serves 4, but since there’s only two of us I made the entire batch of gnocchi, used one sheet and froze the other, and halved the ingredients in the sauce. Easy-peasy.
For the gnocchi
2 pounds russet potatoes
1 large egg, lightly beaten
3/4 cup plus 1 tablespoon all-purpose flour, plus extra for dusting
1 teaspoon plus 1 tablespoon salt
For the sauce
6 tablespoons butter
1/2 cup low-sodium chicken broth
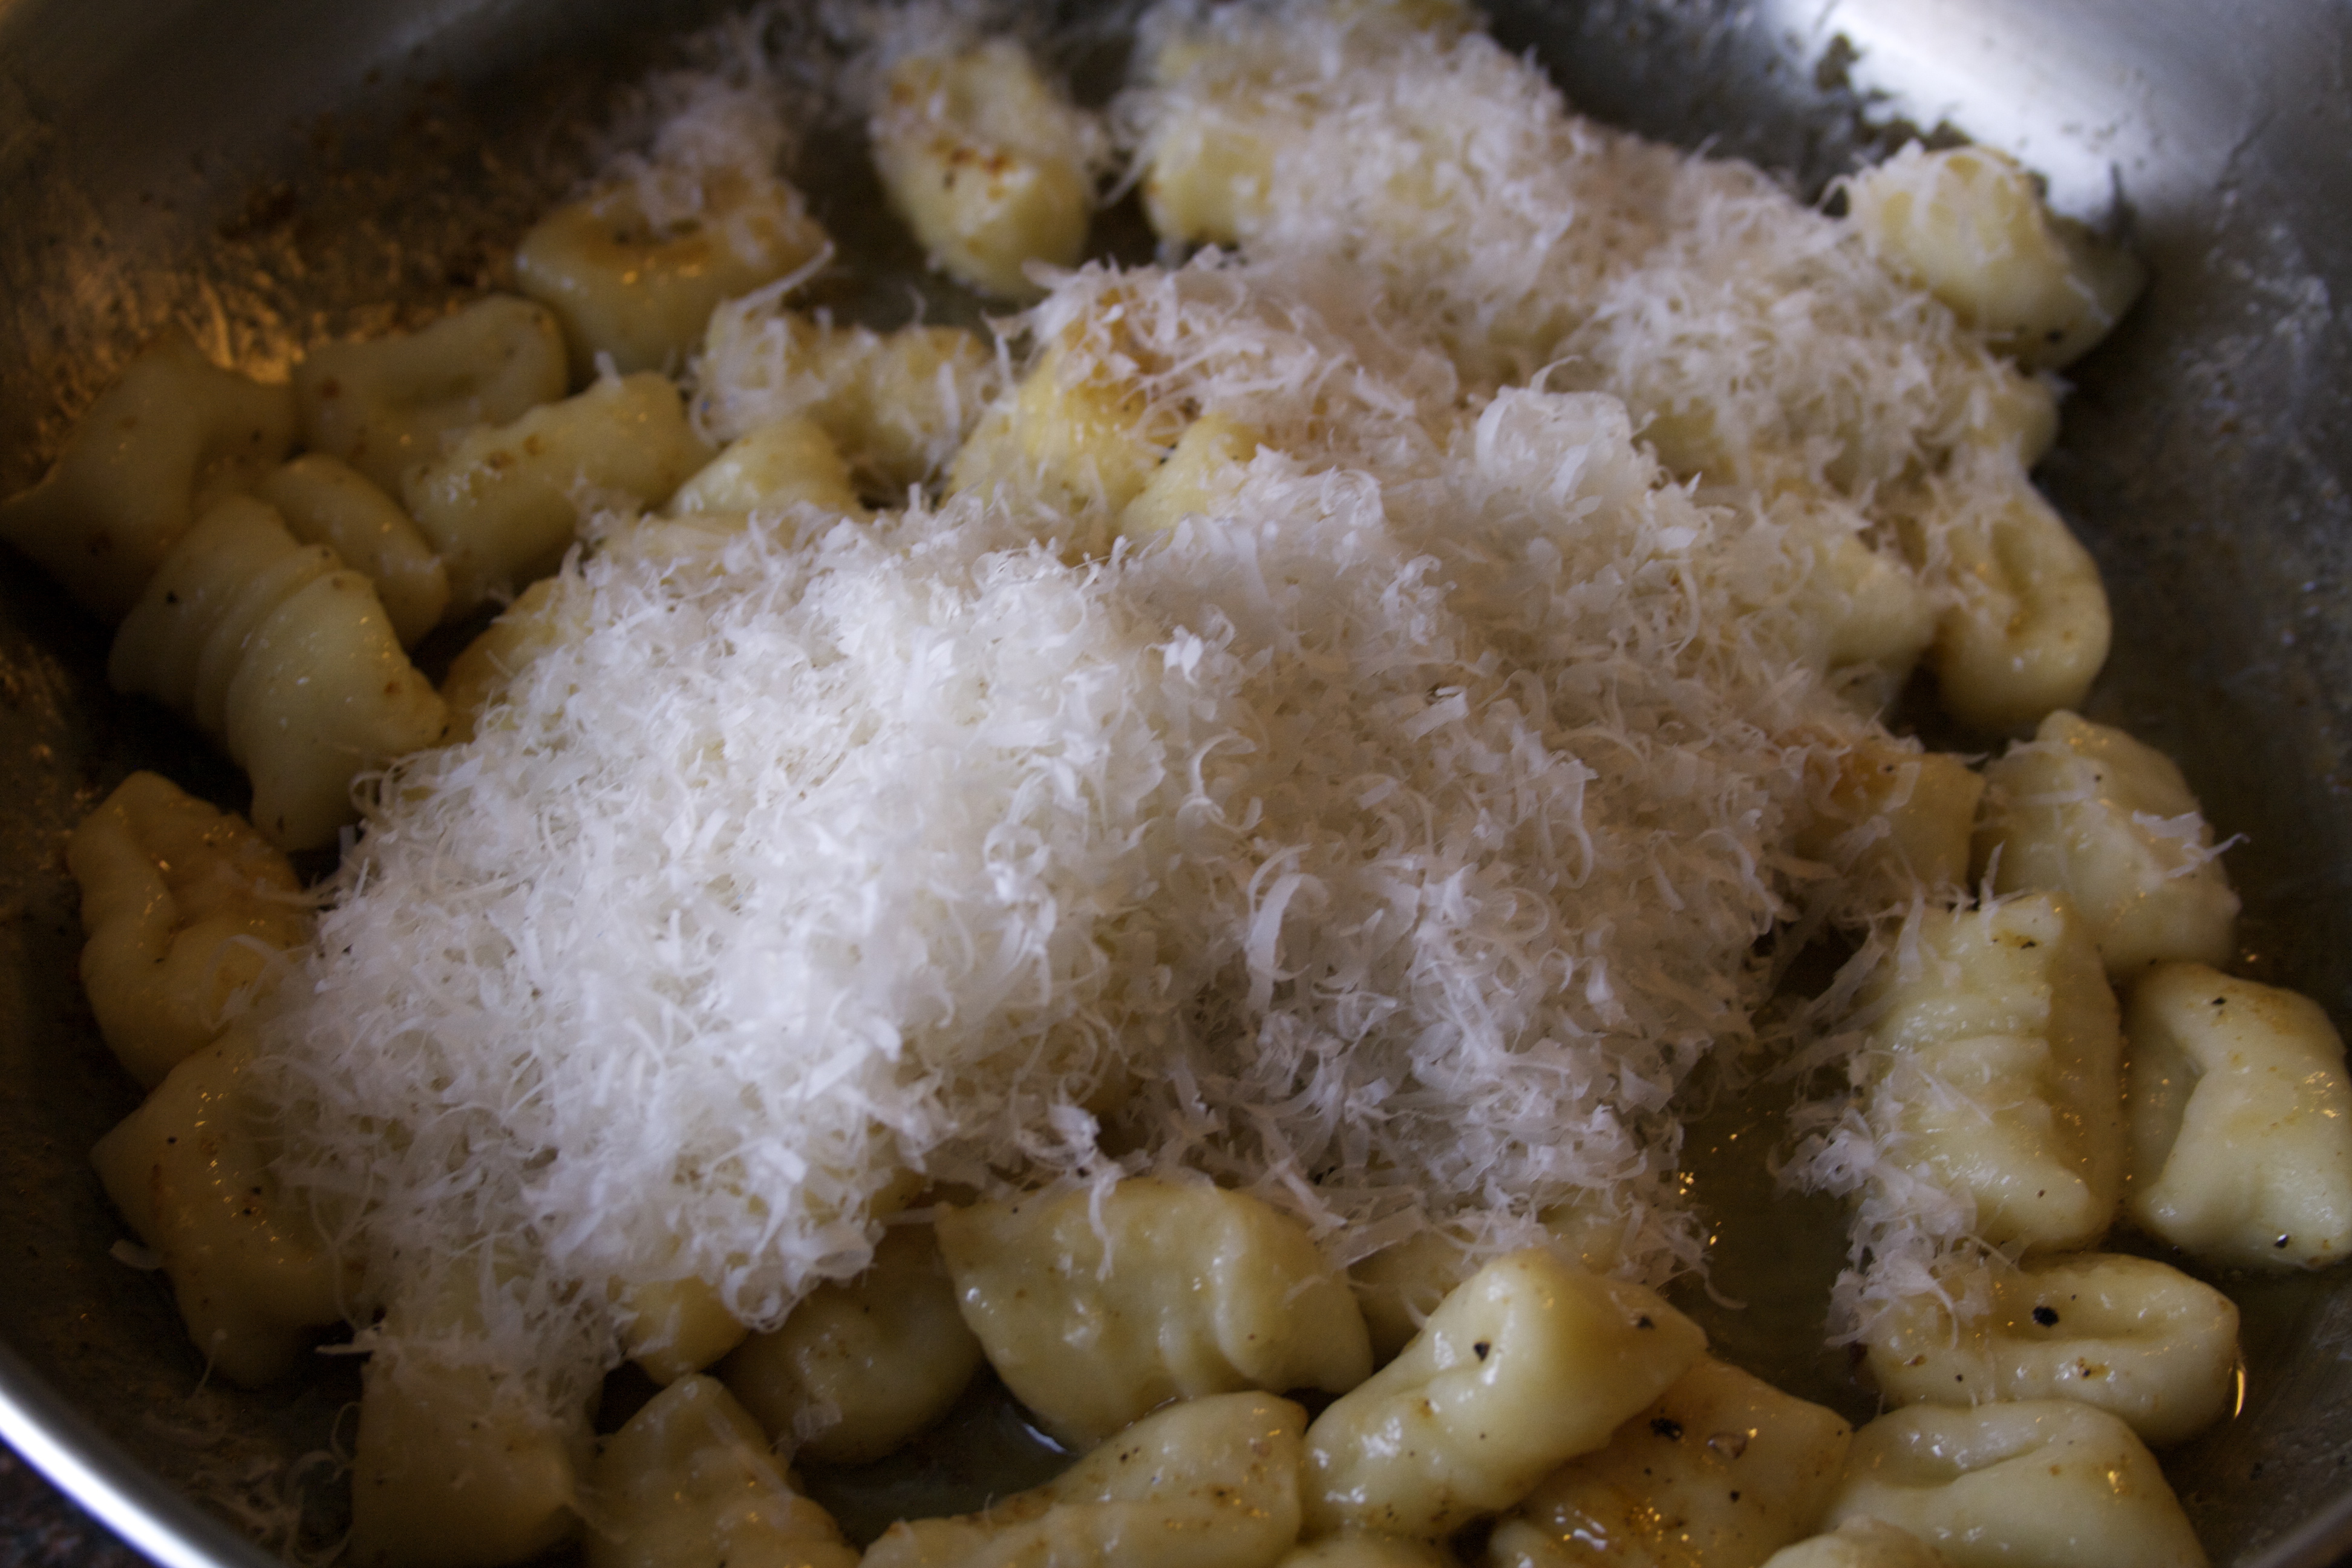
1 cup freshly grated parmigiano reggiano
2 cups, or about 5 oz shredded fontina
salt to taste
freshly ground black pepper to taste
Make the gnocchi:
Adjust an oven rack to the middle position and preheat oven to 450 degrees. Using a paring knife, poke 8 holes over the entire surface of each potato. Microwave potatoes for 10 minutes, flipping over halfway through, until slightly softened at their ends. Transfer directly to oven rack and bake for about 18-20 minutes, or until a skewer or paring knife glides through easily and the potatoes yield a bit to gentle pressure.
Hold each potato with a kitchen towel and, using a paring knife, peel away the skin. Press each potato through a potato ricer onto a rimmed baking sheet, and spread out in a single layer to cool for 5 minutes.
Measure out 3 cups of potatoes and place in a large bowl. Add egg and gently incorporate with a fork until just combined. Sprinkle flour and 1 teaspoon of salt over the potatoes and gently combine with fork until no pockets of flour remain. Pull the mixture together into a rough ball and transfer to a lightly floured counter. Knead the dough gently with the heel of your palms until the dough is smooth but slightly sticky, about 1 minute. Continue to dust flour onto counter as needed to prevent it from sticking.
Line 2 rimmed baking sheets with parchment and dust liberally with flour. Cut dough into 8 equal pieces. Dust counter lightly with flour again. Working one piece at a time, roll dough into a 1/2-inch rope, sprinkling with flour as necessary to prevent it from sticking to the counter or your hands. Cut rope into 1/2- to 3/4-inch pieces. Holding a fork with the tines facing down, press each piece of dough cut side down into the back of the fork with your thumb, creating an indentation. Roll the dough down tines, creating the ridges on the other side. Transfer formed gnocchi to baking sheet and repeat with the remaining dough.
At this point the dough can be frozen by placing baking sheets directly into freezer. Place frozen gnocchi into zippered bags and store up to 6 months. You can cook them as directed below. Gnocchi can also be refrigerated for up to 3 hours before cooking.
Make the sauce:
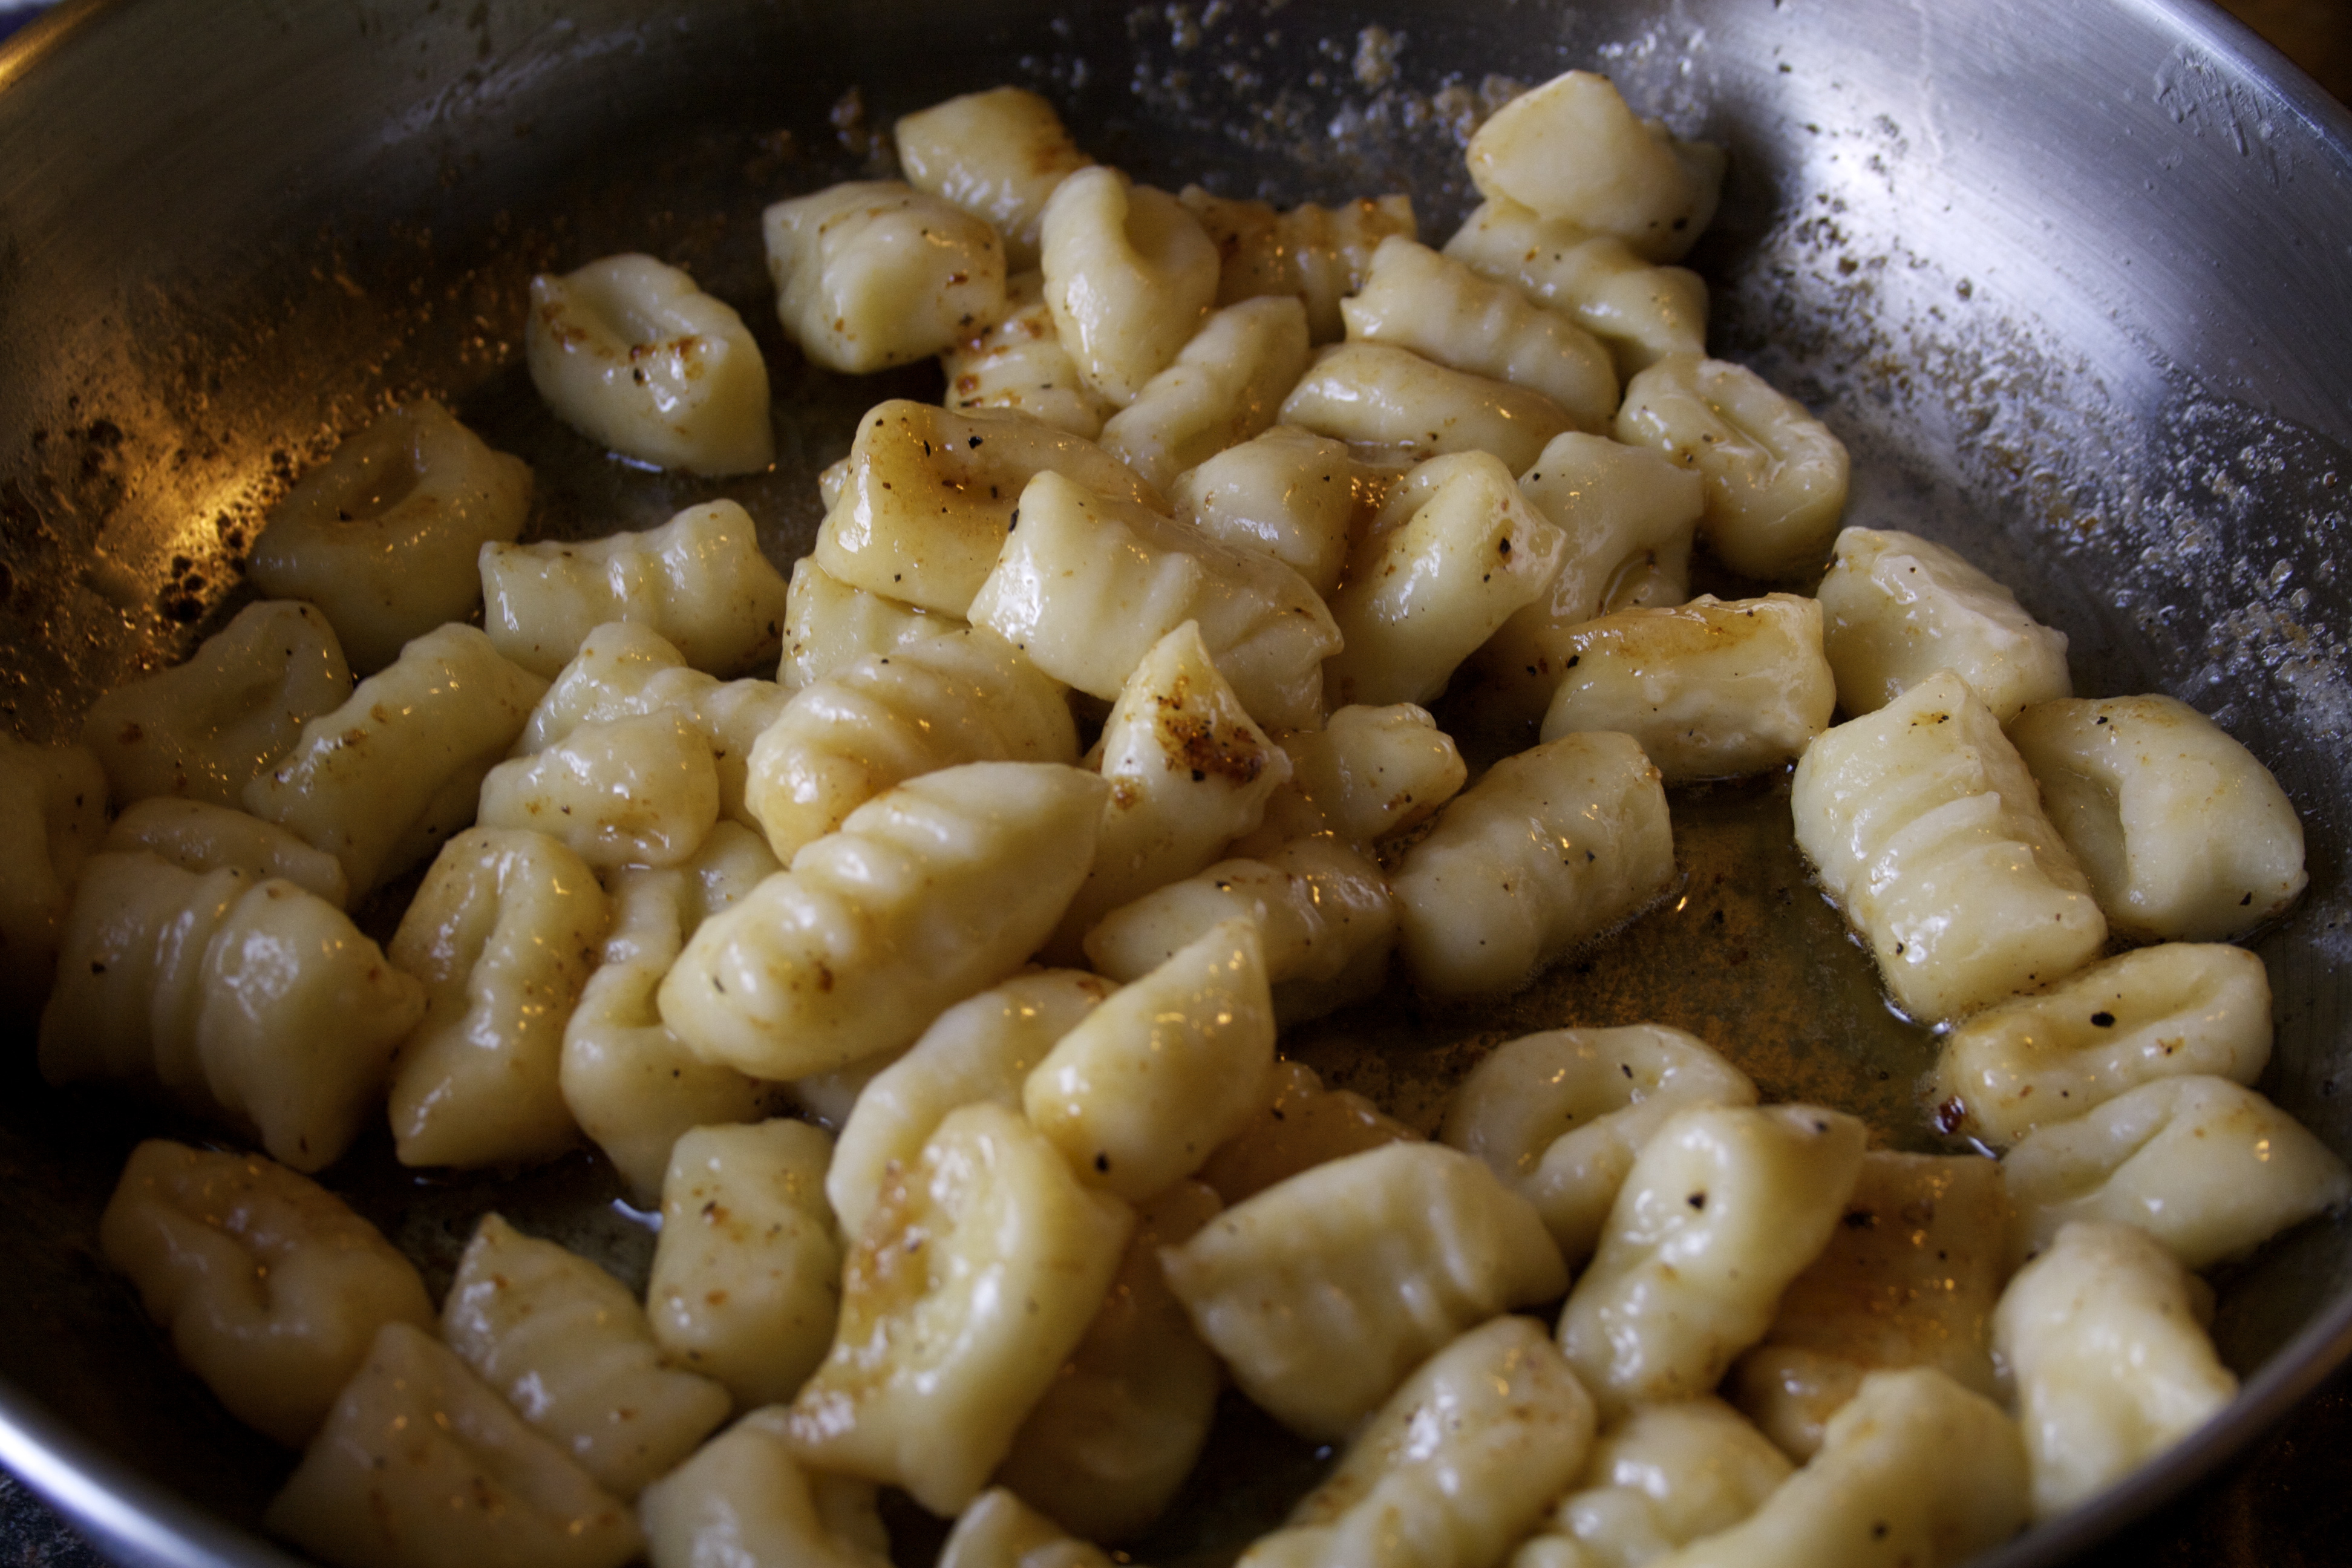
Melt butter in a large skillet over medium heat. Add chicken broth and season with a bit of salt and freshly ground pepper to taste. Cook, swirling the pan, until the solids from the melted butter begin to brown. Remove from heat and cover to keep warm.
Fill a large pot with 4 quarts of water and bring to a boil. Add remaining 1 tablespoon of salt. Use the parchment paper as a sling to very gently slide the gnocchi directly into the boiling water. Only cook one sheet of gnocchi at a time. Alternately, you can add the gnocchi in batches using a wire skimmer, but you’ll have to keep an eye on each batch and remove each when ready. Otherwise you could end up with overcooked gnocchi. Gnocchi will rise to the surface after about 60 seconds. Cook until firm and just cooked through, about 90 seconds total. Using a wire skimmer or slotted spoon, transfer gnocchi to the sauce. Repeat with remaining gnocchi if using.
Turn the broiler of your oven on. Turn the burner with the sauce back on to medium and gently toss gnocchi to coat with sauce. Once it’s coated and clinging to your liking, turn off the heat and add some parmigiano reggiano, tossing to coat and thicken the sauce. If your skillet isn’t oven-proof, transfer gnocchi and sauce to a baking dish, otherwise leave it where it is. Sprinkle fontina over the top, and place the entire skillet (or baking dish) in the oven for 1-2 minutes, until the cheese is melted. Remove it carefully, plate gnocchi, and serve.
1 Comment