
Raindrops on fir trees and whiskers on kittens, bright copper kettles and…t-shirts and shorts? It was a warm Christmas this year, which, my fella reminds me, should be the only day of the year that it actually ever snows. Regardless, along with all the gifts and all the love we shared here in our Astoria apartment, we pretended that baby, it was cold outside, and ‘twas the morning of heartwarming and bone-warming breakfast treats: scrambled eggs with cheese, crispy bacon, mint mocha coffee swirled with cream, and, of course, homemade cinnamon rolls.


I was one of those kids who grew up eating Pillsbury, popped open from a wacky cardboard can, baked until puffed, and schmeared with a hearty glopping of sugary sweet goo. We didn’t have them often, but they were certainly a treat. I had the occasional Cinnabon, too, of course, probably as a teenager, at the mall. One time, on a roadtrip, probably more recently than I would like to admit, I even bought some cinnamon bun sticks that one would dip into said pre-made sugary sweet goo, making for a slightly less messy eating experience. Pretty clever. Eating such a thing in a car, however, when one is incredibly prone to motion sickness, is not the smartest thing I’ve ever done. It’s more like one of those things that six-year-old Sarah would have done. In the car or on the couch, half a roll or a stick or two later and hello nausea and sugar headache. And have you seen the ingredient lists?? Partially hydrogenated soybean oil? Monoglycerides? Are you kidding?
Let’s be serious for a minute here: no matter how gratifying it is to pop open that can, much like popping bubble wrap, the satisfaction is short lived. Making homemade cinnamon rolls, on the other hand, is sort of like discovering the line that brings your poem full circle, the one that had been eluding you throughout its creation. It’s like finally mastering vibrato on your violin. Like crossing the finish line of a marathon that you never, ever thought you would run. Tender, oozing cinnamon and brown sugar, and topped not with sugary sweet goo, but with a thick, ever so slightly tangy cream cheese icing, homemade cinnamon rolls are like finding true love.


There are tons of recipes out there, many of them great I’m sure. And the varieties are endless. But give me the classic any day of the week. Give me these. The dough, made with buttermilk instead of the usual whole milk, bakes up soft and fluffy. What truly makes them special, though, is the spiral of filling, and the secret ingredient that lies inside. Within the warmth of the cinnamon and dark brown sugar, melting along with the butter that holds it down, is a quarter teaspoon of cloves. Potent, aromatic cloves are what bring these heavenly rolls back down to earth, giving them a depth that most other recipes lack. They mix and they mingle with the cinnamon and then tuck in for a good long nap, ready to be unrolled and devoured.
Since this is a yeast dough, it does require two rises and thus does require time, but they can be made ahead: pressed out, filled, rolled, and cut, they can rest in the refrigerator overnight, making them perfect for a New Year’s brunch, or really, an anytime brunch.


And, while this may be a detriment to your waistline, there are no sugar headaches here. Paired with a strip or two of salty bacon and a cup of coffee, and it’s not hard to eat more than one in a sitting. But because these really are like finding true love, there’s no guilt in that.

The Perfect Cinnamon Rolls
These rolls are adapted ever so slightly from The America’s Test Kitchen Family Baking Book. I use my stand mixer to mix and knead my dough as recommended in the original recipe, but they can also be made by hand — it will just take a bit more kneading. I haven’t tested it but I’ve included alternate instructions from the book below. If you care about making even rolls, use a ruler and measure out the pre-filled rectangle of dough to the right height and width, and then measure out your cylinder, and then measure out each individual roll when you’re at your cutting stage. I’m pretty accurate until I get to the final cutting, when I tend to eyeball and think I’m doing a great job of getting them into 1 ½-inch thick rounds until I fit them all into the pan and realize there are at least two or three that are way too tall. But that’s homemade, right?
makes 12 rolls
For the dough
¾ cup buttermilk, warmed to 110 degrees
6 tablespoons (¾ stick) unsalted butter, melted and cooled
3 large eggs
4 to 4 ¼ \cups all-purpose flour
¼ cup sugar
2 ¼ teaspoons (1 envelope) instant or rapid-rise yeast
1 ¼ teaspoons salt
For the filling
¾ cup packed dark brown sugar
2 teaspoons ground cinnamon
¼ teaspoon ground cloves
Pinch salt
1 tablespoon unsalted butter, melted and cooled
For the glaze
1 ½ cups confectioners’ sugar
3 tablespoons cream cheese, softened
3 tablespoons buttermilk
½ teaspoon vanilla extract
Make the dough:
In a large liquid measuring cup or bowl, whisk together the buttermilk, melted butter, and eggs. In the bowl of your stand mixer fitted with a dough hook, combine 4 cups of the flour, sugar, yeast, and salt. On low speed, add the buttermilk mixture and mix until the dough comes together, about 2 minutes.
Increase the mixer speed to medium and knead until the dough is smooth and elastic, about 10 minutes. The dough should clear the sides of the bowl but stick to the bottom as it’s kneaded. If after 5 minutes the dough is still sticking to the sides, add the remaining ¼ cup of flour, 1 tablespoon at a time, until it’s only sticking to the bottom.
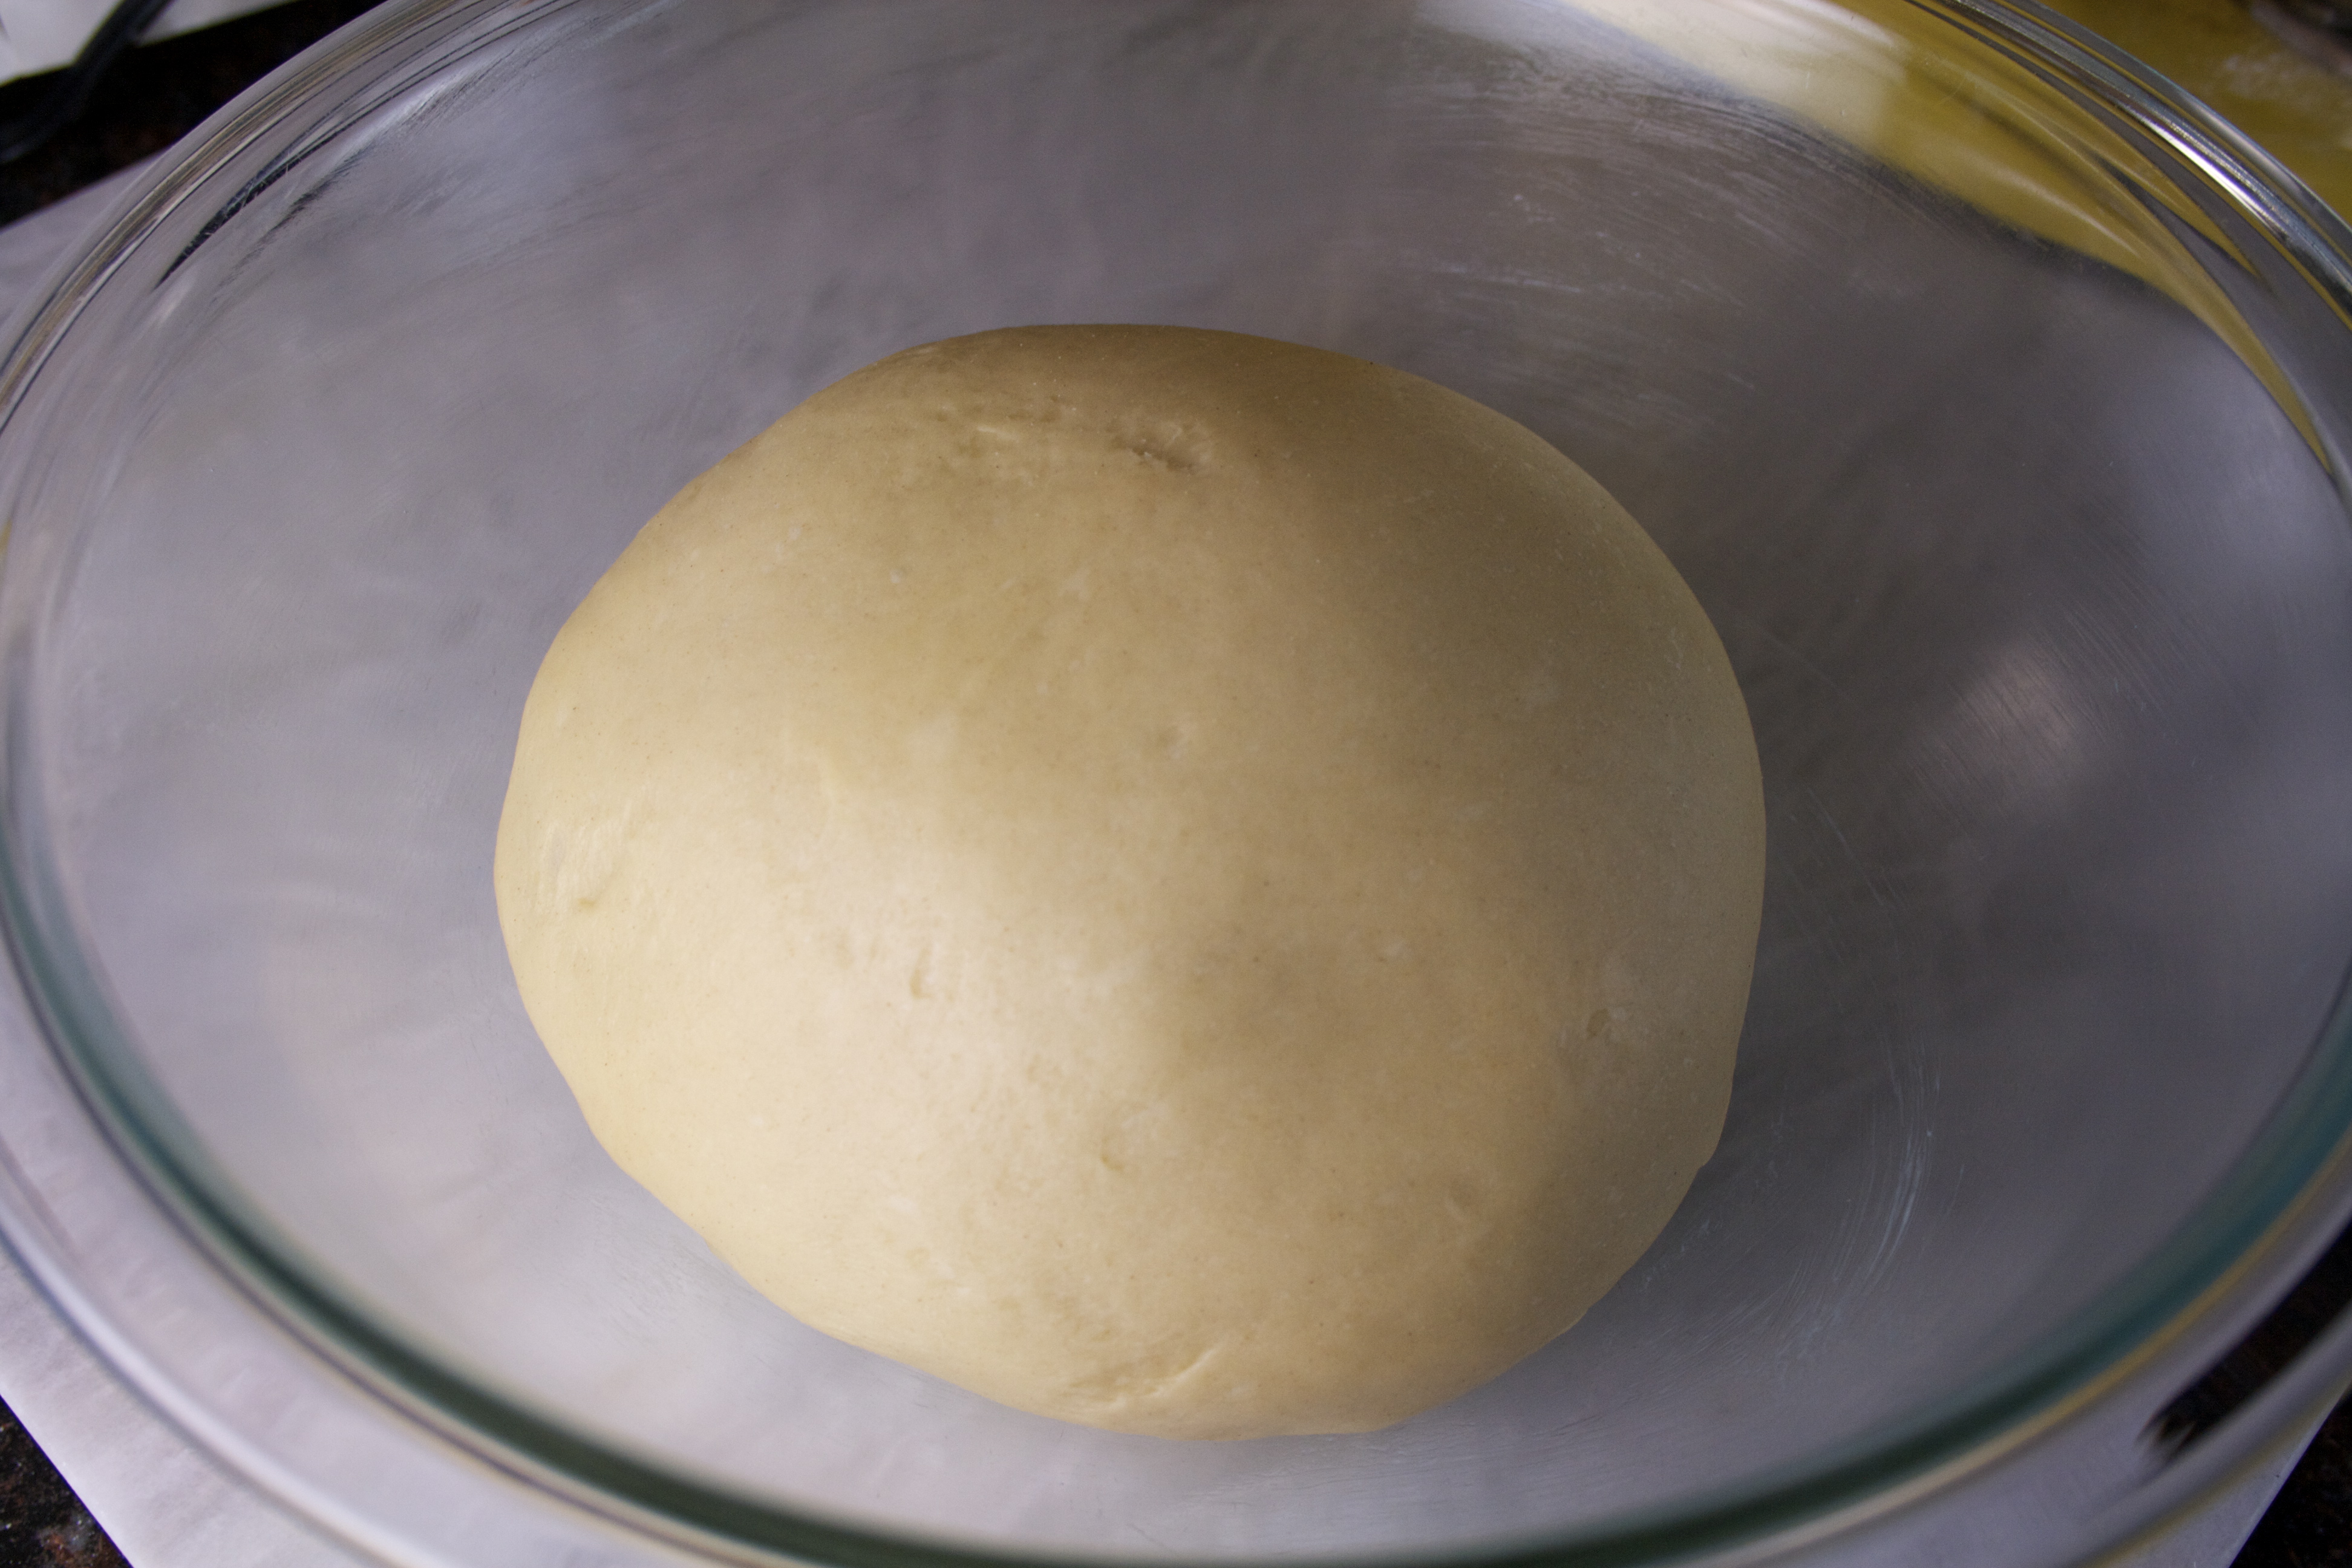
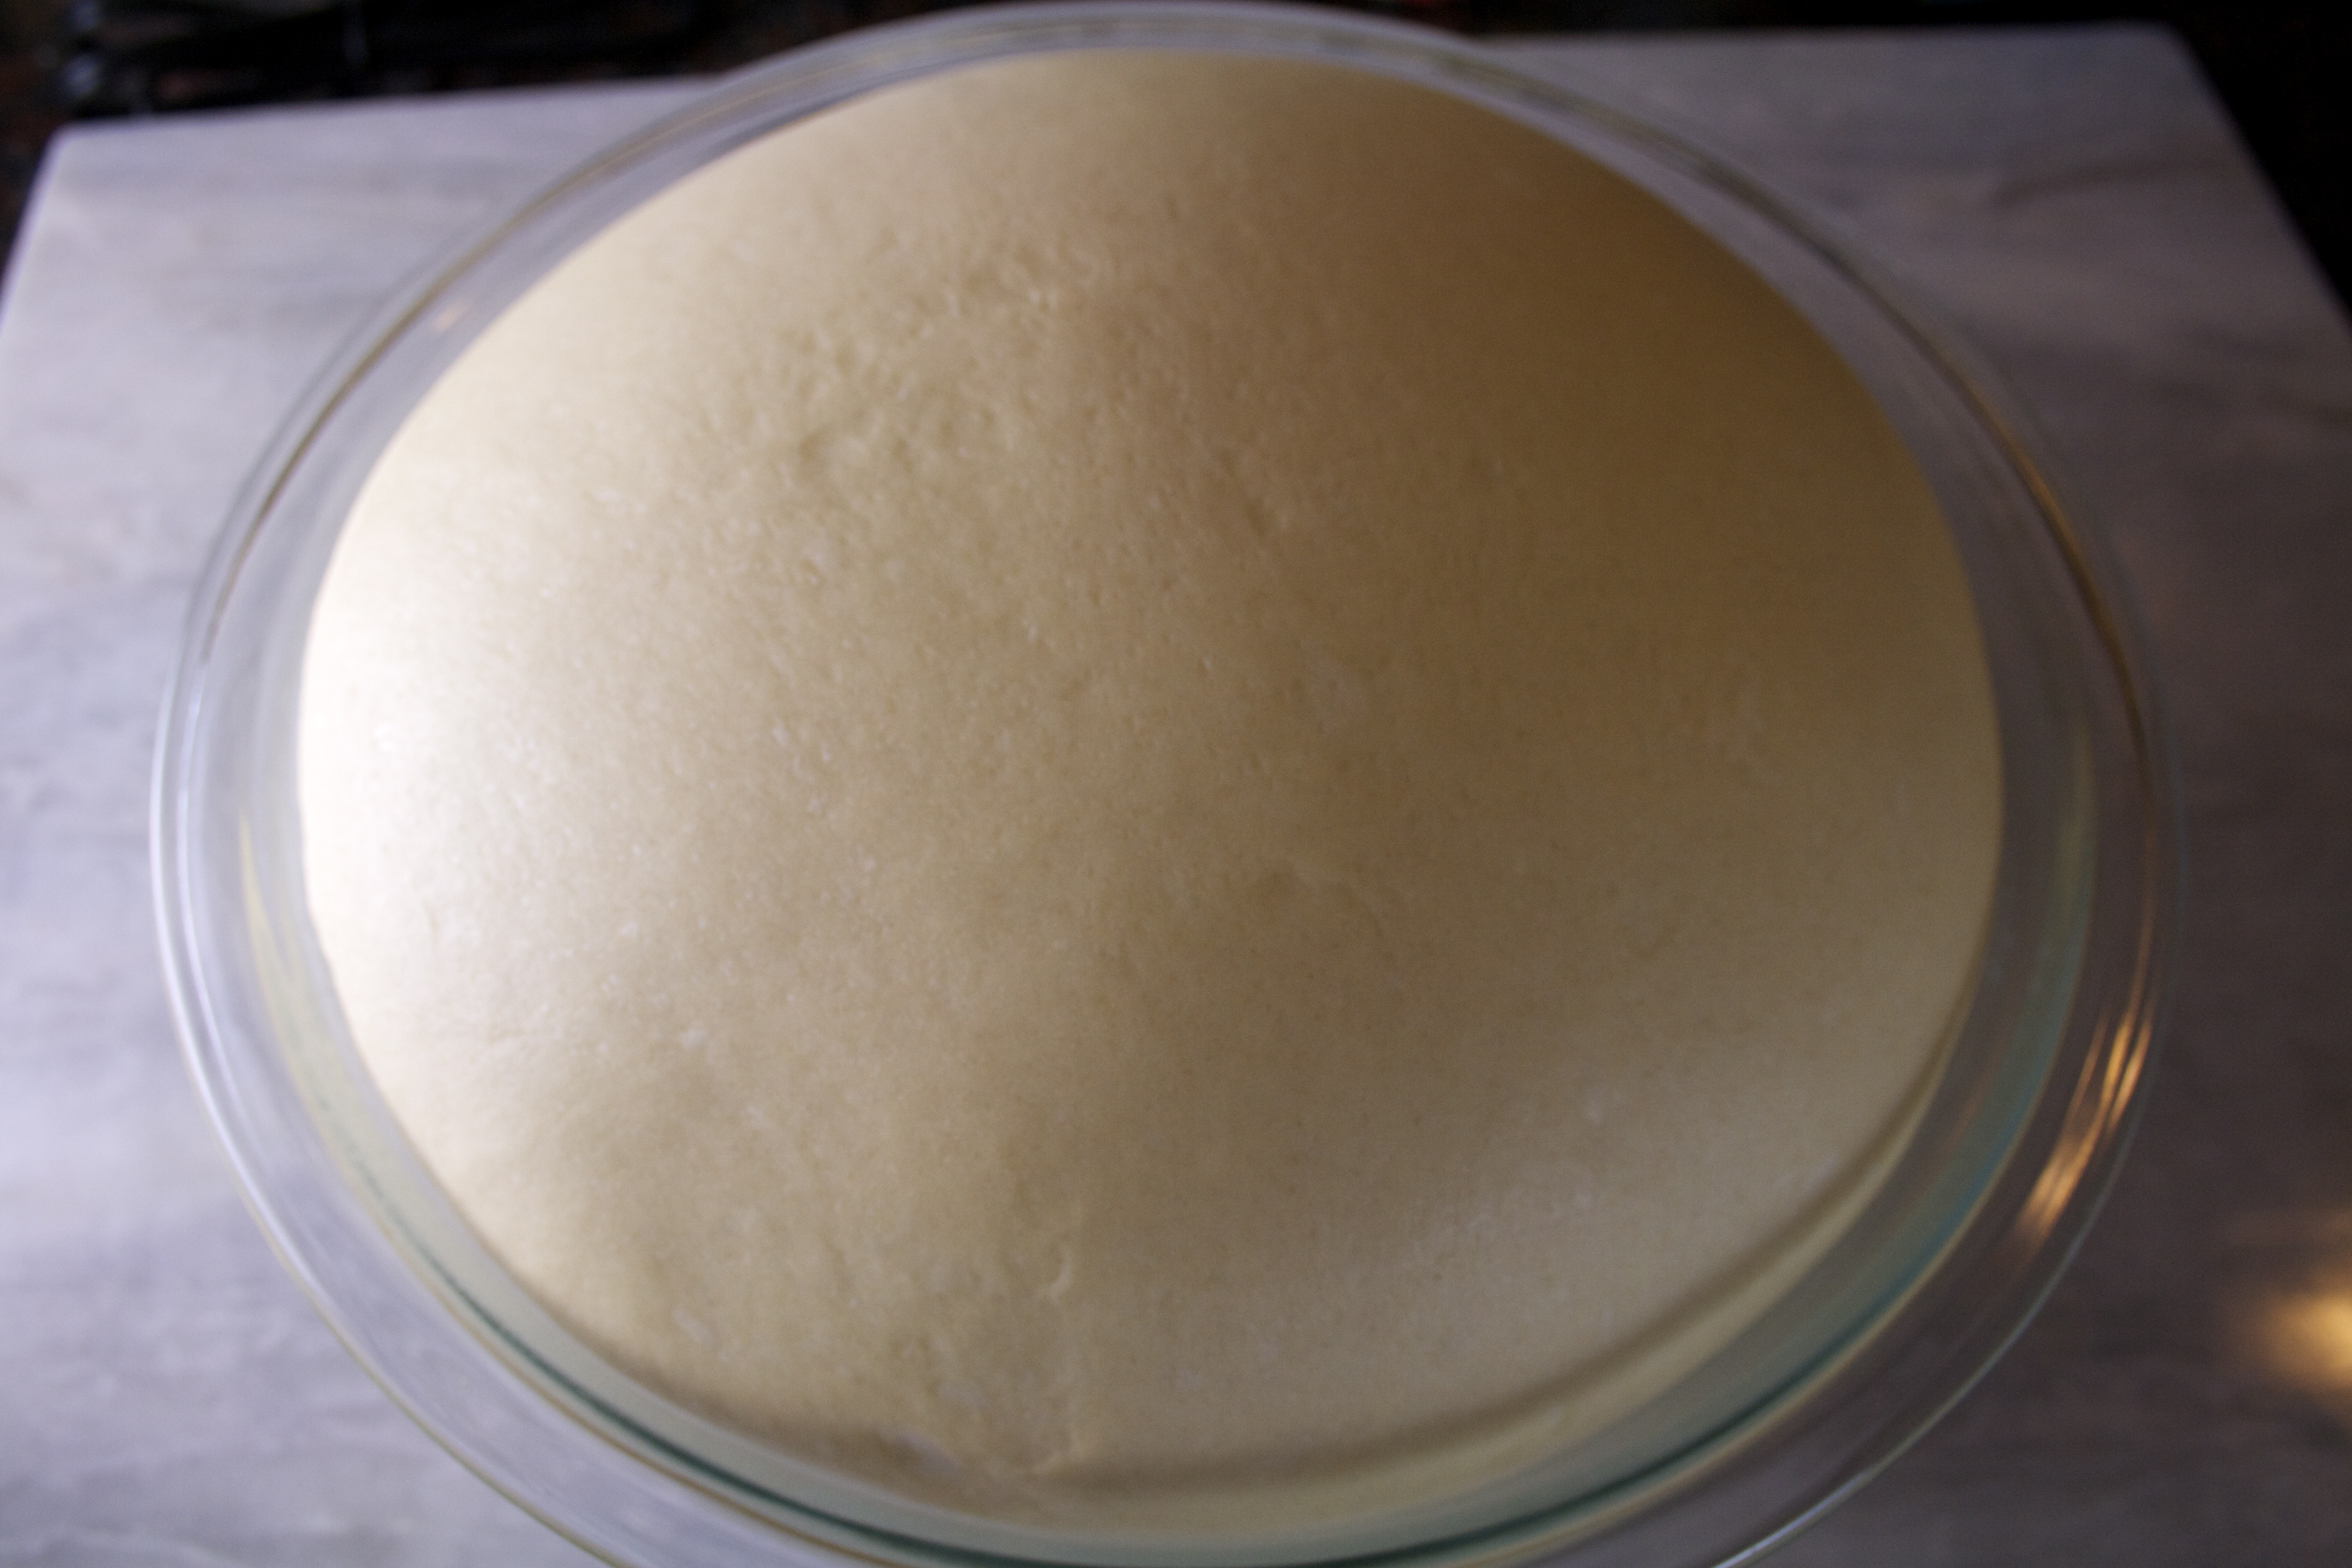
Turn the dough out onto a clean surface and knead by hand to form a smooth ball. Place it in a lightly oiled bowl (I use the leftover butter that’s still clinging to the bowl I melted it in) and wrap tightly with plastic wrap. Let it rise in a warm, draft-free place until doubled in size, 2 to 2 ½ hours.
(To make the dough by hand, whisk the buttermilk, butter, and eggs together in a large liquid measuring cup or bowl. In another large bowl, whisk together 4 cups of the flour, sugar, yeast, and salt. Pour the buttermilk mixture into the flour mixture, and stir with a rubber spatula until the dough comes together and looks shaggy. Turn the dough out onto a clean counter and knead by hand for 10 to 15 minutes to form a smooth round ball, adding the remaining ¼ cup flour as needed to prevent the dough from sticking to the counter. Transfer to a lightly oiled bowl, cover with plastic wrap, and let rise as directed.)
To make the rolls:
Grease a 13 x 9 inch baking pan. Mix the brown sugar, cinnamon, cloves, and salt together in a small bowl and set aside.
Turn the dough onto a lightly floured counter and press it into a 16 by 12-inch rectangle with the long side facing you. A rolling pin isn’t necessary here — just use your hands to press and stretch the dough. Brush the entire surface of the rectangle with the melted butter and then sprinkle the brown sugar mixture evenly over it, leaving a ¾-inch border along the top edge. Press the filling into the dough with your hands to ensure that it adheres.
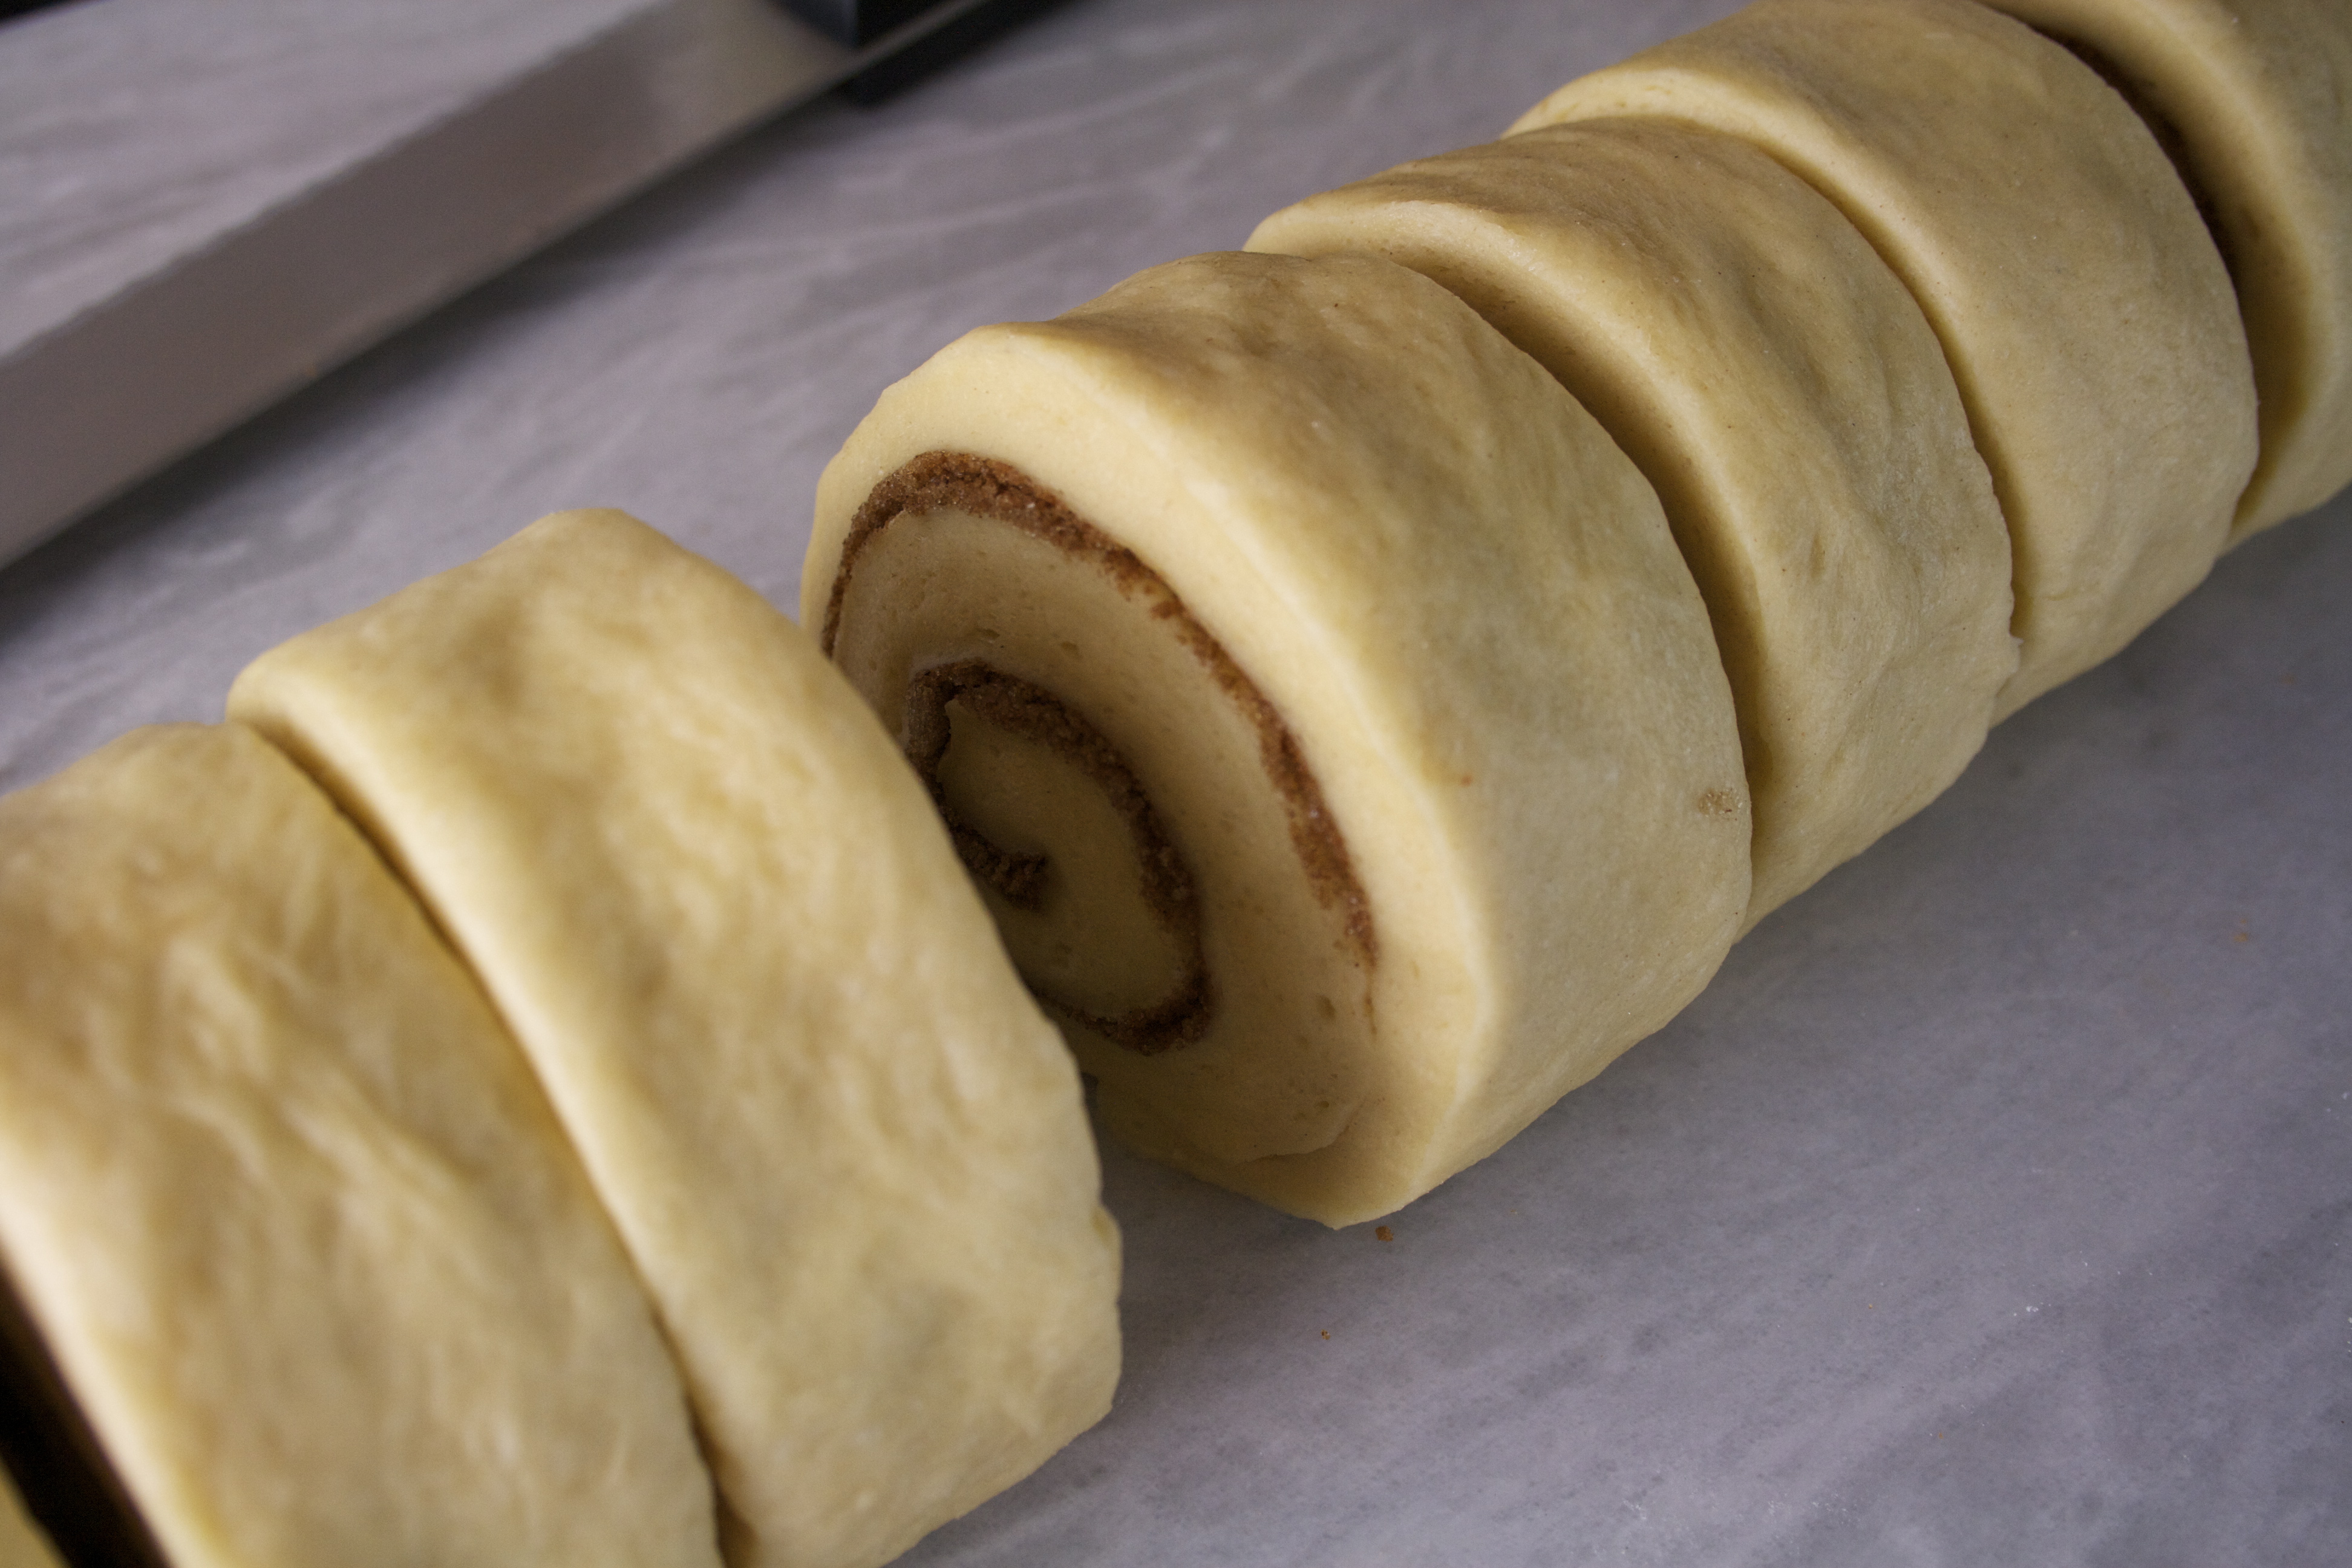
Loosen the dough from the counter using a bench scraper or metal spatula, and begin to slowly and carefully roll the dough up from the bottom edge nearest you to the top, making sure to keep it as tight as possible. Pinch the seam closed and roll the cylinder seam side down. Gently stretch the cylinder until it is 18 inches long with an even diameter throughout, and pat the ends when you’re done to even them.
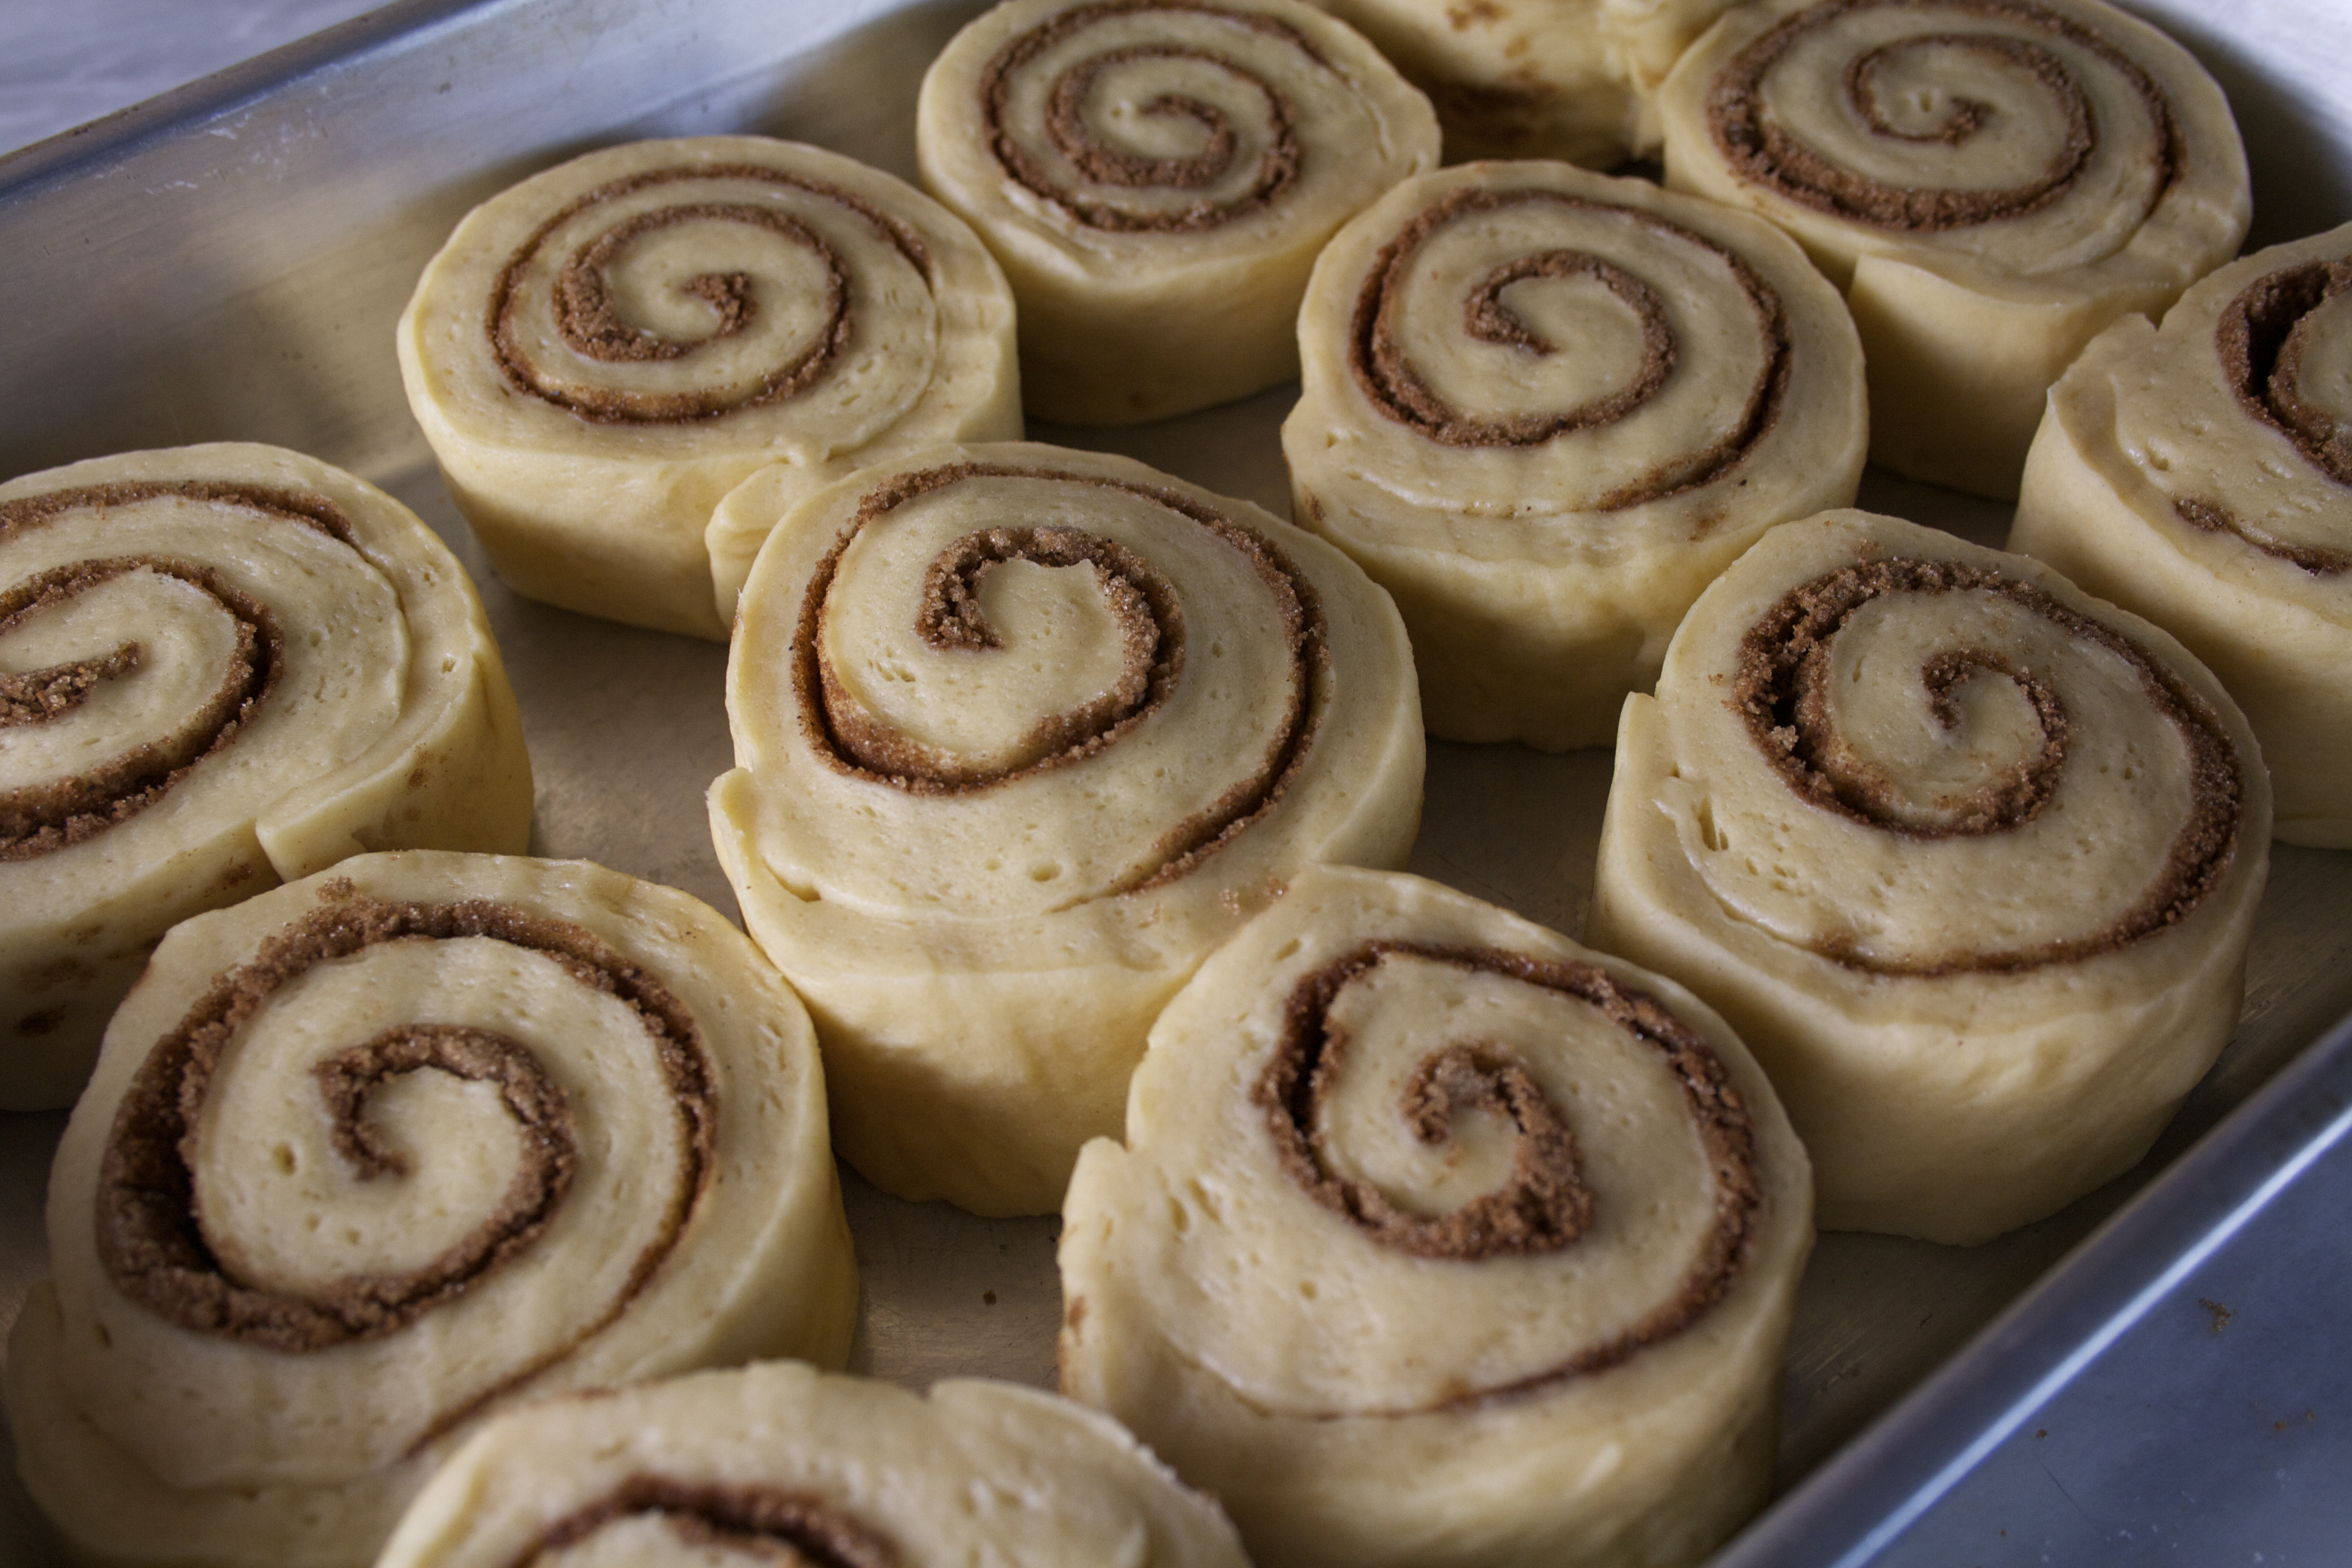
Using a serrated knife, gently cut the cylinder into 12 evenly sized rolls about 1 ½ inches wide. I like to cut the cylinder in half, and then in half again, and then into thirds. Place the rolls cut side down in the prepared baking pan and wrap tightly with greased plastic wrap. At this point you can let the rolls rise in a warm place until nearly doubled in size (about 1 to 1 ½ hours) or you can place the pan in the refrigerator overnight or up to 16 hours. This will slow the rise. If you refrigerate, when you’re ready to bake, let the rolls sit at room temperature until they have nearly doubled in size, about 1 hour.
Adjust an oven rack to the middle position and heat to 350 degrees. After the oven has preheated, bake the rolls until they are golden and puffed, about 25 to 30 minutes. Place the entire pan on a cooling rack and let cool for 5 minutes.
Make the glaze:
Whisk the confectioner’s sugar, softened cream cheese, buttermilk, and vanilla together in a medium bowl until smooth. Drizzle over the cinnamon rolls and serve warm.
These are, of course, best eaten the day they’re made, but I find they keep fairly well wrapped in foil or plastic for up to three days, though by the end they do begin to turn a bit stale. That doesn’t stop us. To bring them back to life, pop them in the microwave for 10-20 seconds.
3 Comments