
There’s a sweet tooth gene that runs in my family, and the farthest I can trace it with any first-hand knowledge is my grandma — my mother’s mother, born and raised in the Bronx by immigrant parents, first-generation American. Incredibly smart, she was stunning in her youth, reserved, kind, funny, and sophisticated until the end, and always had a candy jar full of chocolates on the coffee table and a drawer full of marshmallows in the kitchen. And in the winter, Mallomars. Always Mallomars. She pretty much had it all figured out. Now, I’m not one to go out and buy a bag of marshmallows on a whim, but when I do, for s’mores or hot chocolate, that poor bag is in for a ravaging. And Mallomars? Forget it. I’m on the hunt for those always, and here in Astoria, for some strange reason, I can never seem to find them. Solution: homemade vanilla bean marshmallows with dark chocolate and sea salt. The hunger in my genes must be sated.

It’s true, I’m leaving out the cookie part. I could probably slip a Nilla wafer or something on the bottom of these pillowy little candies, but frankly, the bittersweet chocolate and sea salt does the trick. No gluten required. And though quite messy, they’re much easier than I ever thought they’d be. Easy enough for a Valentine’s Day treat — or an any-day treat.


But there are a few things you need to make sure of before you begin. First, you should have a candy thermometer, and you should make sure it’s calibrated. On my first go-round, in an effort to reach 240 degrees, my sugar mixture nearly burned. While the flavor was actually quite lovely — caramelized and fragrant — it was nearly impossible to scrape the fluff into my prepared pan, and it ultimately resulted in a flatter, chewier marshmallow. Seeing that this was the second time the thermometer failed me, I decided to find out at what temperature this thermometer thought water boiled. Here near sea level, it should’ve been 212 degrees Fahrenheit. Thermo registered 200. Lesson learned: I’d have to take it off the heat at 228 degrees.
You should also have a stand mixer. I’ve heard that a hand-mixer also works, but you do need something mechanical to whip your sugar mixture and gelatin into a fluff. A hand won’t do it, and even a hand-held might be difficult unless you have something powerful. You’re going to whip it on high speed for 10 minutes, and it’s hot. After burning myself with the molten sugar syrup on Marshmallow Adventure #2, I don’t plan on getting my hands any closer to the mixture than I have to. So yeah, there’s that, too: be careful of the molten sugar mixture. Sugar burns hurt.
Pick a day that’s relatively dry. Don’t try to make marshmallows when it’s hot and humid out, or you won’t get the finished product you want. I’ve been told that marshmallows may not even set properly — ever — if it’s too humid in your kitchen.

And finally, make sure you have 20 minutes or so in which you don’t need to step out of your kitchen for anything. You need to keep an eye on the thermometer while your sugar is coming up to temperature lest it burn, and you need to pour it into your gelatin and get it whipping around quickly before it cools. It’s also best to keep an eye on the mixture as it’s fluffing up in your mixer. Over-mixing will also result in a chewier ‘mallow, and it will also be exceedingly difficult to spread into your pan. You want the mixture to cool down, but still be hot enough to be spreadable. It’s a balancing act.
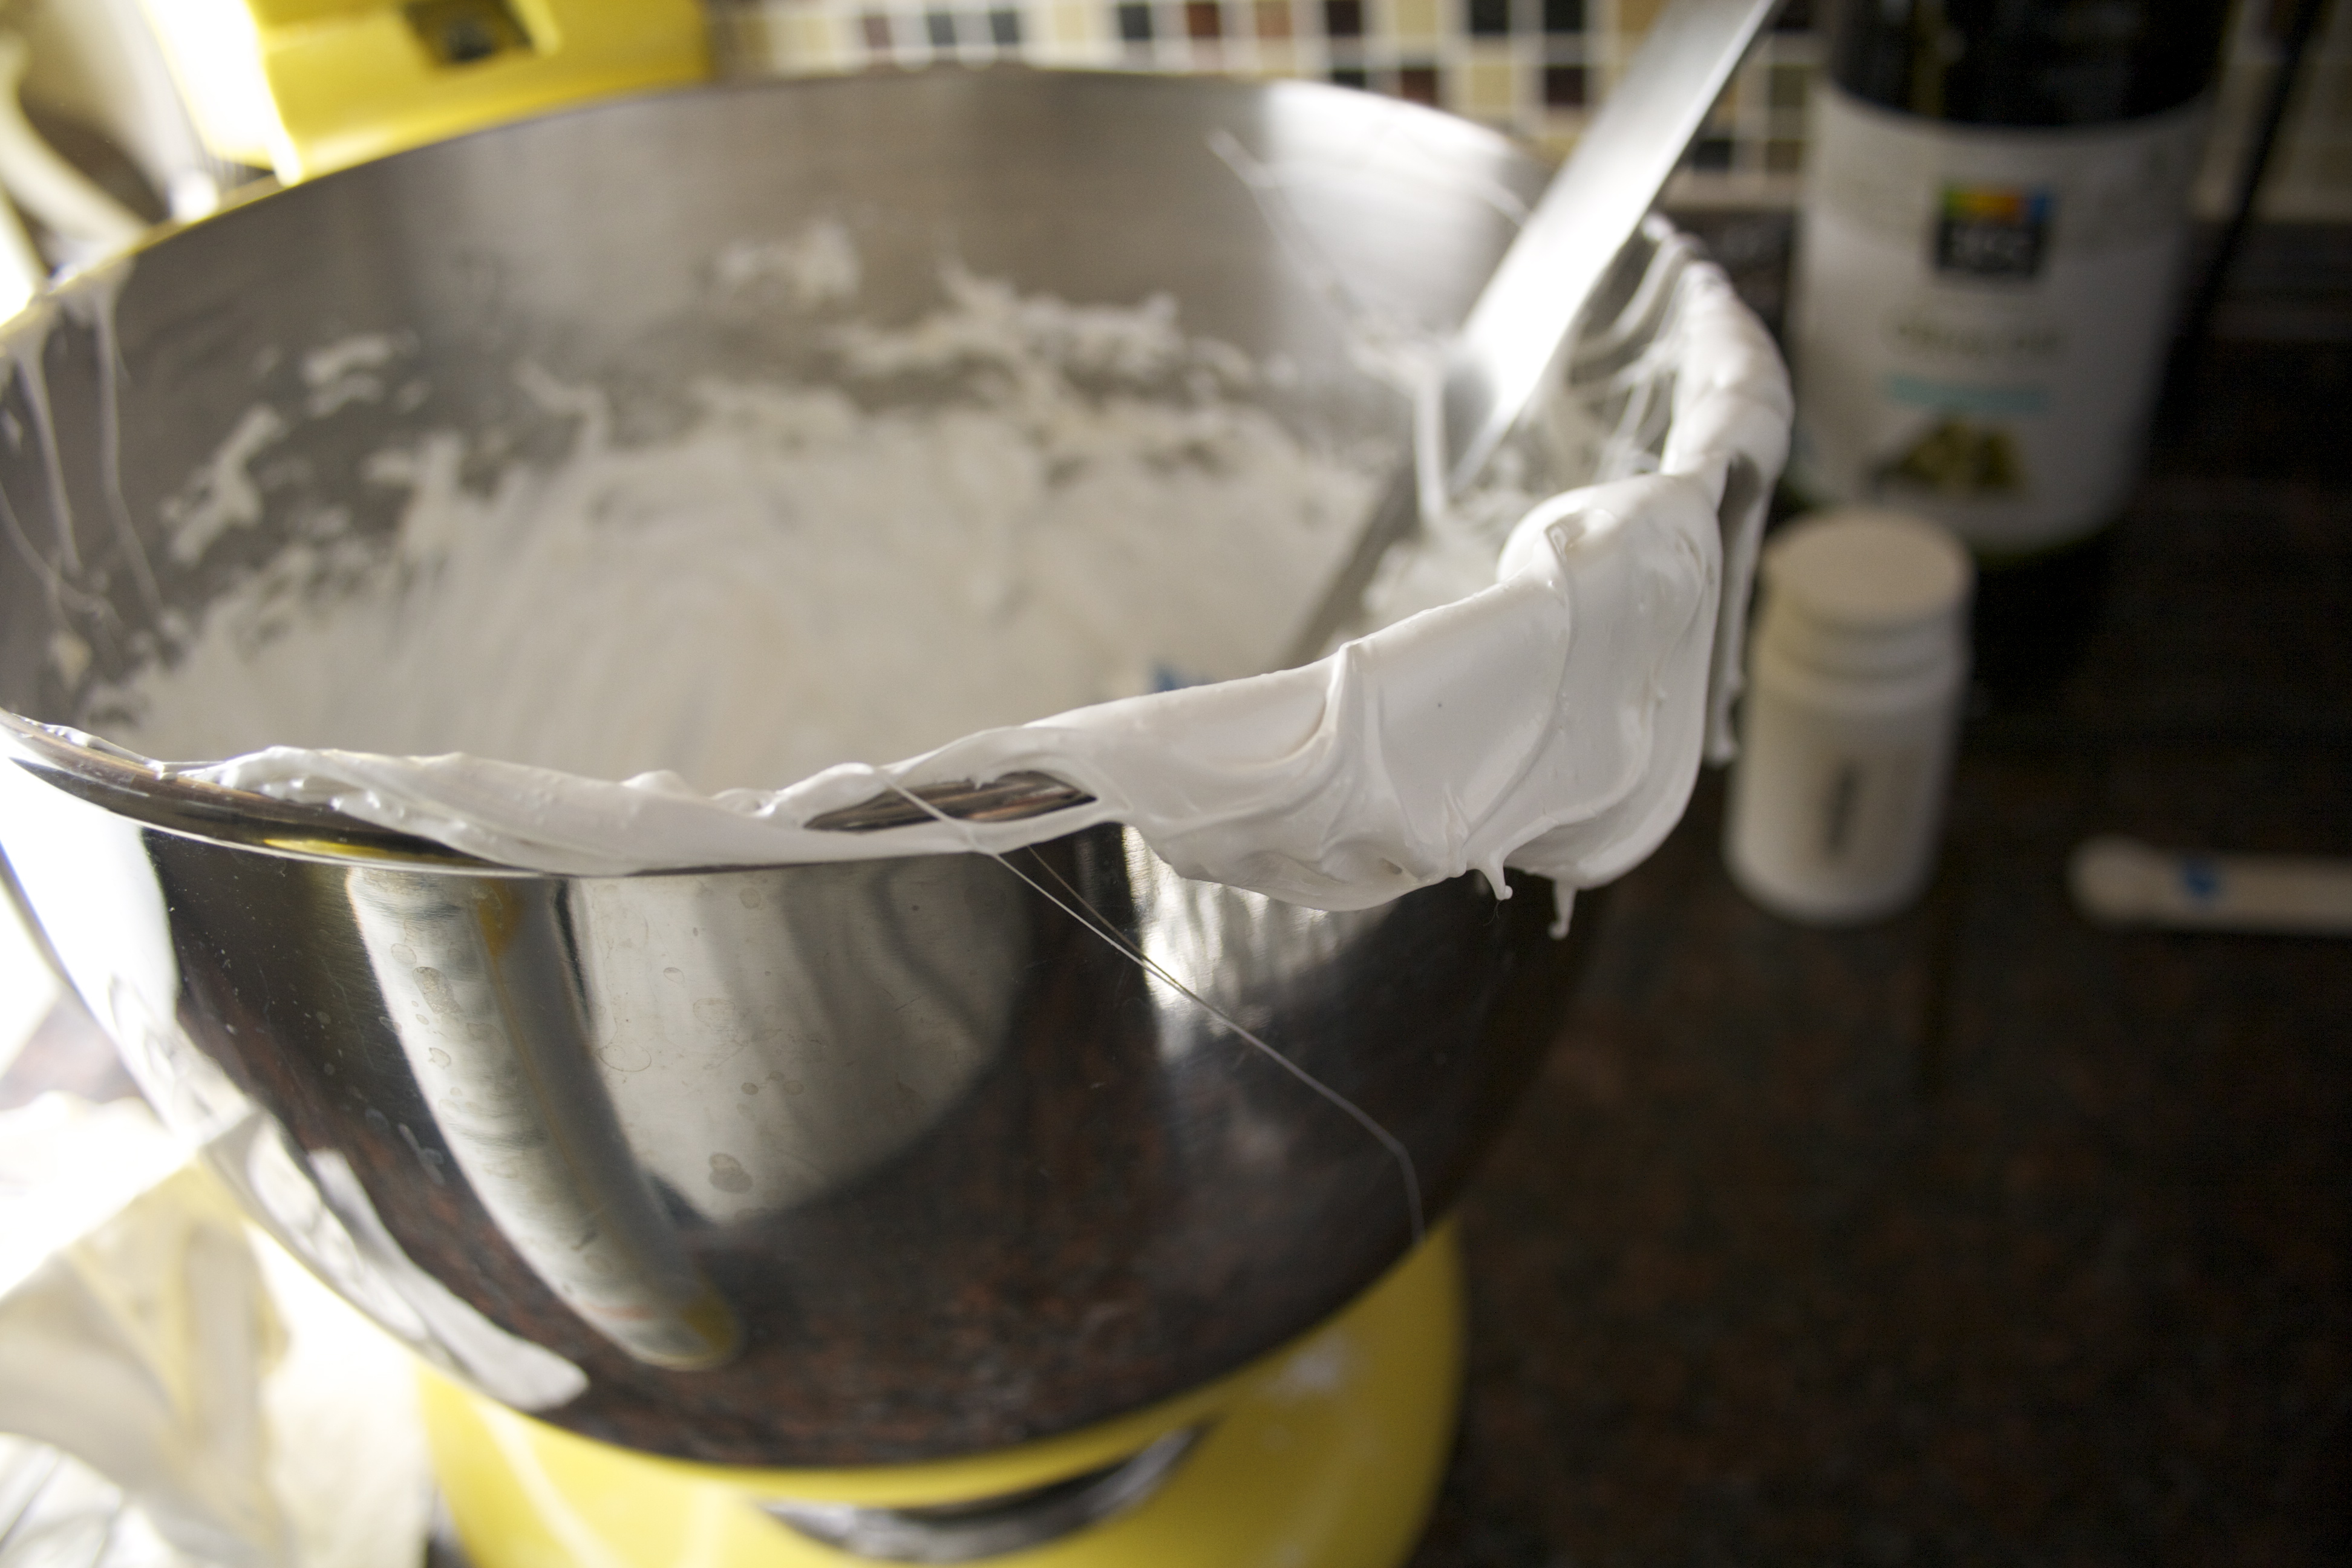
That’s also the reason why you see so few process photos of homemade marshmallows on food blogs. Once the mixture has been whipped into a frenzy, it needs to be poured and spread quickly. As soon as the whisk attachment stops agitating the fluff it begins to stiffen. Because of the gelatin it will of course never become hard candy (like the drop of sugar syrup that spilled onto my counter — oh, and my finger), so it’s still easy to eat whatever you can’t get out of the bowl with your fingers or a spoon, but you won’t be able to spread it. It becomes the consistency of caulk. But much, much tastier.


Cooled and set, cut and dipped in bittersweet chocolate (I like 72% cacao), with a final sprinkling of sea salt, these marshmallows are worth the fuss. And by fuss, of course I just mean worry — it took me so long to even embark on my marshmallow journey simply because I was afraid of messing up. They’re just so easy. And don’t worry, this mixture is water-soluble, so all you need is a good soak in some soapy water and clean-up will be a breeze.

I’m a little disappointed in myself for taking so long to make these. Now that I have, good-bye store-bought. There’s no turning back. These marshmallows are creamy, springy, fluffy, and full of fresh vanilla flavor. The bittersweet chocolate tempers the sweetness of the ‘mallow, and of course the sea salt brings it full circle.

Mallomar Redux? I think my grandma would be proud. The hunger in my sweet tooth gene has been sated, with plenty to go around. And just in time for Valentine’s Day.

Vanilla Bean Marshmallows with Dark Chocolate and Sea Salt
adapted from America’s Test Kitchen
I used vanilla bean seeds scraped straight from the pod for this, but if you can’t find them or don’t want to spend the money, you can use vanilla bean paste, or just increase the vanilla extract to 1 tablespoon.
makes about 50 1-inch cubed marshmallows
2 ½ tablespoons gelatin
1 cup water, divided
⅓ cup light corn syrup
2 cups granulated sugar
¼ teaspoon kosher salt
½ vanilla bean, seeds scraped
2 teaspoons vanilla extract
½ cup cornstarch
½ cup confectioner’s sugar
8 ounces bittersweet chocolate
sea salt
Line a 9 x 13-inch baking pan with a foil sling using two pieces of aluminum foil crossed over each other. Grease with cooking spray.
In a small bowl, combine cornstarch and confectioner’s sugar. Set aside.
In the bowl of a stand mixer, combine ½ cup water and gelatin and let bloom for 15 minutes.
Meanwhile, combine the other ½ cup water, sugar, corn syrup, salt, and vanilla bean seeds in a small saucepan with a candy thermometer attached to the side. Make sure the thermometer is fully submerged but don’t let it touch the bottom of your pan. Over medium heat, bring sugar mixture to a boil. Let boil for 6-8 minutes or until the mixture registers 240 degrees.
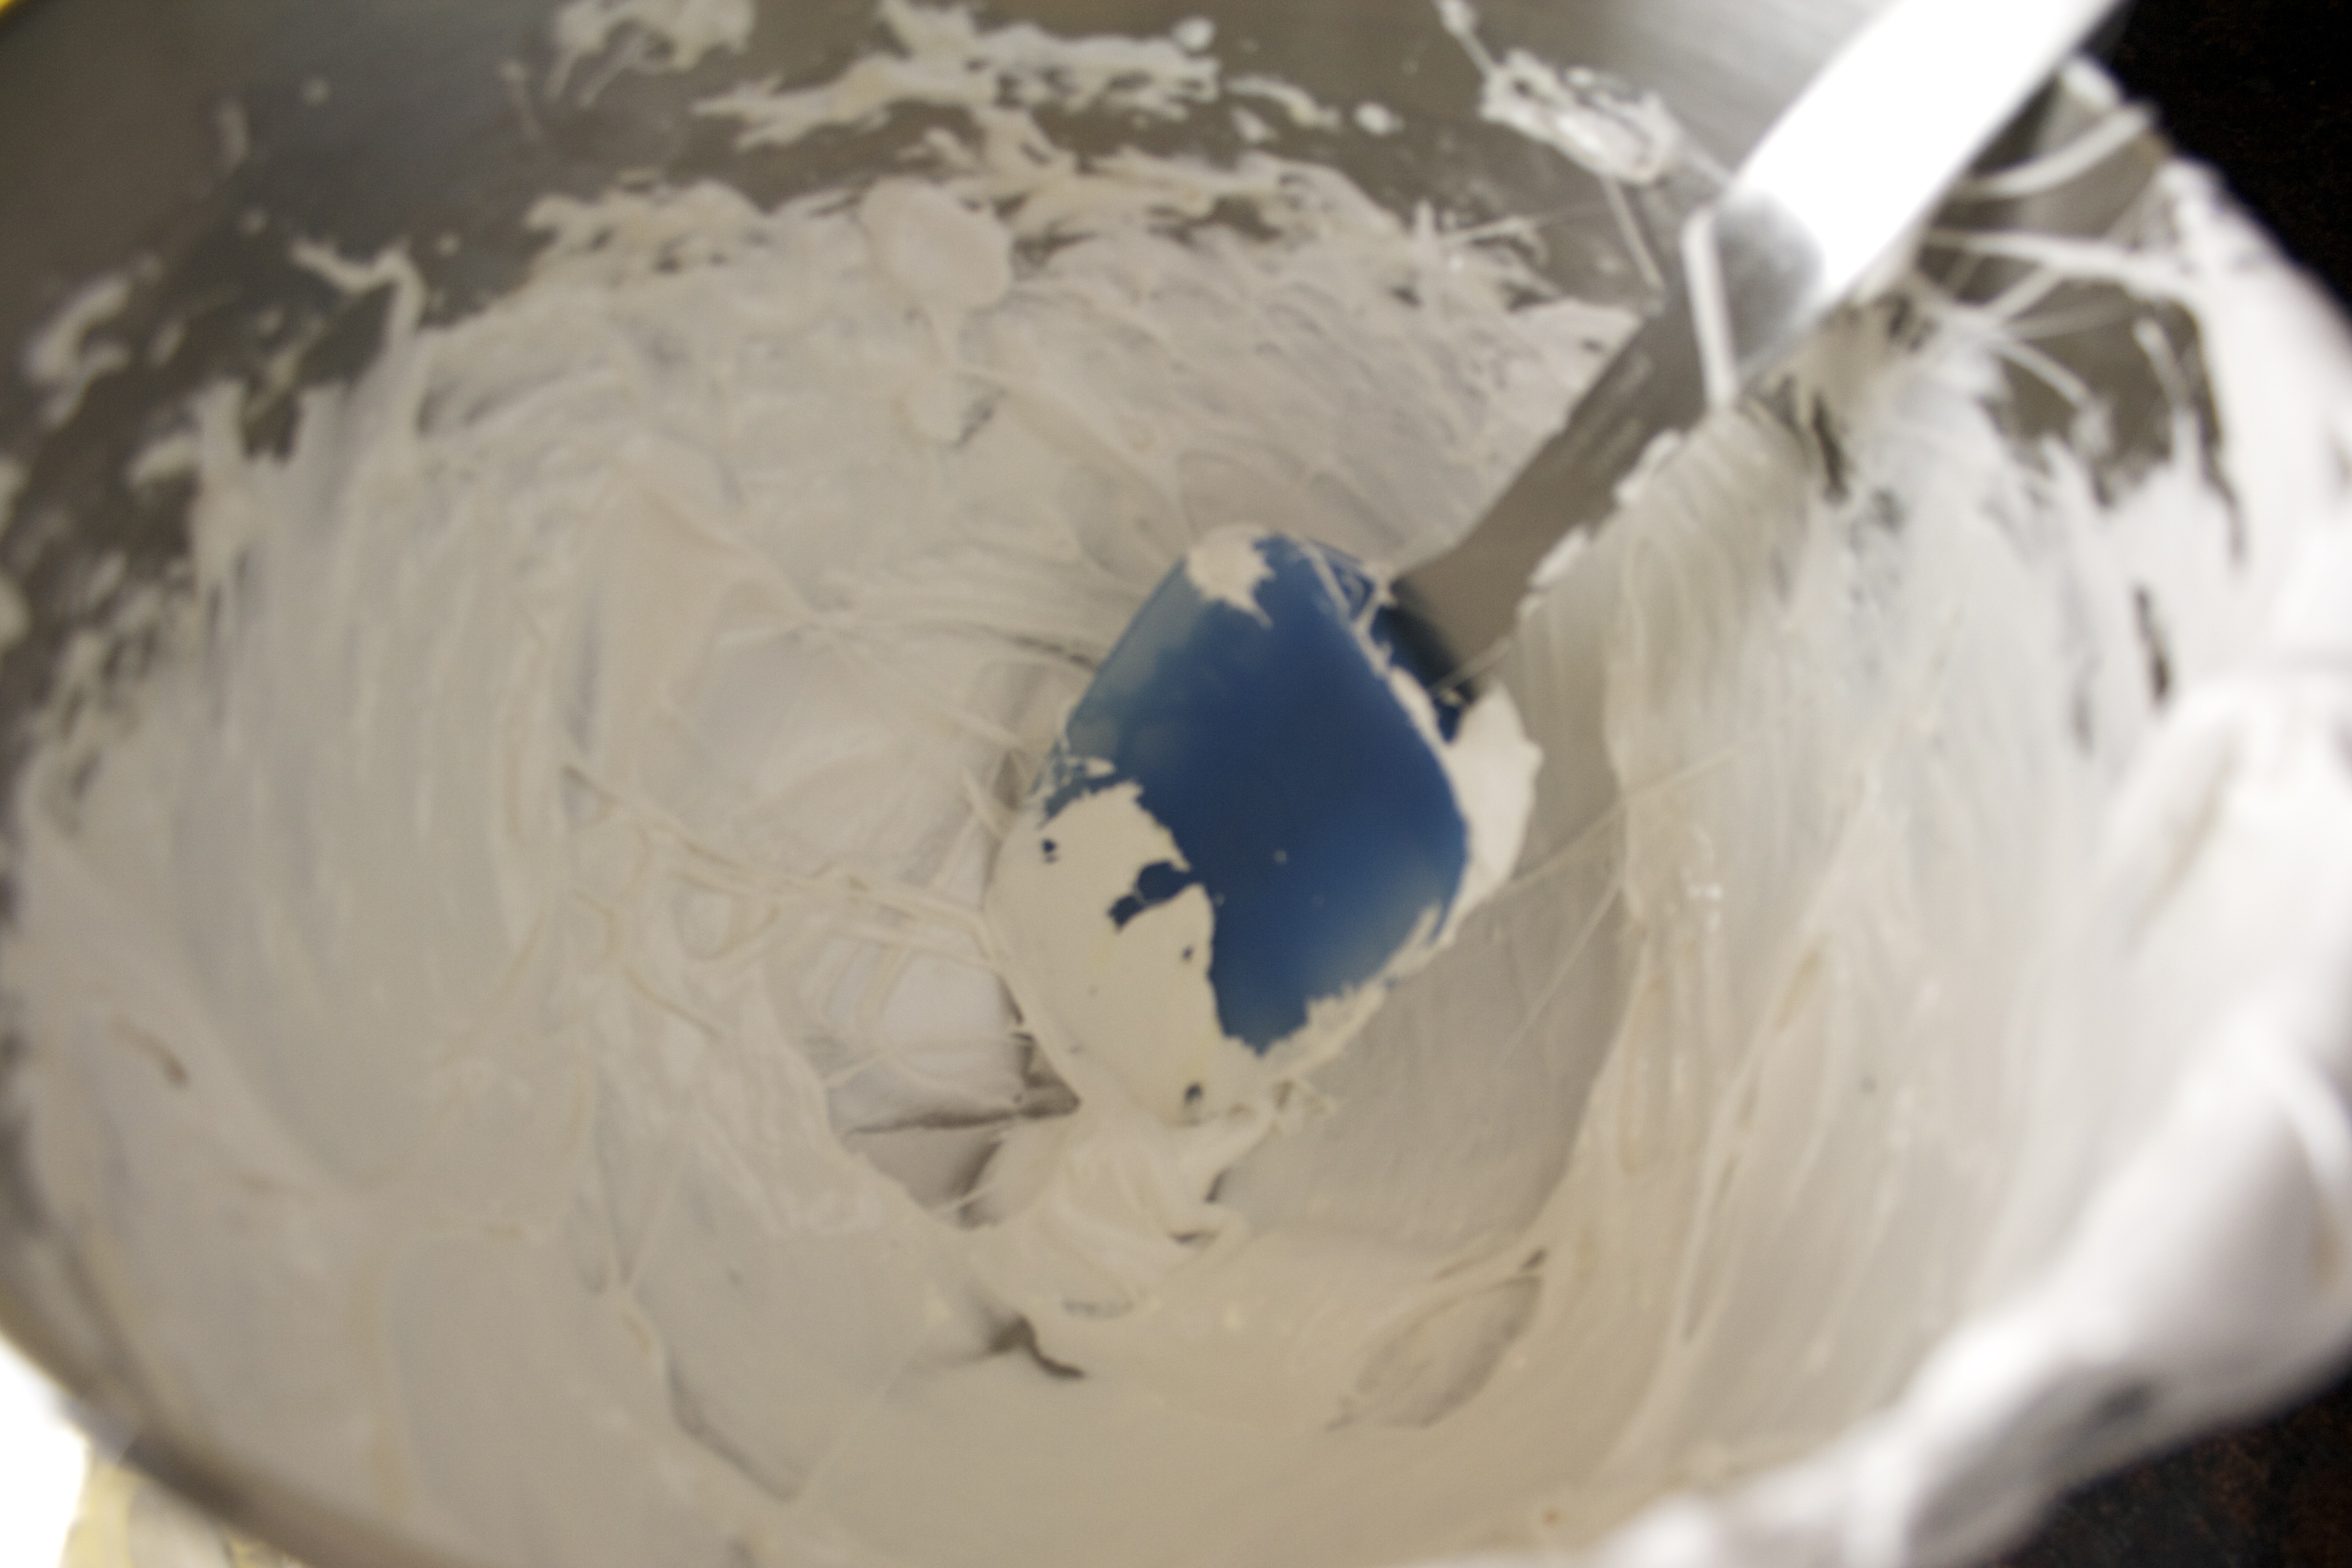
With a whisk attachment, turn the mixer on low to break up the gelatin. Slowly and carefully stream the sugar mixture into the bowl, taking care not to splash on the sides of the bowl or directly into the whisk. Gradually turn the mixture to high and mix for 10 to 12 minutes total. The mixture will turn opaque and froth up, eventually becoming stringy looking. After 8 minutes, pour vanilla extract into the bowl and let it mix for another 2-4 minutes. I took mine off after 10 total.
Using a rubber spatula sprayed with cooking spray, quickly spread the marshmallow into the prepared pan and smooth the top. Work as fast as you can and don’t worry about getting absolutely everything out of the bowl. It will become harder to work with as soon as it begins to cool, which is immediately. If necessary, spray your spatula a second time to smooth the top.
Sift 2 tablespoons of the reserved cornstarch mixture over the top. Cover with plastic wrap, and let set at room temperature for at least four hours or overnight.
Sift another 2 tablespoons of the cornstarch mixture over a cutting board. Lift foil sling out of the pan and invert the marshmallow onto the cutting board. Remove foil. Sift another 2 tablespoons of cornstarch mixture over this side of the marshmallow slab. Using a chef’s knife or a pizza cutter that has been greased with cooking spray, cut the marshmallow slab into 1-inch strips, then cut into cubes. Spray the knife or cutter as needed if you feel it’s starting to stick.
Toss the marshmallow cubes, a few at a time, in the cornstarch mixture and then place in a strainer, shaking or tapping to remove excess.
Melt chocolate in a microwave-safe bowl, heating in 30-second increments and stirring in between. Be careful not to scorch. Dip each marshmallow halfway into the chocolate and place on a parchment-lined baking sheet. Sprinkle with sea salt. Let set at room temperature until firm.
Store in an airtight container, separating with layers of parchment or wax paper, for a week.
4 Comments